

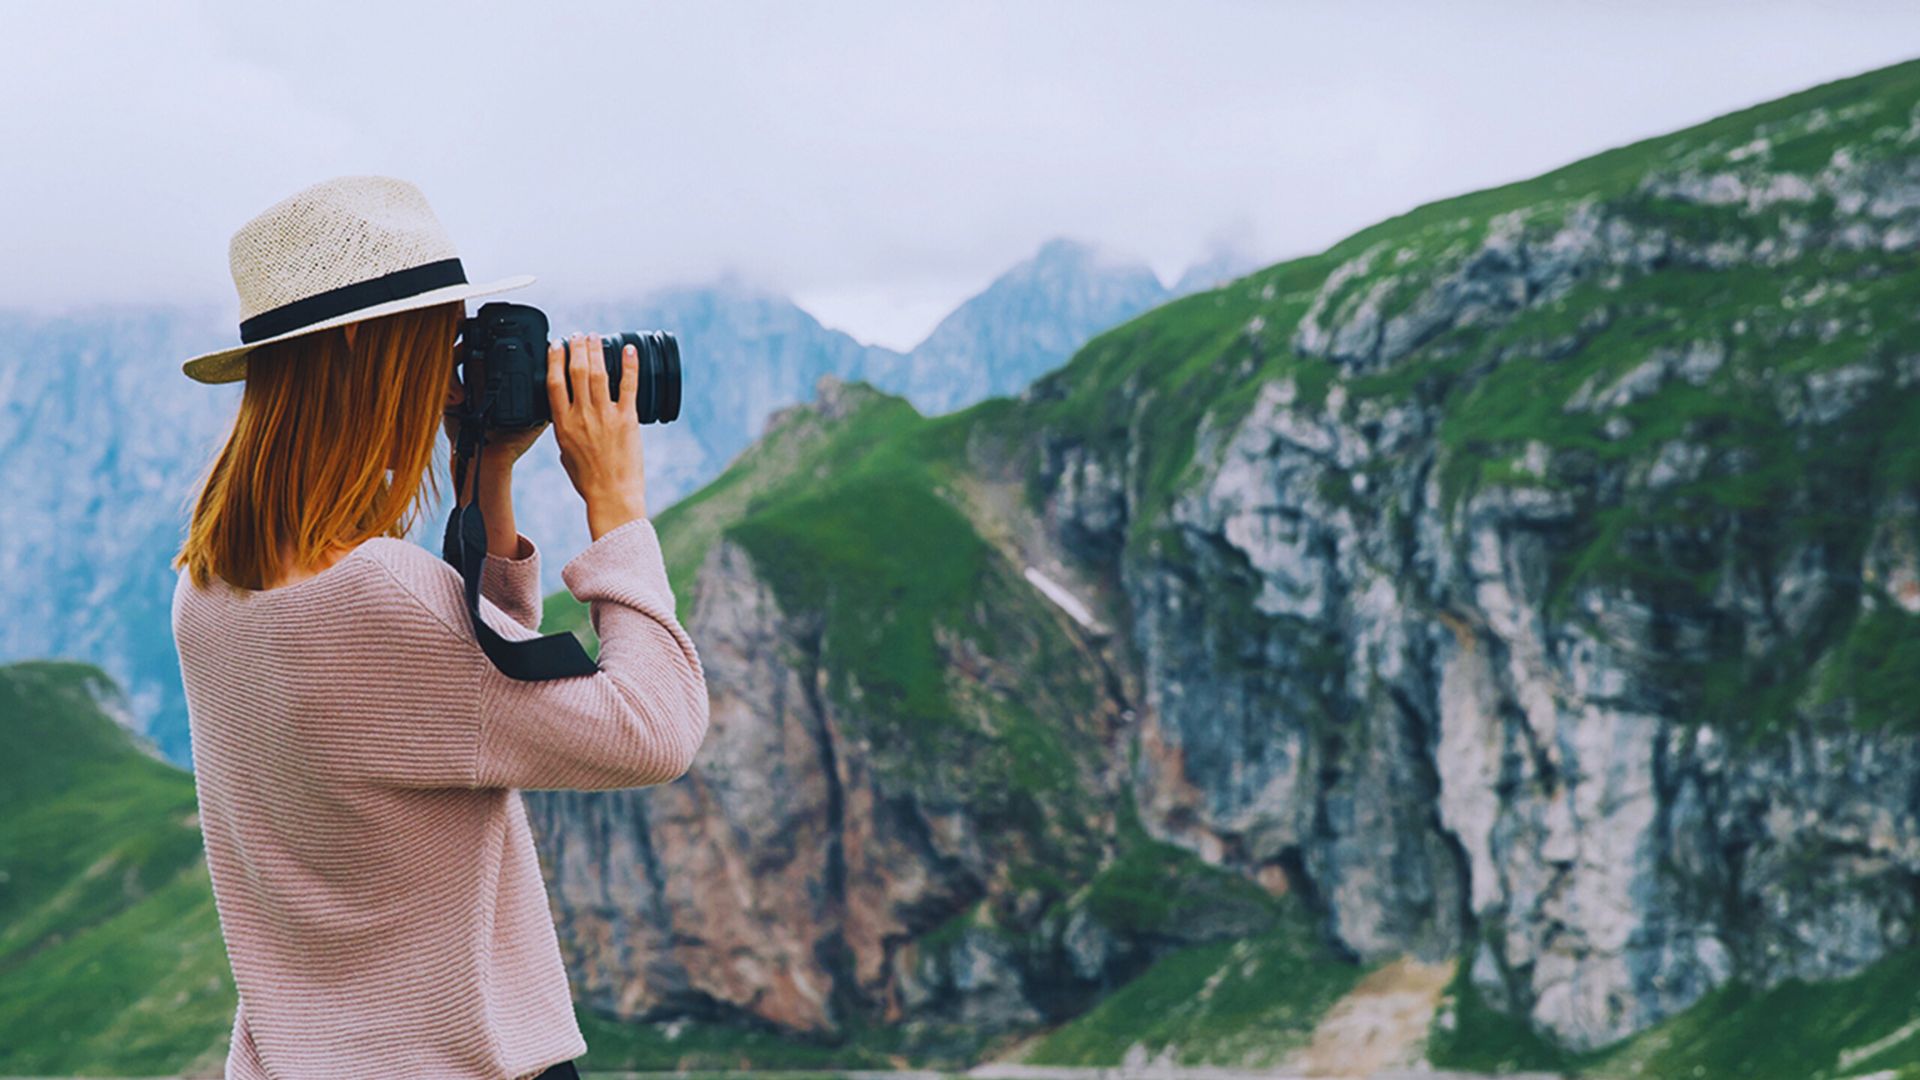
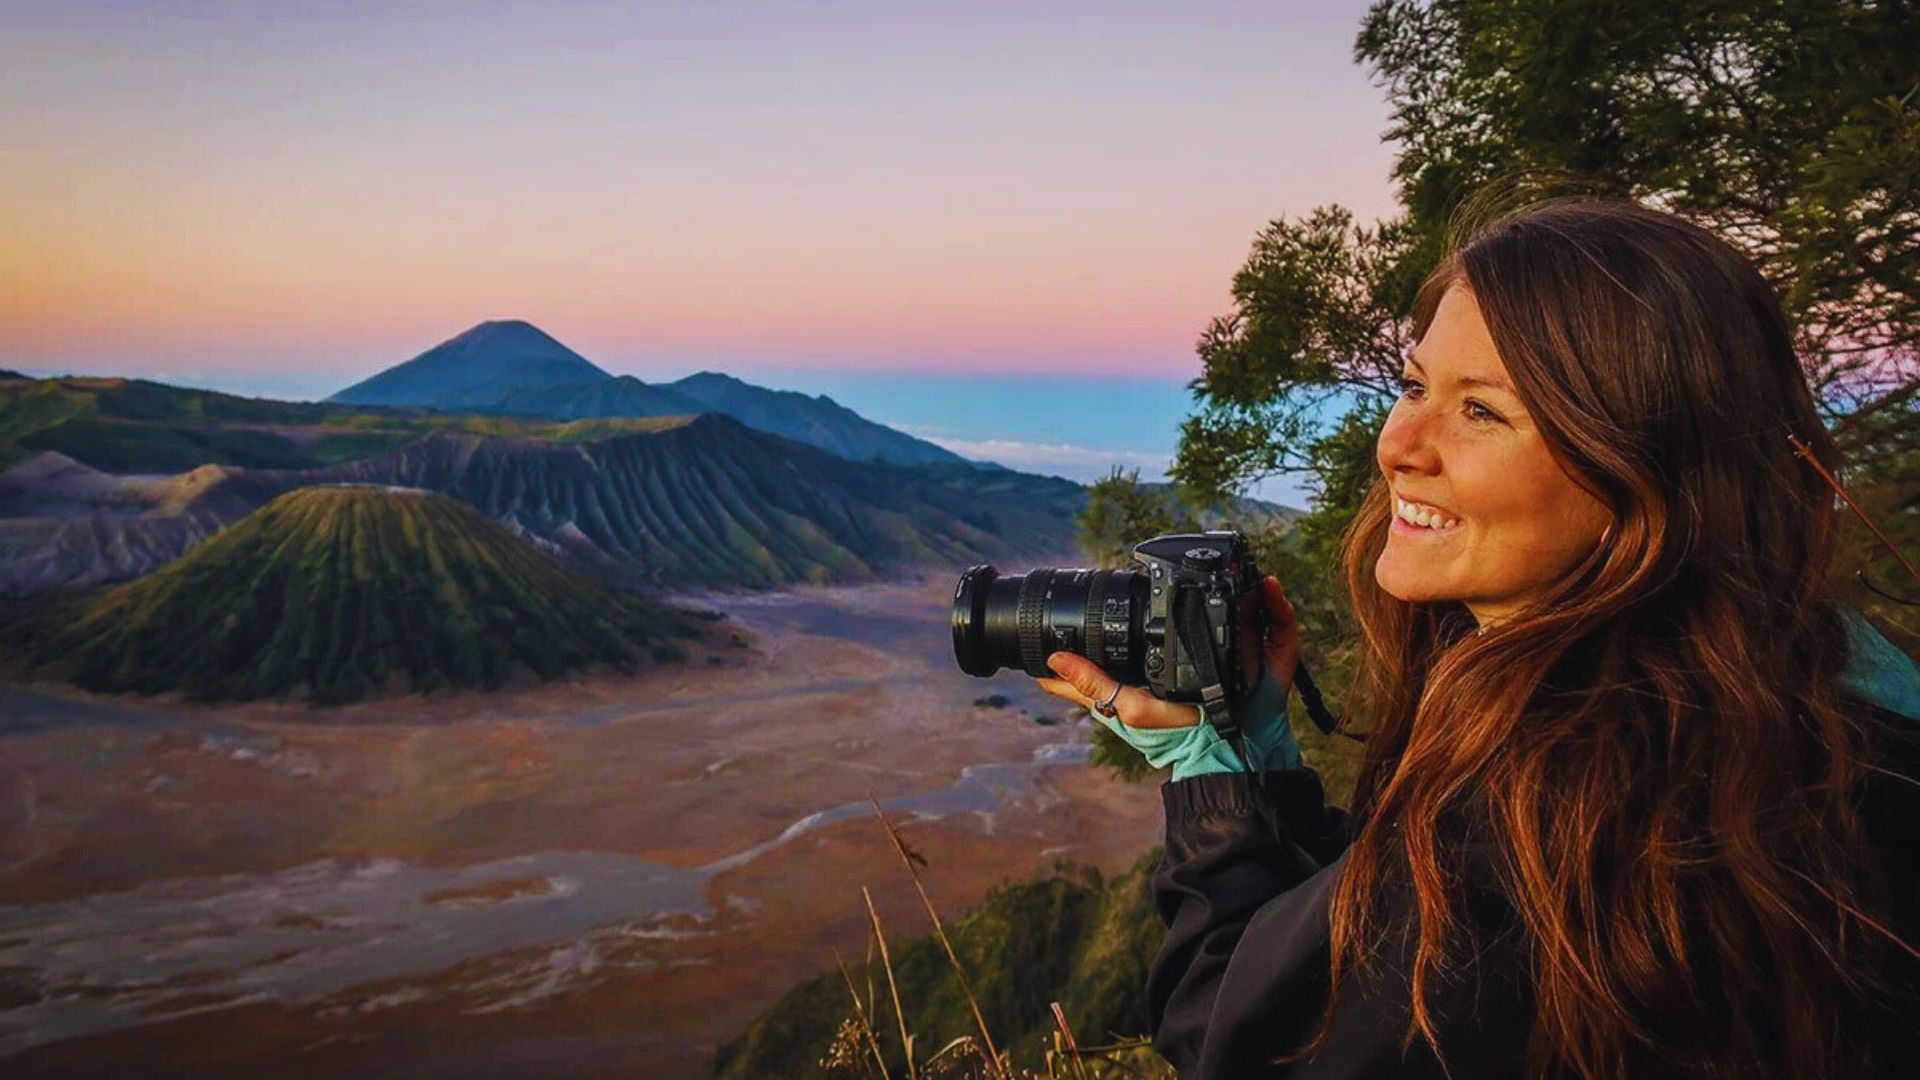
I spent years getting travel shots wrong before figuring out what actually works. A great photo doesn’t just show a place it makes someone feel like they were there.
In this guide, I’m sharing travel photography tips that made a real difference for me. You’ll learn how to plan your shots, use light well, and compose photos that tell a true story.
I’ve tested all of this on real trips, so you can trust this is practical advice, not just theory. By the end, you’ll know exactly how to take better travel photos every time you pick up a camera.
Understanding the Fundamentals of Travel Photography
Before you take a single shot, you need to understand your camera. ISO, aperture, and shutter speed work together to control how your photo looks. ISO affects brightness, aperture controls depth, and shutter speed freezes or blurs motion.
Start with ISO 100 in daylight, f/2.8 for soft backgrounds, and a fast shutter to stop movement. Learning to adjust all three manually puts you in full control.
Preparation makes a bigger difference than most people expect. Research your location before you arrive. Look at what others have shot there. Find the best angles and figure out which spots get crowded. Thirty minutes of planning on your phone saves hours of frustration on the ground.
Timing and subject awareness complete the shot. Early morning gives soft light and fewer people. Late afternoon feels warm and golden. Midday is harsh and flat.
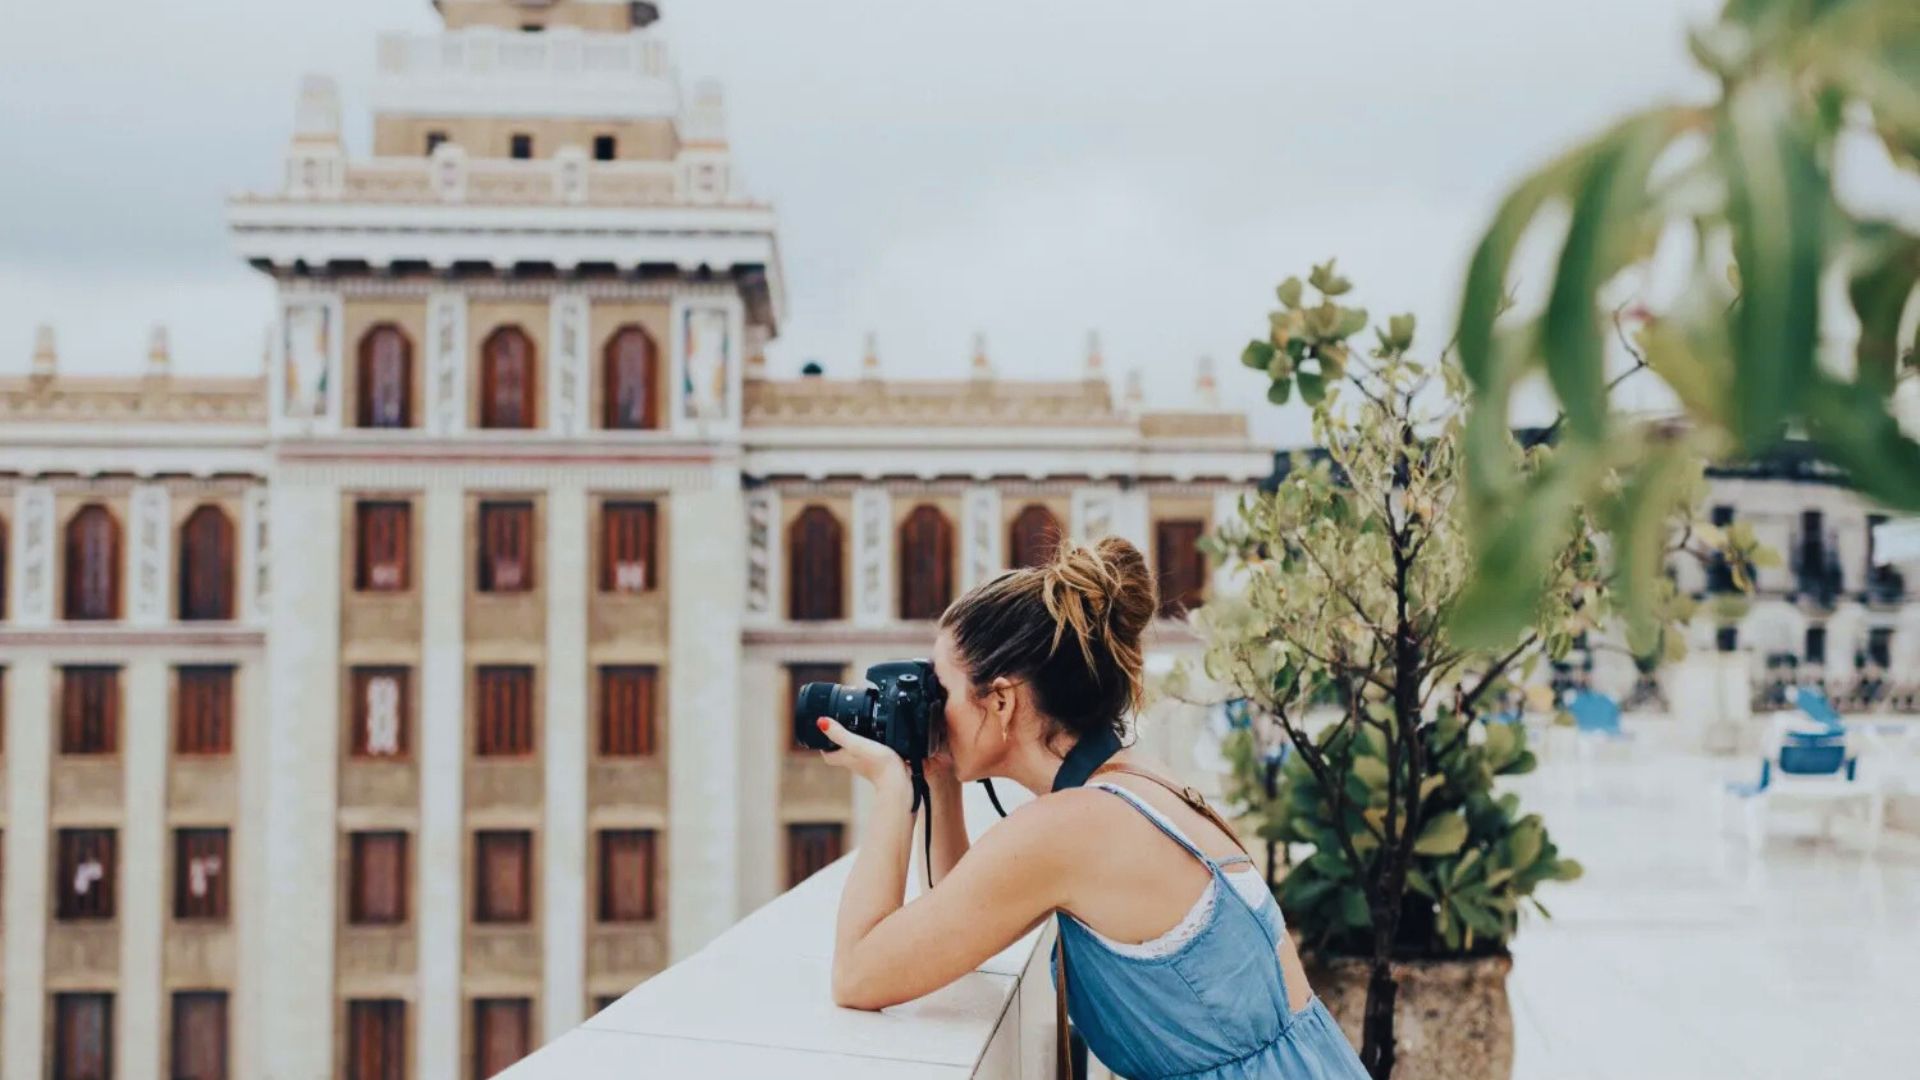
Once you’re on location, ask yourself one question before every shot: what is this photo actually about? Pick one clear subject and let everything else support it.
Step-by-Step Travel Photography Tips for Better Results
Follow these steps in order and you will see a real improvement in how your photos look and feel.
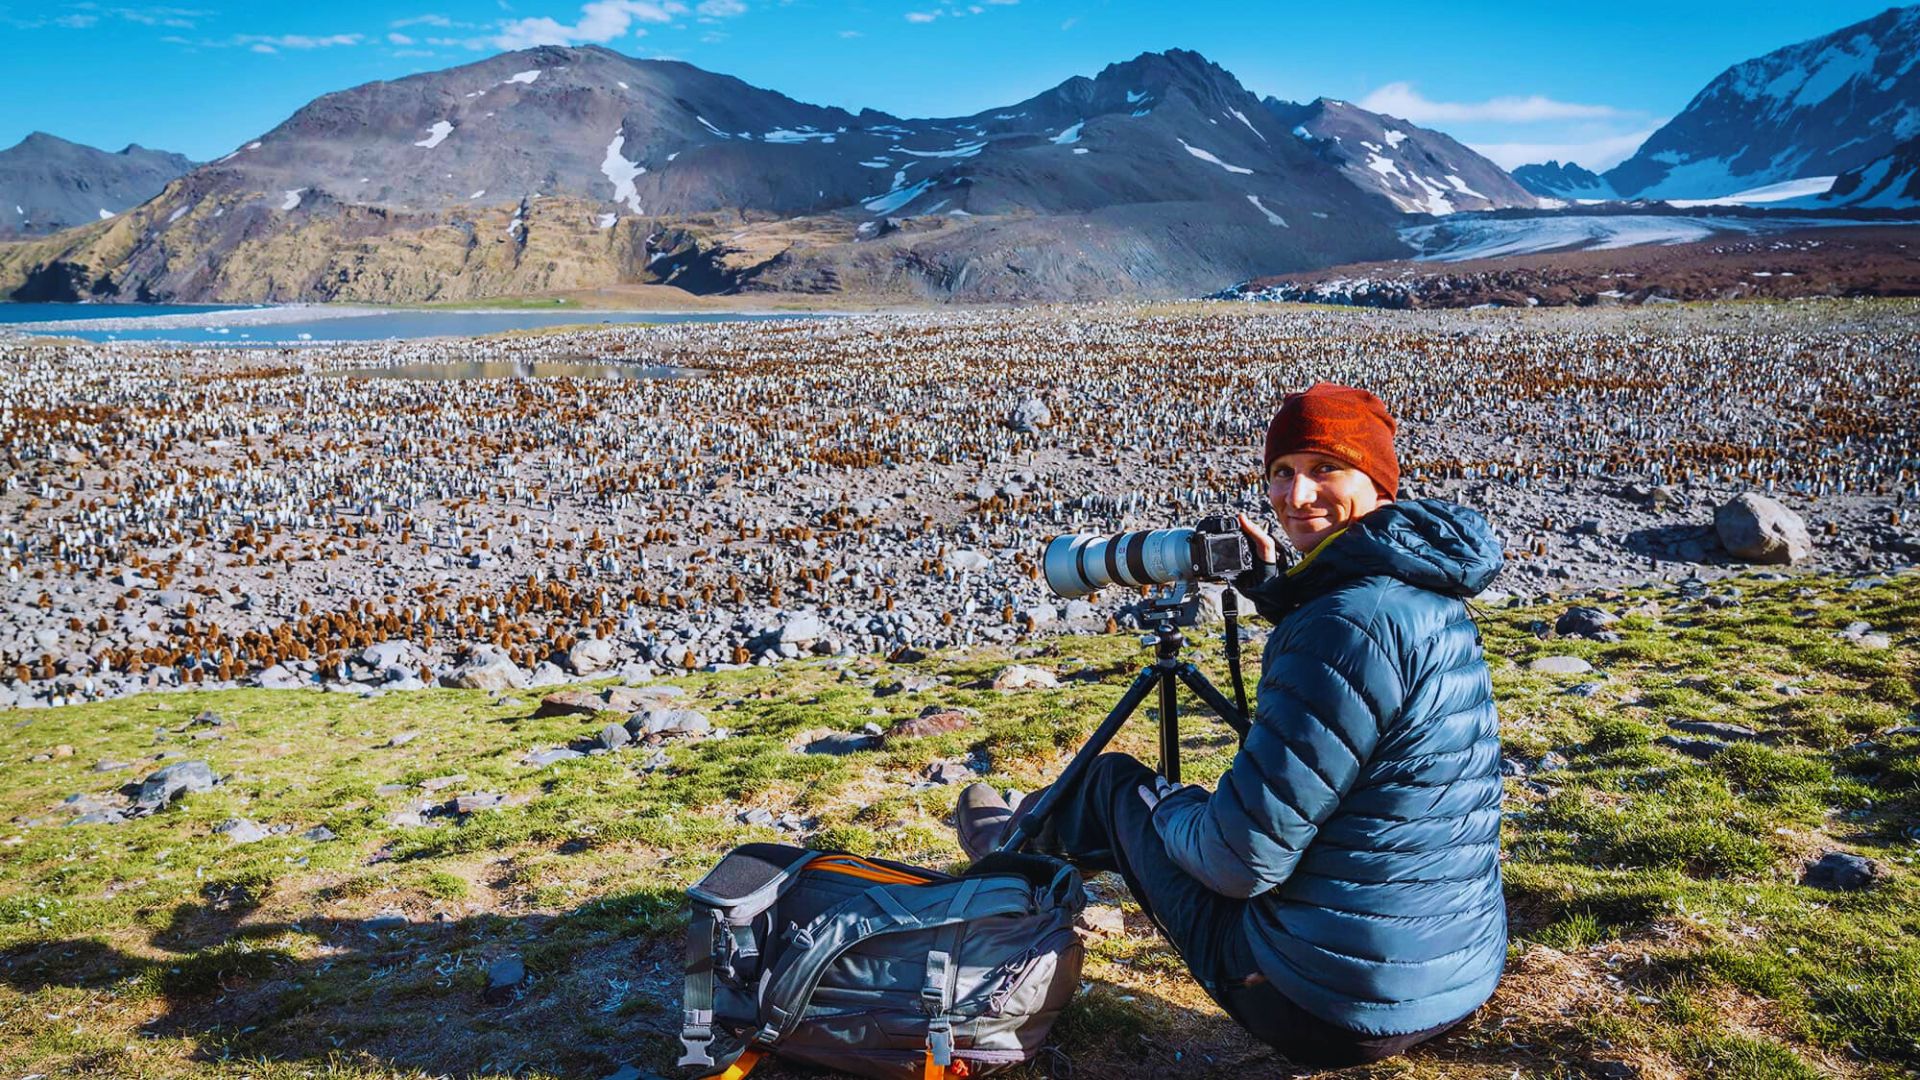
Step 1 – Plan and Research Before Your Trip
Check Google Maps for angles and access points. Make a short list. Note sunrise and sunset times for each location. Apps like PhotoPills or The Photographer’s Ephemeris show exactly where the sun will be and when. Thirty minutes of planning saves hours of guessing.
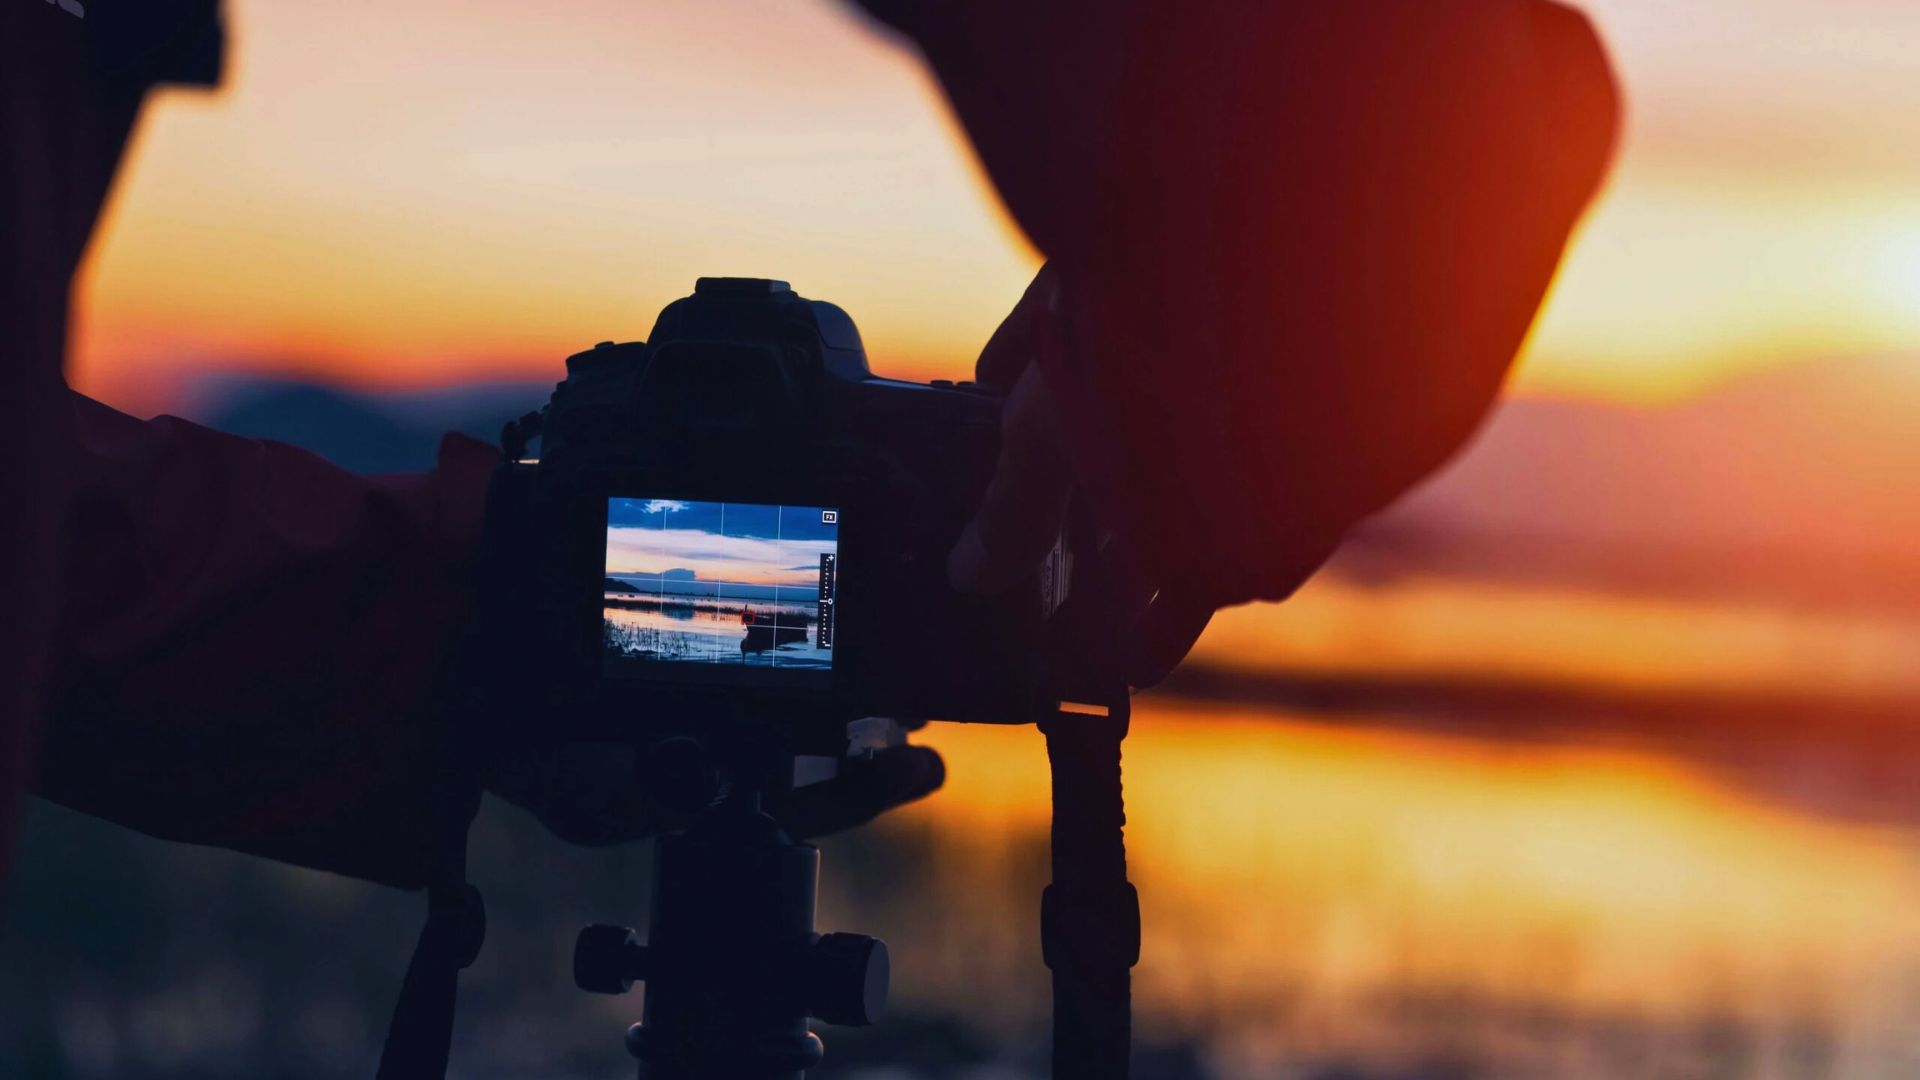
Step 2 – Understand and Use Light Effectively
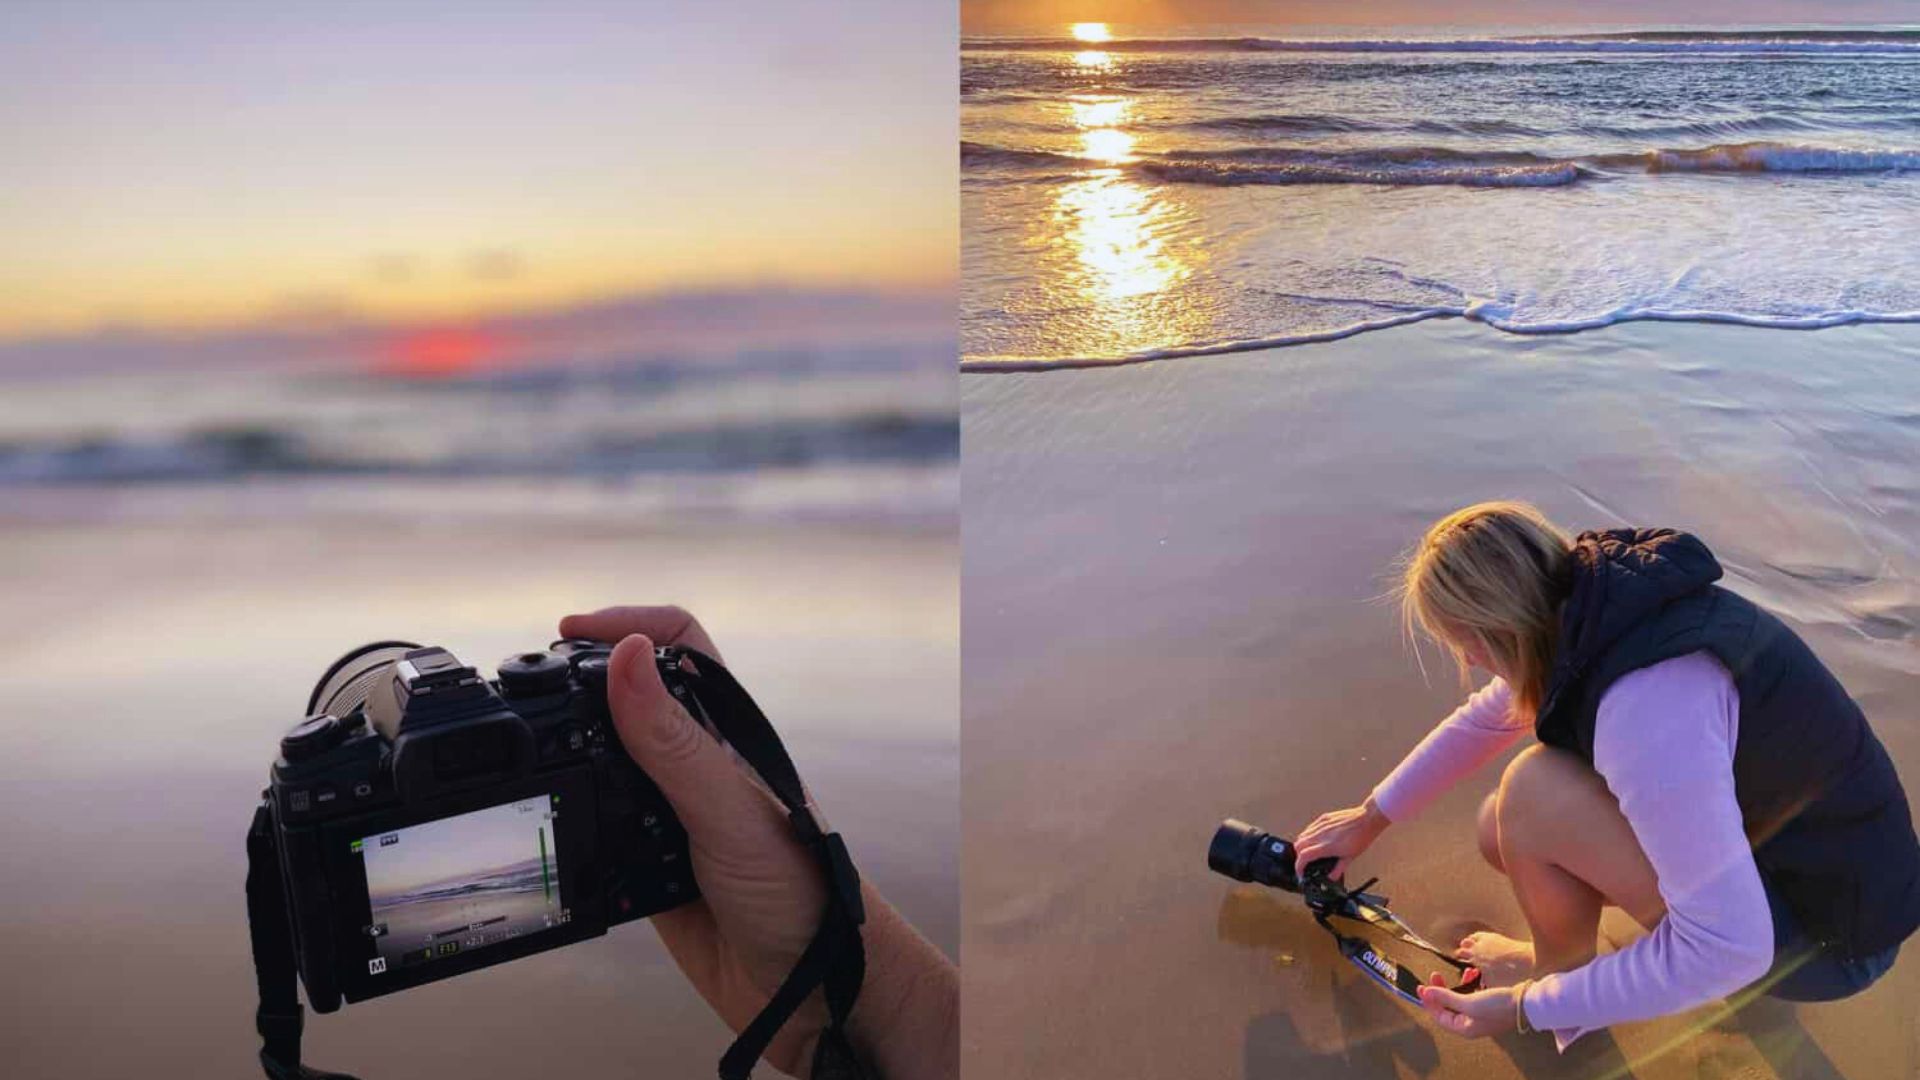
The front light is flat but easy to work with. Side light adds texture. Backlight creates mood and silhouettes. Shoot during golden hour just after sunrise and before sunset. In harsh midday sun, move into shade or use contrast to your advantage.
Step 3 – Compose with Purpose
Pick your main subject first. Place it off-center using the rule of thirds. Add something in the foreground to create depth. Keep your horizon level unless you’re tilting on purpose. A clean, simple frame almost always makes a stronger photo.
Step 4 – Improve Perspective and Angles
Don’t shoot from eye level every time. Get low. Move closer. Climb higher. Changing your position removes distractions and adds drama. Look for roads, fences, or paths that lead the eye toward your subject. Use doorways, arches, or branches to frame what’s behind them.
Step 5 – Add Creativity and Storytelling
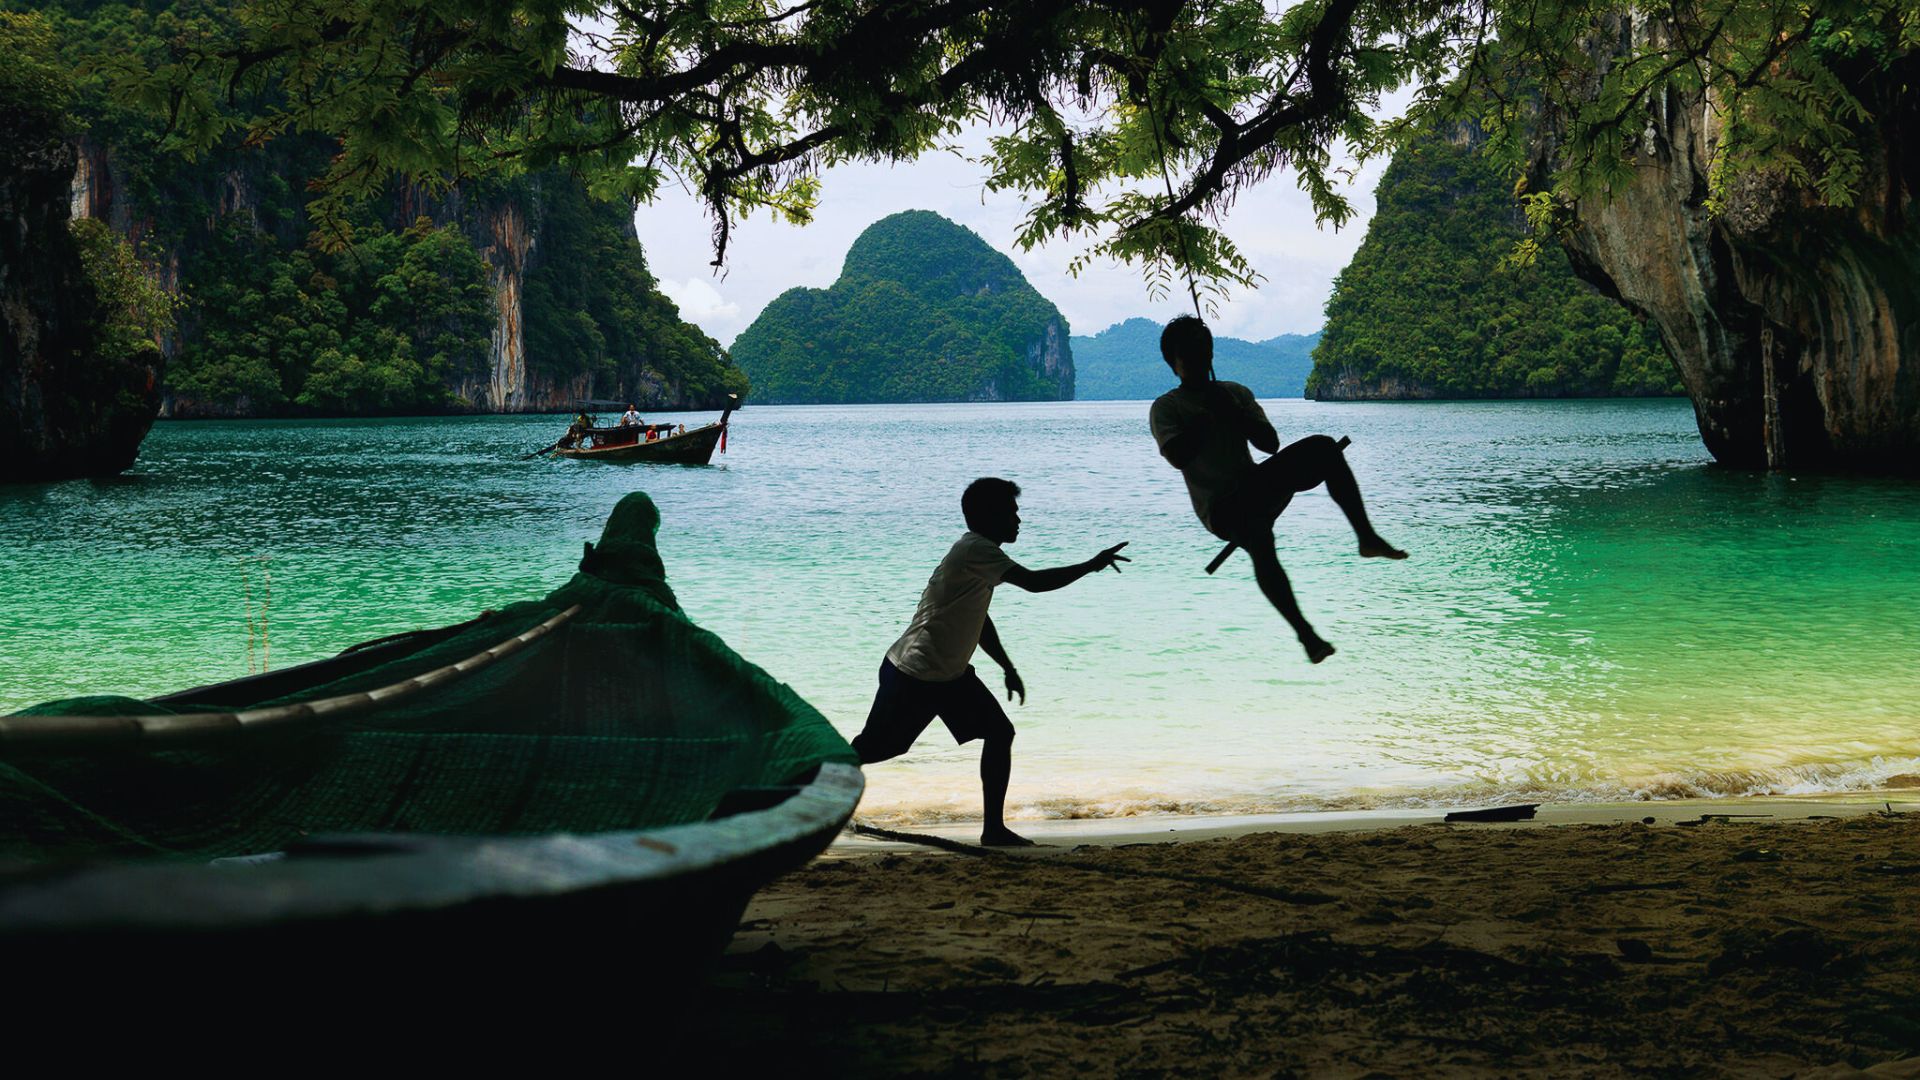
Include a person in the frame to show scale. A small figure in a big scene tells a story. Look for reflections in puddles or windows. Try removing clutter from the scene. Or use a wide angle to make your subject feel bigger than it is.
Mastering Light, Color, and Composition

Light and color shape how a photo feels. Knowing how to use both will improve your shots more than any gear upgrade.
How to Shoot in Any Light
Harsh sunlight doesn’t have to ruin a shot. Move your subject into open shade or face them toward the light so it falls evenly. You can also shoot into the sun and create a flare or silhouette. Harsh light works when you work with it, not against it.
Overcast skies are just as useful. They act like a giant softbox. Colors look rich, shadows disappear, and wet streets add mood and reflections. Don’t pack up when it rains. This is often the most interesting light of the day.
Color and Depth Done Right
Look for colors that sit opposite each other. Blue and orange, red and green, yellow and purple. Place your subject against a contrasting background and it will stand out naturally. This works especially well in street photography and outdoor portraits.
Depth matters just as much. A flat photo has no layers.
A strong photo has three: something close to the lens, something in the middle, and something in the distance. Flowers, rocks, or water in the foreground pull the viewer into the scene.
Travel Photography Tips and Tricks Professionals Use
These small habits separate average travel photos from the ones people stop and study.
Frame It and Move It
Look for natural or man-made frames around your subject. A doorway, window, arch, or overhanging branches all work well. This adds depth and draws attention to what matters most.
For motion, use a slower shutter speed to blur moving subjects like water, crowds, or traffic. You can also pan with a moving subject to keep it sharp while blurring the background.
Try Long Exposure
Use a tripod and a slow shutter speed. Waterfalls go silky. City lights turn into streaks. Set your ISO low and use a remote shutter to avoid camera shake. This works best at twilight or after dark.
Break the Rules on Purpose
Rules like the rule of thirds are starting points, not laws. Sometimes centering your subject creates a more powerful photo. A very high or very low horizon can work too. Once you know the rules well, you can break them with confidence.
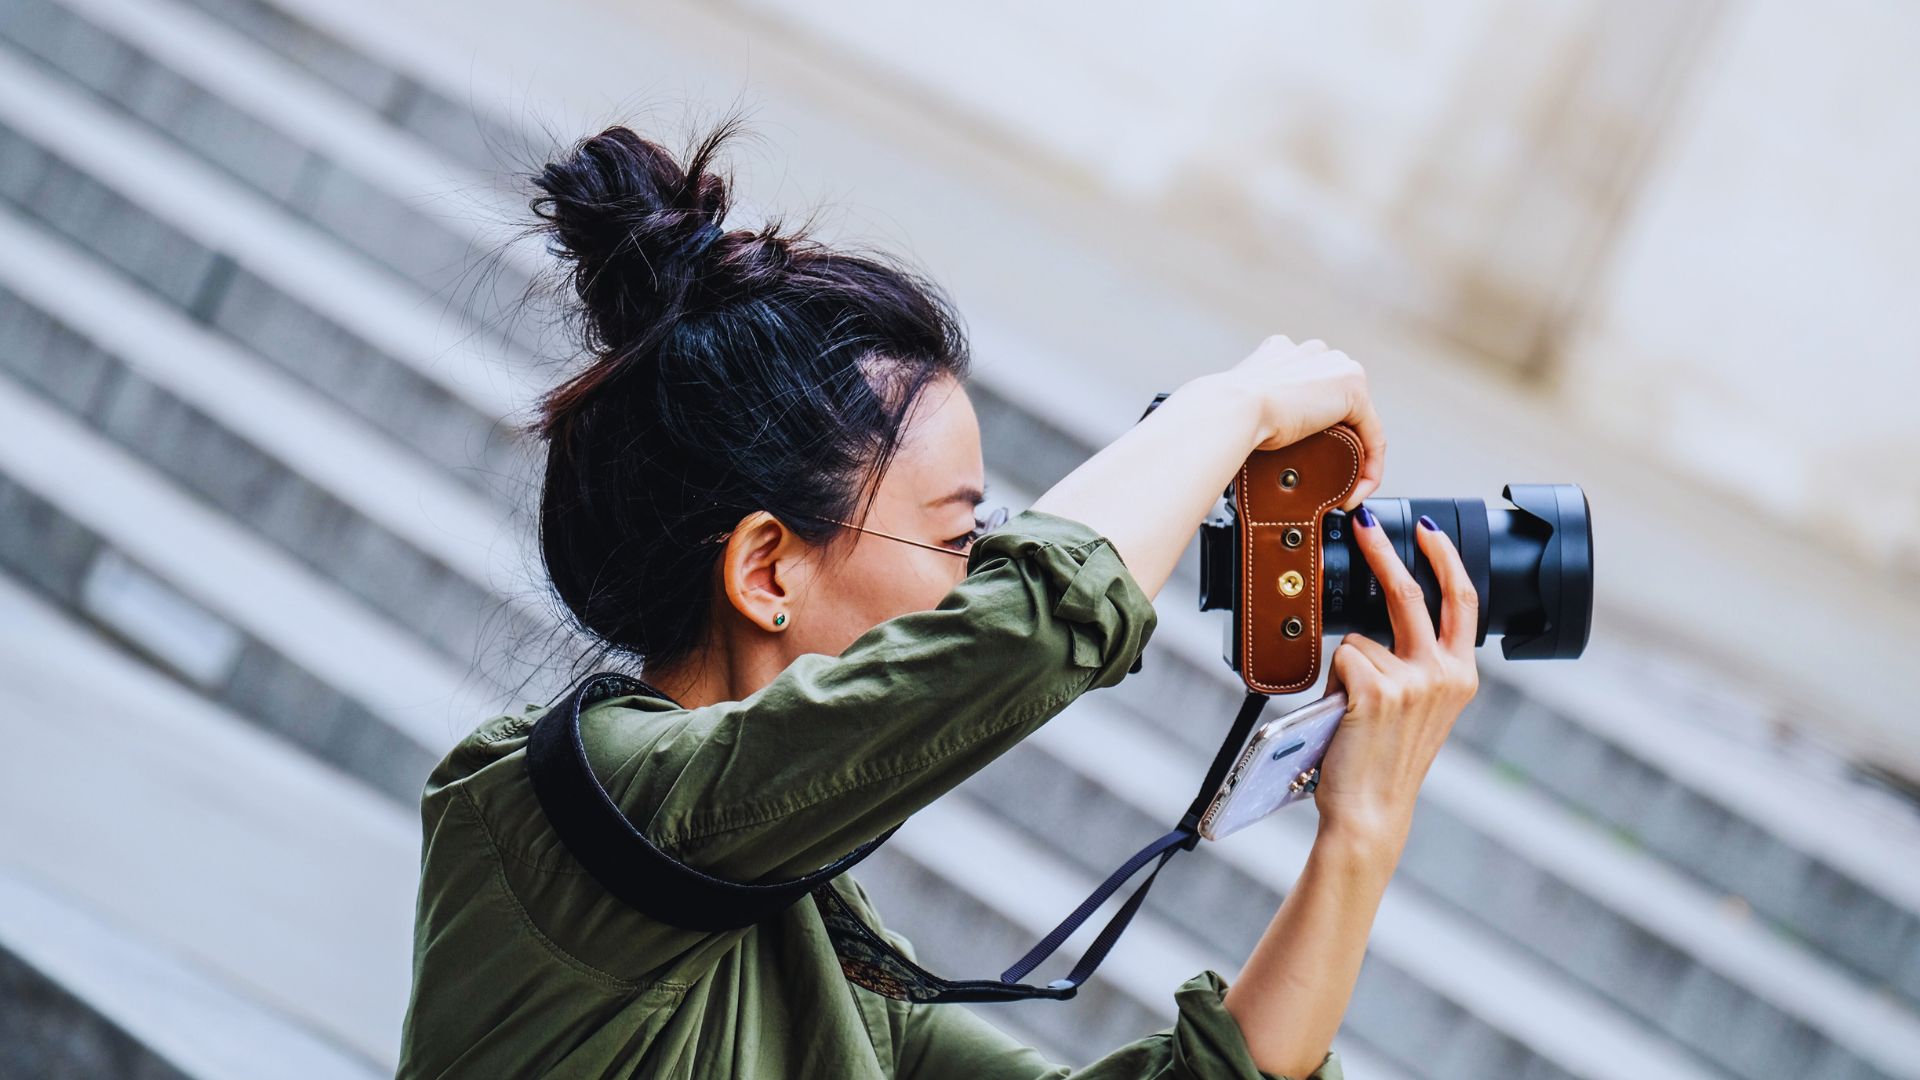
iPhone Travel Photography Tips for Better Mobile Shots
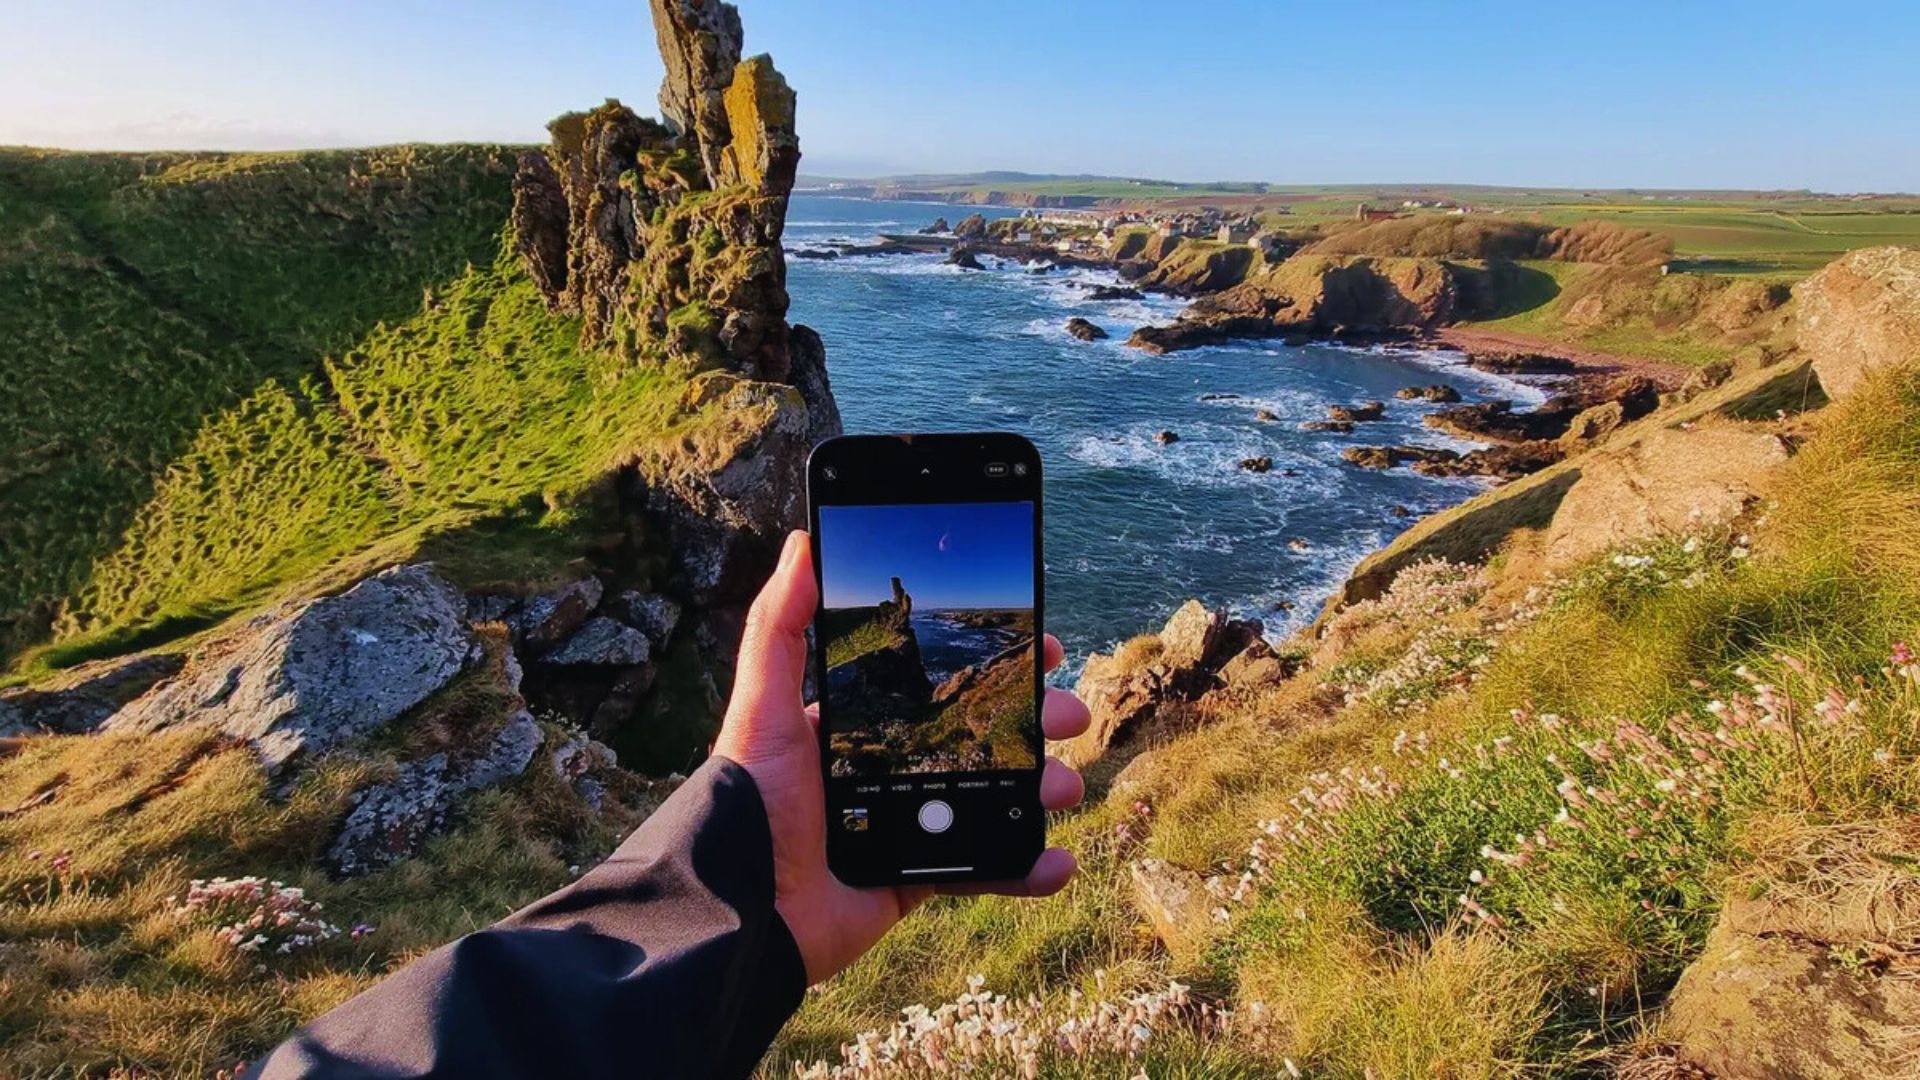
Your phone camera is more capable than most people think. These tips help you get real results from it.
Set Up Your Phone the Right Way
Turn on the grid in your iPhone camera settings. It overlays a rule-of-thirds guide on your screen and helps you line up your subject and horizon. Tap and hold your subject to lock focus, then slide the sun icon to adjust brightness.
This stops the camera from changing exposure mid-shot. For more control, shoot in HDR for high-contrast scenes or ProRAW when you want full editing flexibility later.
Edit Well and Pack Smart
Pick one editing app and learn it well. Lightroom Mobile gives the most control. Snapseed is free and fast. VSCO works great for a film look. Jumping between several apps slows you down. For accessories, keep it simple.
A clip-on lens adds variety, a compact tripod helps in low light, and a phone grip reduces shake. Small additions that make a real difference without adding much weight.
Practical Travel Photography Tips for Consistent Results
The habits you build around shooting matter just as much as the shots themselves.
- Back up your photos every night using a cloud service or portable drive. Cards get lost and phones get stolen.
- Use a rain cover for your camera bag and keep silica gel packets inside to absorb moisture.
- Let your gear warm up slowly in cold weather before bringing it indoors.
- One camera body, two lenses, and your phone will cover most situations. Travel light.
- A lighter bag means you walk farther and stay out longer.
- Go through your photos at the end of each day and note what worked and what did not.
- Ask yourself why a shot is strong or weak. Every day of shooting is a lesson if you take time to look.
Conclusion
These travel photography tips only work if you go out and use them. I know the feeling of standing in front of a great view and walking away unhappy with every shot. But the more I practiced, the more natural it became.
Start with one or two tips from this guide and build from there. You don’t need perfect gear or perfect conditions just keep showing up with your camera.
Focus on emotion, not just technical perfection, and stay patient with yourself along the way. If this helped you, leave a comment below and share what you’re working on.
Frequently Asked Questions
What are the most important travel photography tips for beginners?
Start with understanding light and basic composition. Learning to shoot during golden hour and using the rule of thirds will improve your photos faster than spending money on new gear.
How do I take better travel photos with my phone?
Lock your focus, use the grid for alignment, and shoot in RAW if your phone supports it. Editing in Lightroom Mobile also goes a long way in improving your mobile shots.
What time of day is best for travel photography?
The hour after sunrise and the hour before sunset give you the warmest, most flattering light. These windows are short, so have your location and settings ready before you get there.
How do I avoid blurry travel photos?
Use a fast shutter speed in bright conditions and keep your arms steady or brace against something solid. In low light, raise your ISO slightly and look for a surface to rest your camera on.
Do I need expensive gear for good travel photos?
No. Many strong travel photographers work with one camera body and one or two lenses. Skill matters far more than gear. Focus on learning to see a shot before worrying about what camera you’re using.