


Most hikers show up to Maunawili Falls without a clue about the closed trailhead. Then they get turned around, fined, or just give up.
I don’t want that to happen to you.
I’ve put together everything you actually need, the right access routes, current trail conditions, a step-by-step breakdown, and safety tips that matter.
This guide covers how to get there legally, what the trail really feels like, and how to stay safe near the falls.
No fluff. No guesswork. Just clear, honest information so you can plan a hike you’ll actually enjoy.
Let’s start from the top.
Trail Overview & Key Stats
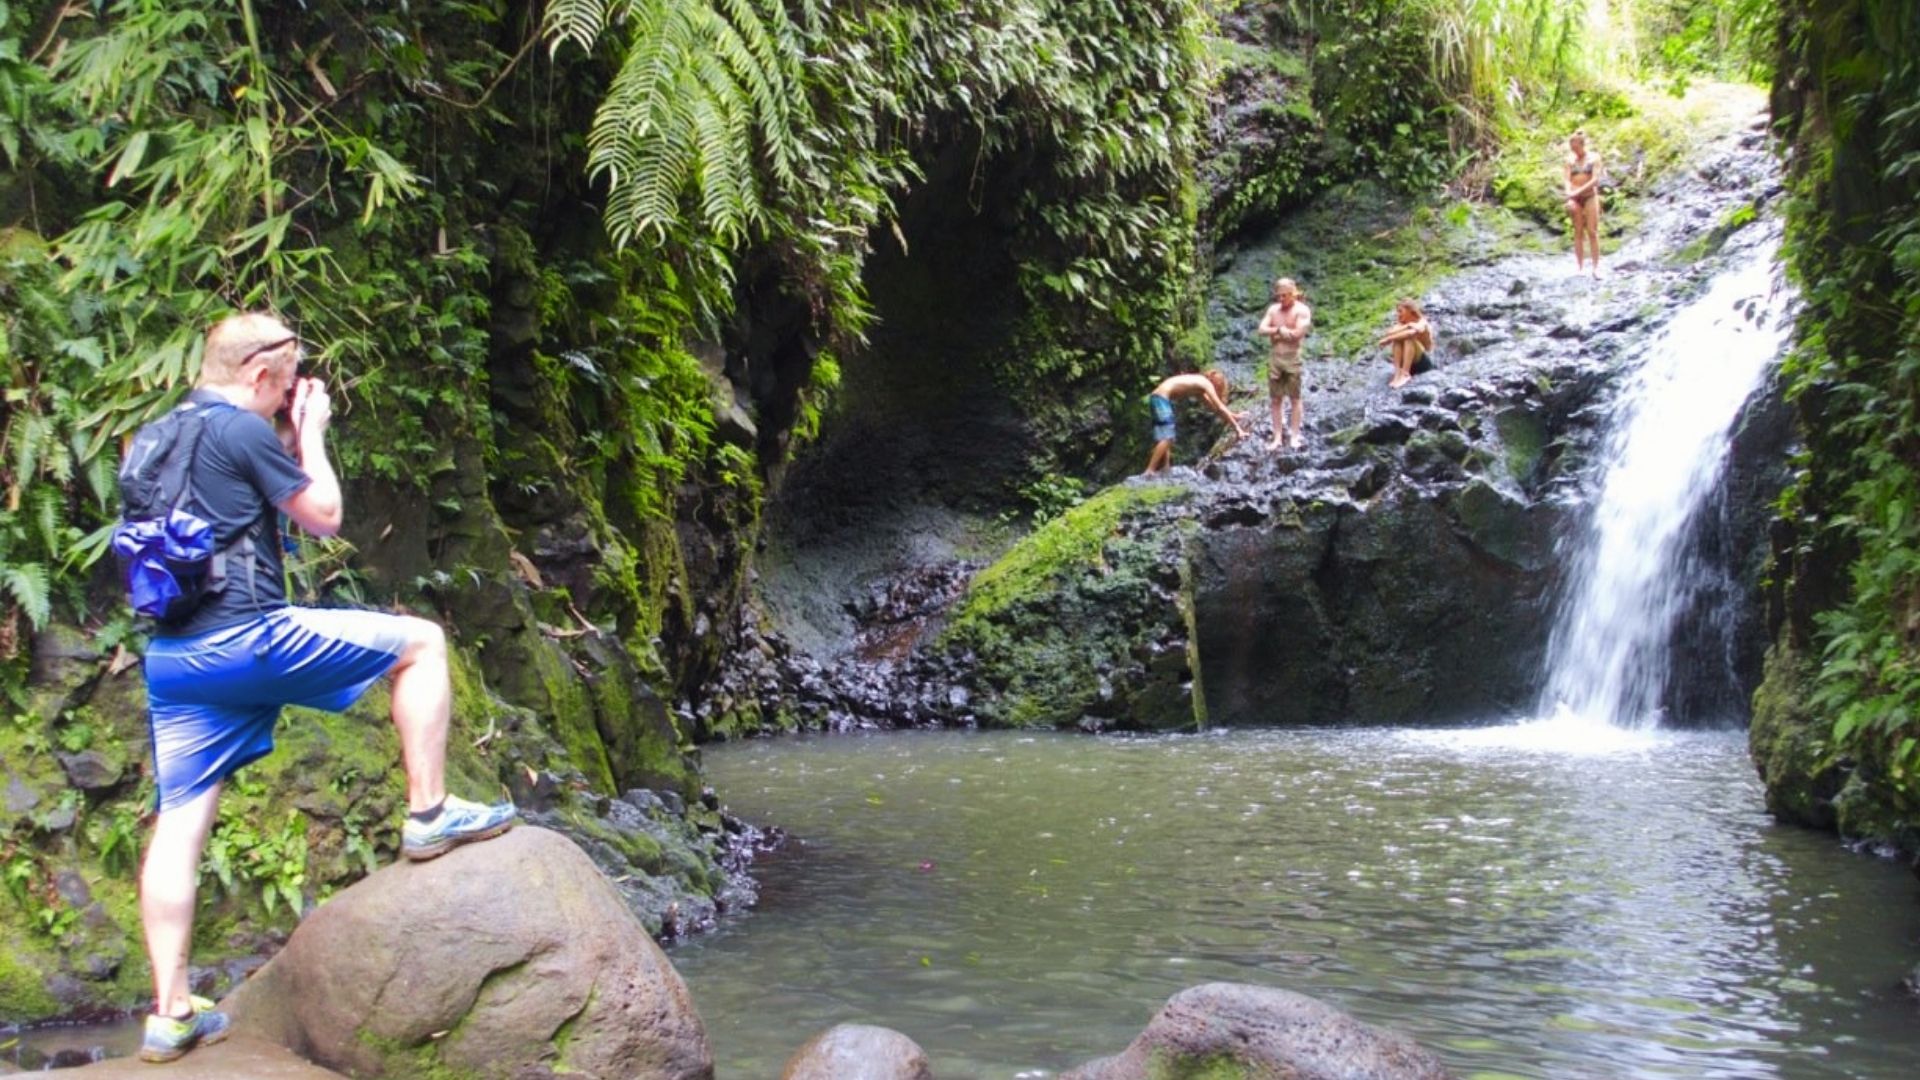
Maunawili Falls is one of O’ahu’s most talked-about hikes, and for good reason. The trail runs approximately 3 to 4.5 miles round trip, depending on which access route you take.
Most hikers finish in 2 to 4.5 hours. It’s rated beginner to intermediate, but don’t let that fool you.
There are steep drops, deep mud, and stream crossings throughout. This is an out-and-back rainforest hike with a waterfall pool at the end.
The elevation gain is moderate, but some sections get tough fast.
How to Get to Maunawili Falls (Directions & Access)
Getting to the trailhead is no longer as simple as plugging in an address, so here’s what you need to know before you go.
Current Trail Access Situation
The old Maunawili Road trailhead is no longer open to hikers. It was shut down due to concerns from nearby residents and environmental pressure.
If you try to enter from the original trailhead, you risk getting a fine. It’s not worth it. The trail is still accessible, you just need to use the right entry point.
Always check for updates before your visit since access rules can change.
Recommended Access Routes
There are two solid legal options right now. The first is the Maunawili Demonstration Trail, which starts at the hairpin turn on the Pali Highway.
The second option runs through Old Pali Road and Kīnaʻole Road. Both routes are longer than the original path.
But they are legal, well-used, and safer. I’d recommend checking recent trail reports before picking your route, especially after heavy rain.
Parking Information
Parking near the trailhead is limited. Roadside spots near Kīnaʻole Road fill up fast on weekends.
There is paid parking available near a golf course and church in the area. Do not leave your car at the Pali Highway hairpin turn for long, enforcement is strict there and towing happens.
Plan to arrive early, especially on weekends and holidays.
Trail Conditions & What to Expect

Before you lace up your boots, know what this trail actually feels like from the first step to the last.
Terrain and Environment
The trail runs through dense tropical rainforest. It’s green, thick, and full of roots. Mud is almost guaranteed no matter the season.
The ground is uneven throughout. You’ll cross several streams along the way, some more than once.
The exposed roots can twist an ankle if you’re not paying attention. Wear shoes with strong grip and ankle support. This isn’t a sandals kind of hike. I learned that the hard way.
Weather and Seasonal Conditions
The windward side of O’ahu gets a lot of rain. A lot. Even if it looks clear when you leave, the trail is usually wet.
Flash flooding is a real risk during heavy downpours. Always check the weather before you go. If it’s been raining hard for days, consider waiting.
The trail doesn’t dry out quickly. Mud stays mud for a while out there. Morning starts are best since weather often shifts in the afternoon.
Difficulty Factors
This trail has some tricky spots. The descent toward the waterfall is steep and slippery. First-timers sometimes struggle with route-finding at trail junctions.
On the way back, the elevation gain will wear you out faster than expected. Give yourself buffer time. Don’t rush the return.
I’ve seen hikers push too hard on the way back and burn out. Pace yourself from the start and you’ll be fine.
Step-by-Step Trail Breakdown
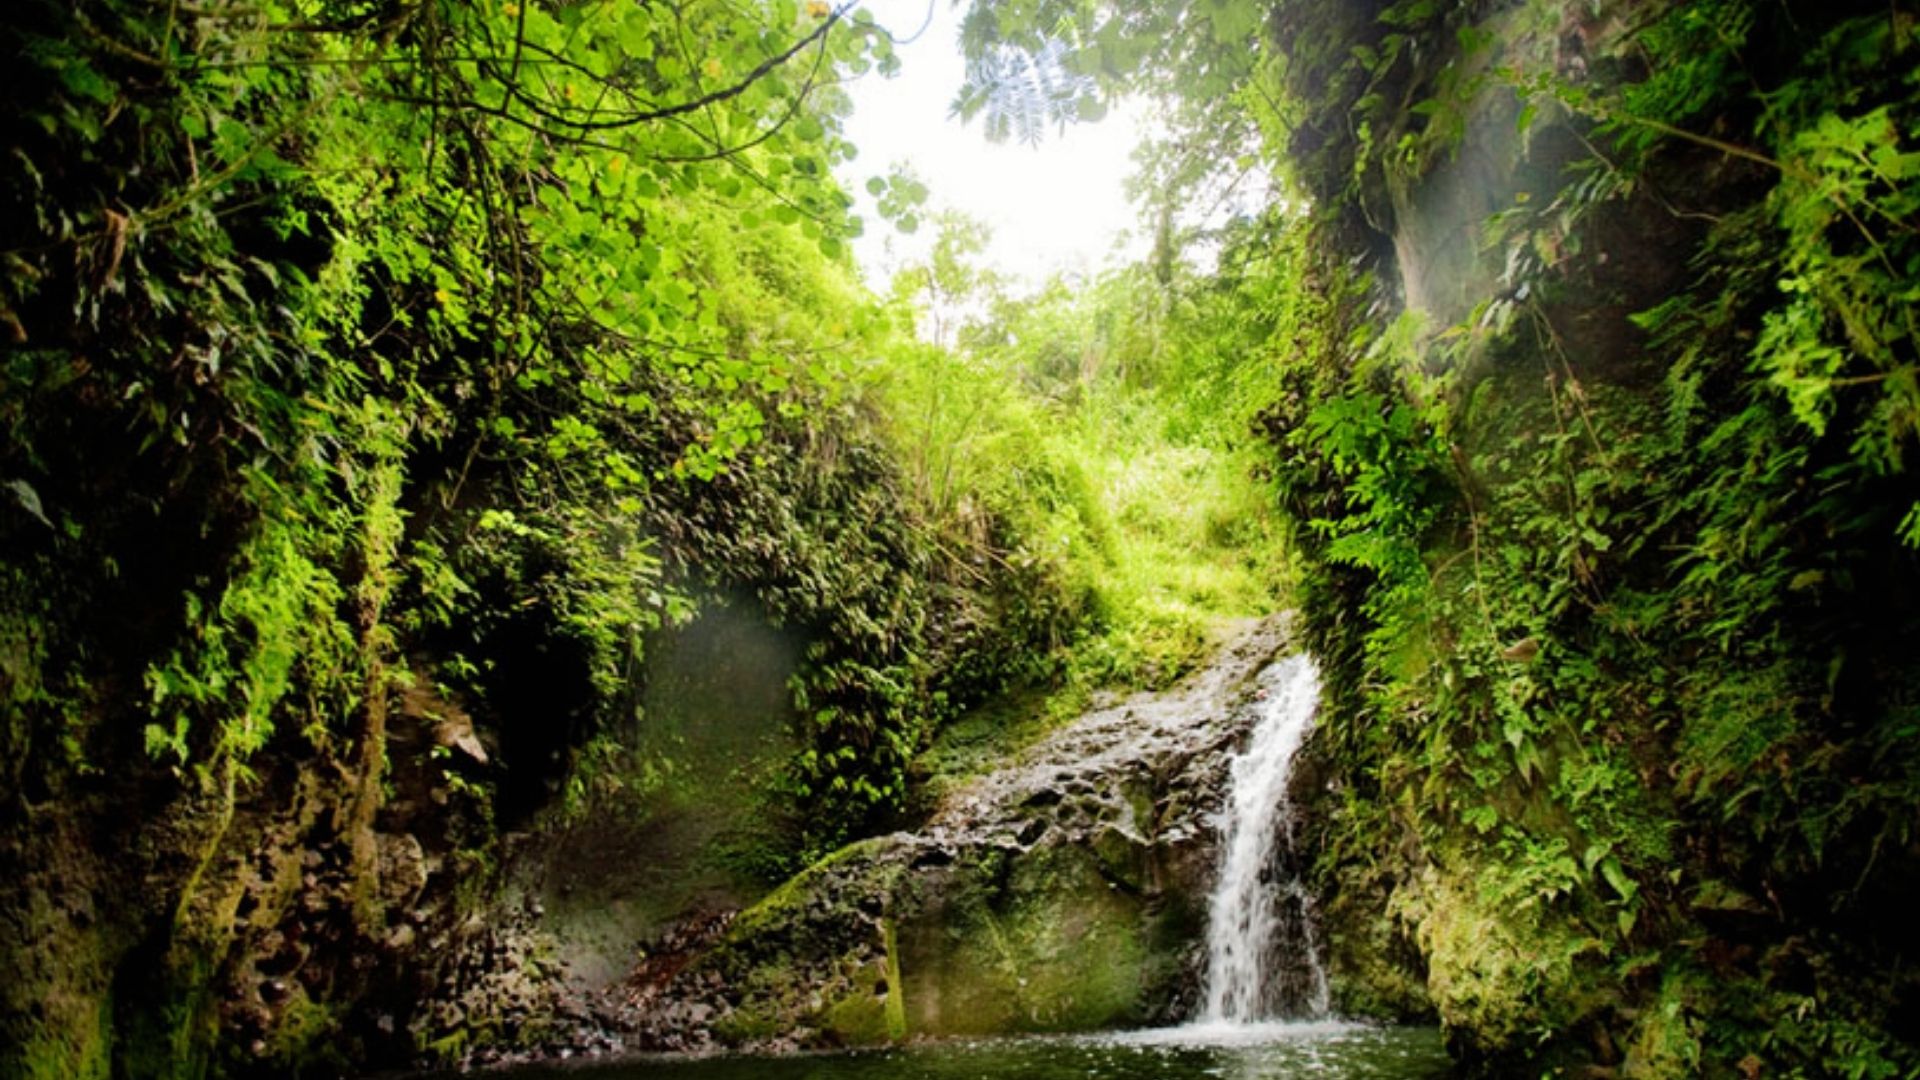
Here’s what the trail actually looks like from start to finish so you know what’s coming at every stage.
Initial Forest Walk
The trail opens into a dense jungle path right away. Look for white trail markers to stay on track. The early section is the most forgiving part of the hike.
Elevation changes are gentle here. Use this section to warm up and get your footing. The canopy covers most of the path, so it feels cool and shaded.
Enjoy this part. It gets more demanding as you go deeper into the forest toward the stream crossings.
Stream Crossings and Mud Sections
You’ll cross several small streams along the route. Some are easy to hop across. Others require careful stepping. The ground around each crossing gets slippery fast.
Mud sections appear throughout this part of the trail. In some spots, the mud is ankle-deep. Step near roots or rocks when you can.
Take your time here. Rushing leads to falls. Trekking poles help a lot in this section if you have them. Wet feet are almost guaranteed.
Ridge Section and Scenic Views
After the stream crossings, the trail shifts. You’ll hit open viewpoints with clear sightlines of the Ko’olau Mountains. It’s a good spot to rest and take in the view.
The path then moves into a steeper forested ridge. Footing gets trickier here. The ground is less muddy but more uneven. This section requires focus.
Watch your step on the way through. The reward is the descent ahead, which brings you closer to the waterfall.
Final Descent to Falls
The last section is the steepest. Some areas have ropes to help you get down safely. Use them. Don’t skip them to look tough.
Once you reach the bottom, you’ll hit the Maunawili Stream. Follow it a short distance upstream and the waterfall comes into view.
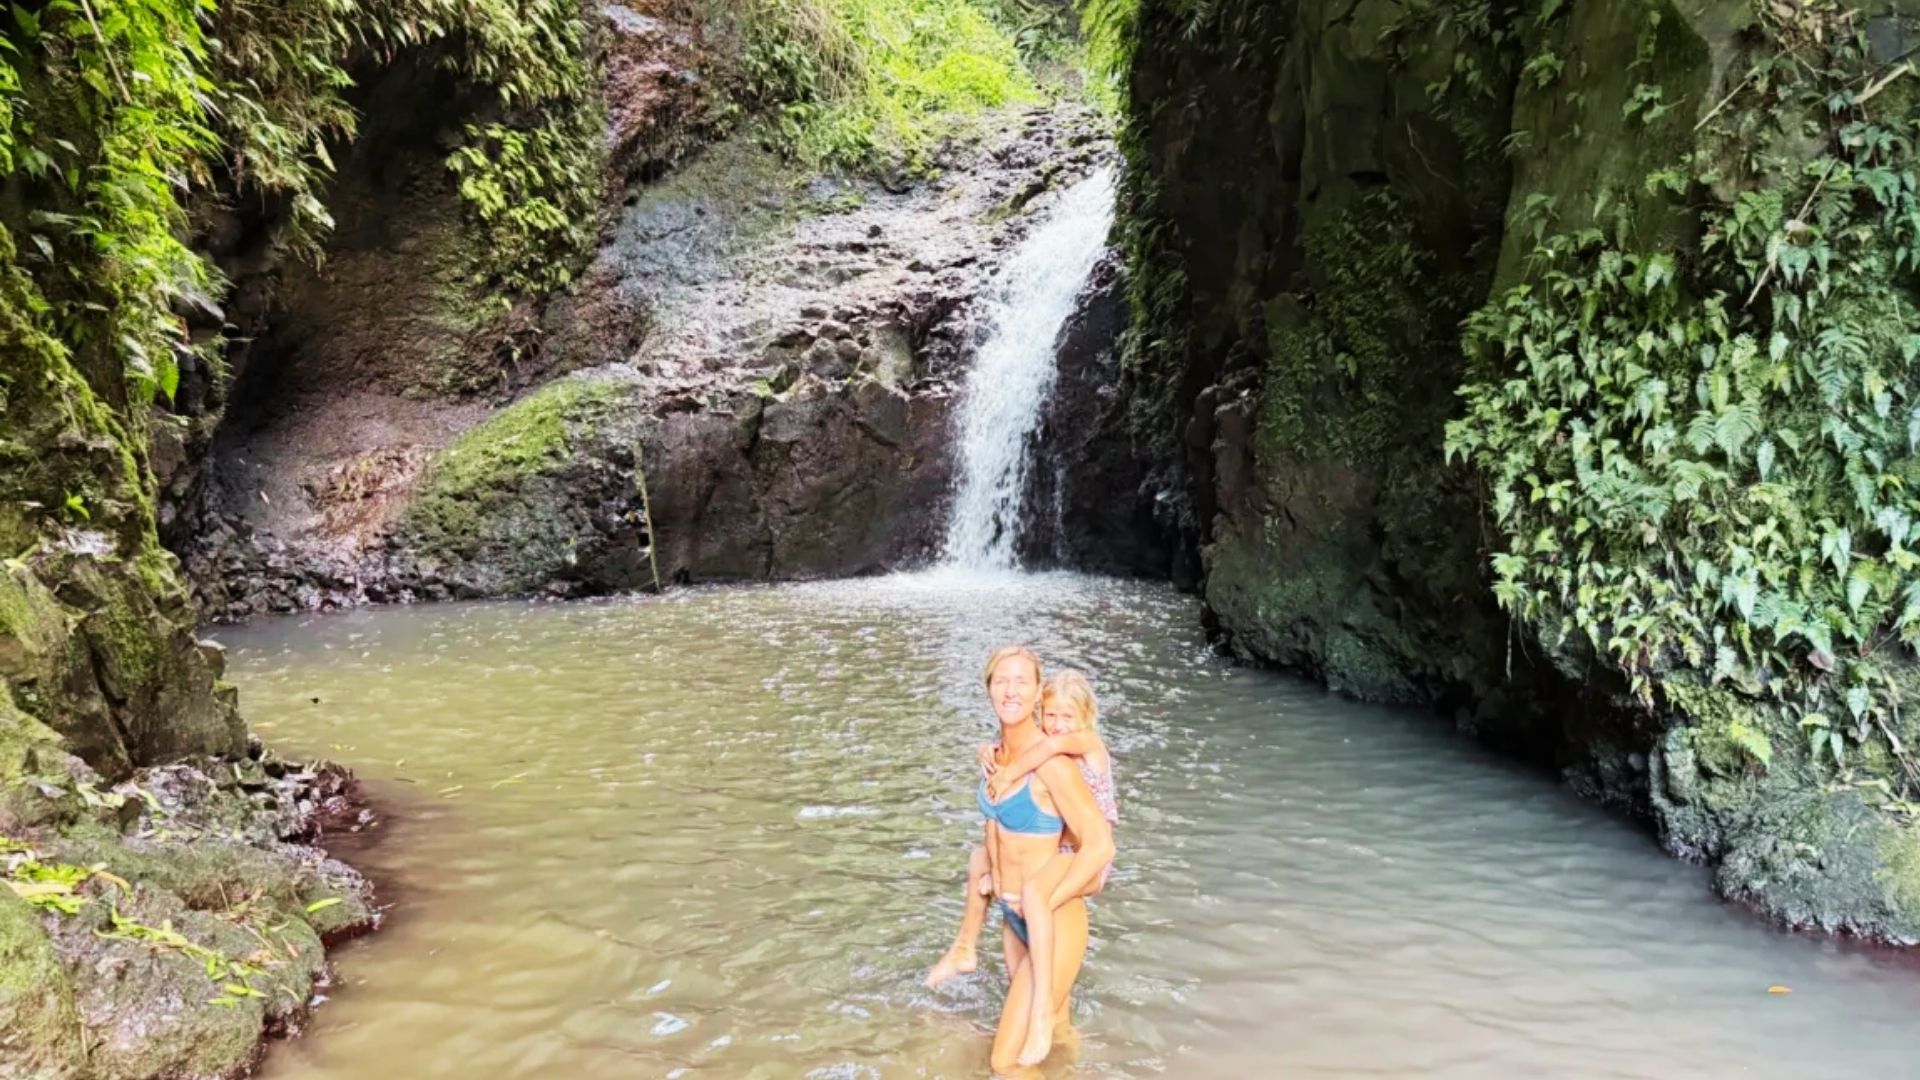
The pool at the base is popular for cooling off. Check the depth before you go in. The rocks around the falls are slippery. Take it slow near the water’s edge.
Safety Tips for Hikers
A little prep goes a long way on this trail, here’s what I always remind myself before heading out.
- Wear shoes with strong grip: mud and wet rocks are everywhere, and sandals or flat soles will let you down fast
- Do not drink or swallow stream water: it carries risk of leptospirosis, a serious bacterial infection you don’t want
- Check the weather before you leave: flash floods can move in quickly on this side of O’ahu, and the trail can become dangerous fast
- Download an offline map: cell service drops in dense sections, and you’ll want a backup to stay on route
- Pack a basic first aid kit: blisters, cuts, and twisted ankles happen more often than people expect on trails like this
Go prepared, go smart, and you’ll come back with a great story.
Conclusion
I’ll be honest, Maunawili Falls is not the easiest hike on O’ahu. It’s muddy, steep in places, and the access situation adds extra planning.
But standing at that waterfall makes it all worth it. If I had to do it again, I’d do it in a heartbeat.
Now it’s your turn. Use this guide, plan ahead, and go at a pace that feels right for you.
Have you hiked this trail before? Drop a comment below and share your experience. I’d love to hear how it went.
Frequently Asked Questions
Is Maunawili Falls hike suitable for beginners?
It’s rated beginner to intermediate, but muddy and steep sections make it more challenging than most easy trails.
Is the original Maunawili Road trailhead still open?
No, the original trailhead is closed, and entering from there can result in a fine.
How long does the Maunawili Falls hike take?
Most hikers finish in 2 to 4.5 hours depending on the route taken and the pace.
Is it safe to swim in the waterfall pool?
Swimming is possible, but always check the water depth first and avoid jumping from rocks due to slippery surfaces.
What should I wear for the Maunawili Falls hike?
Wear shoes with strong grip, quick-dry clothing, and bring a light rain jacket since weather on this side of O’ahu changes fast.
