

Looking for an epic backpacking trip that won’t eat up months of vacation time?
The High Sierra Trail offers the perfect solution for busy hikers who want a taste of thru-hiking without the massive time commitment.
This complete guide covers everything you need to know about planning and hiking California’s most famous 72-mile trail.
As someone who has hiked this trail and helped hundreds of others plan their trips, I’ll share the insider knowledge that makes the difference between a good hike and an amazing one.
What is the High Sierra Trail?
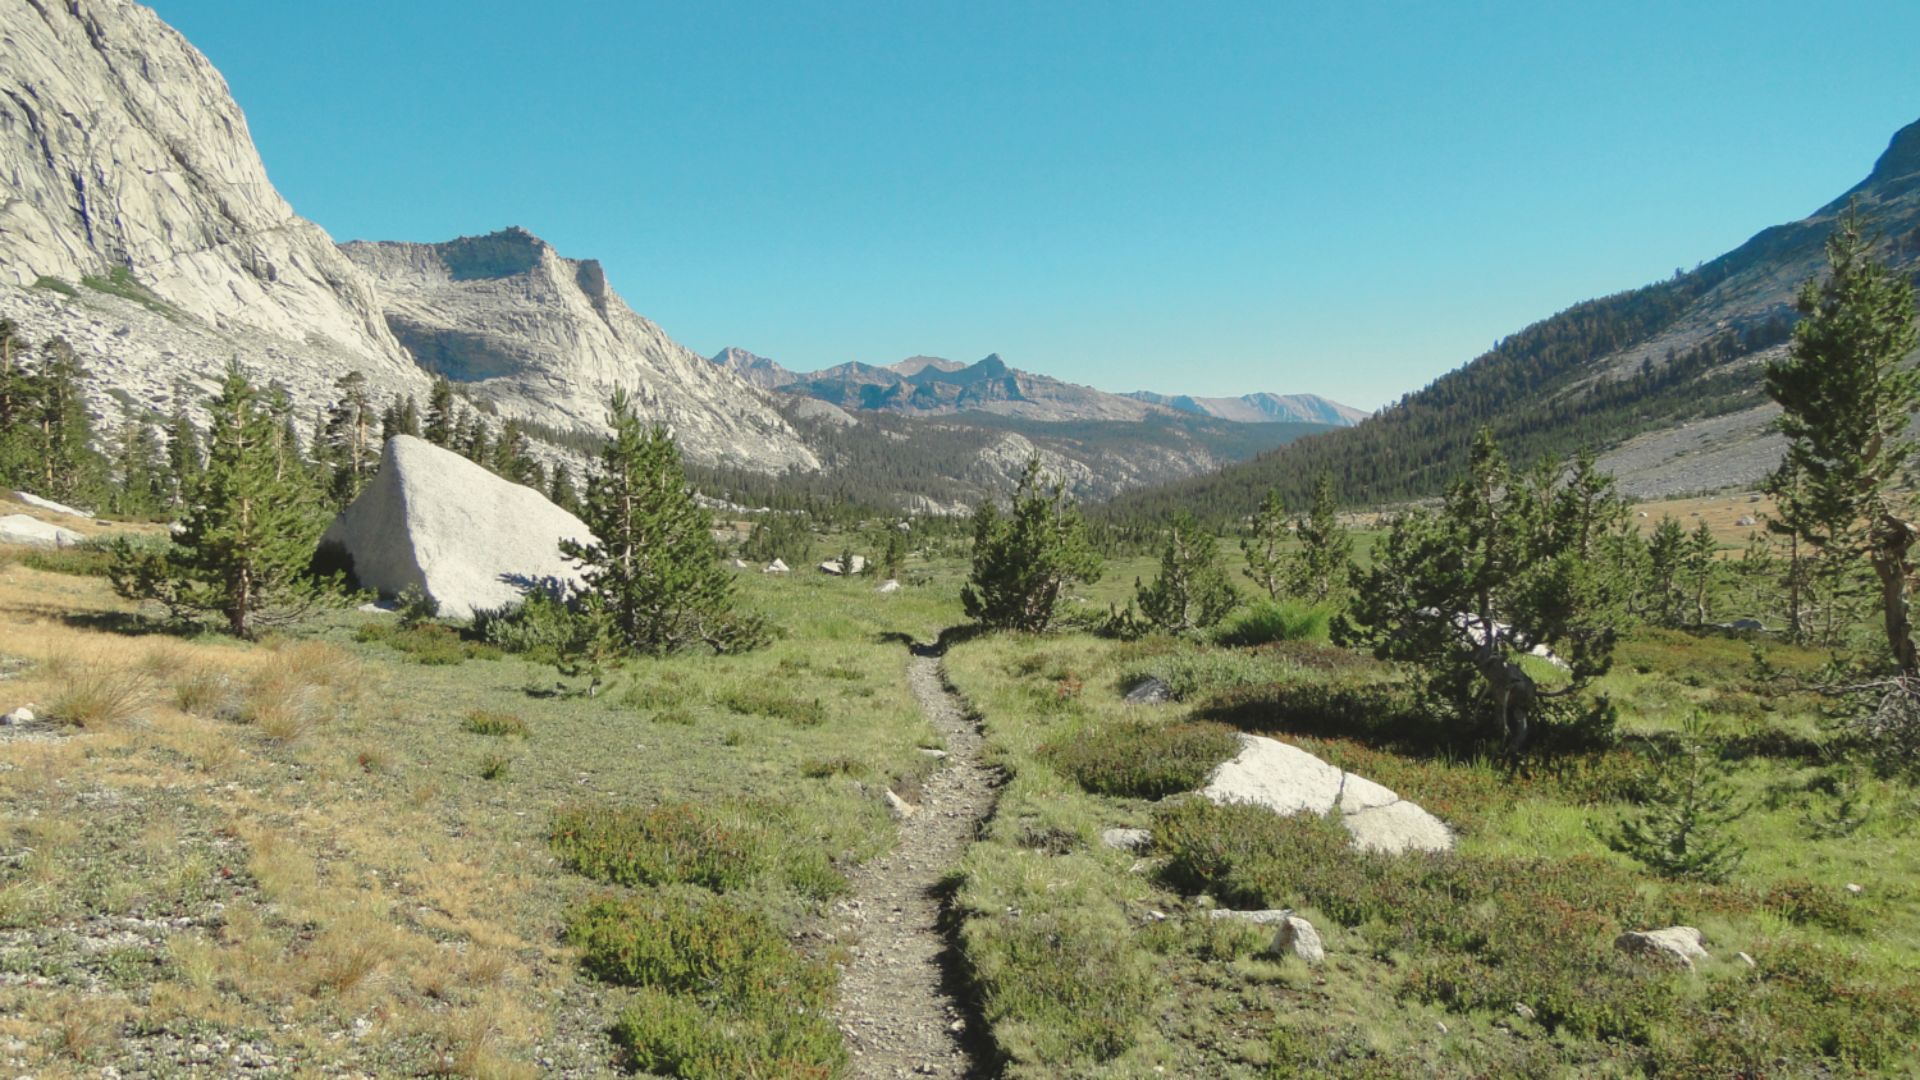
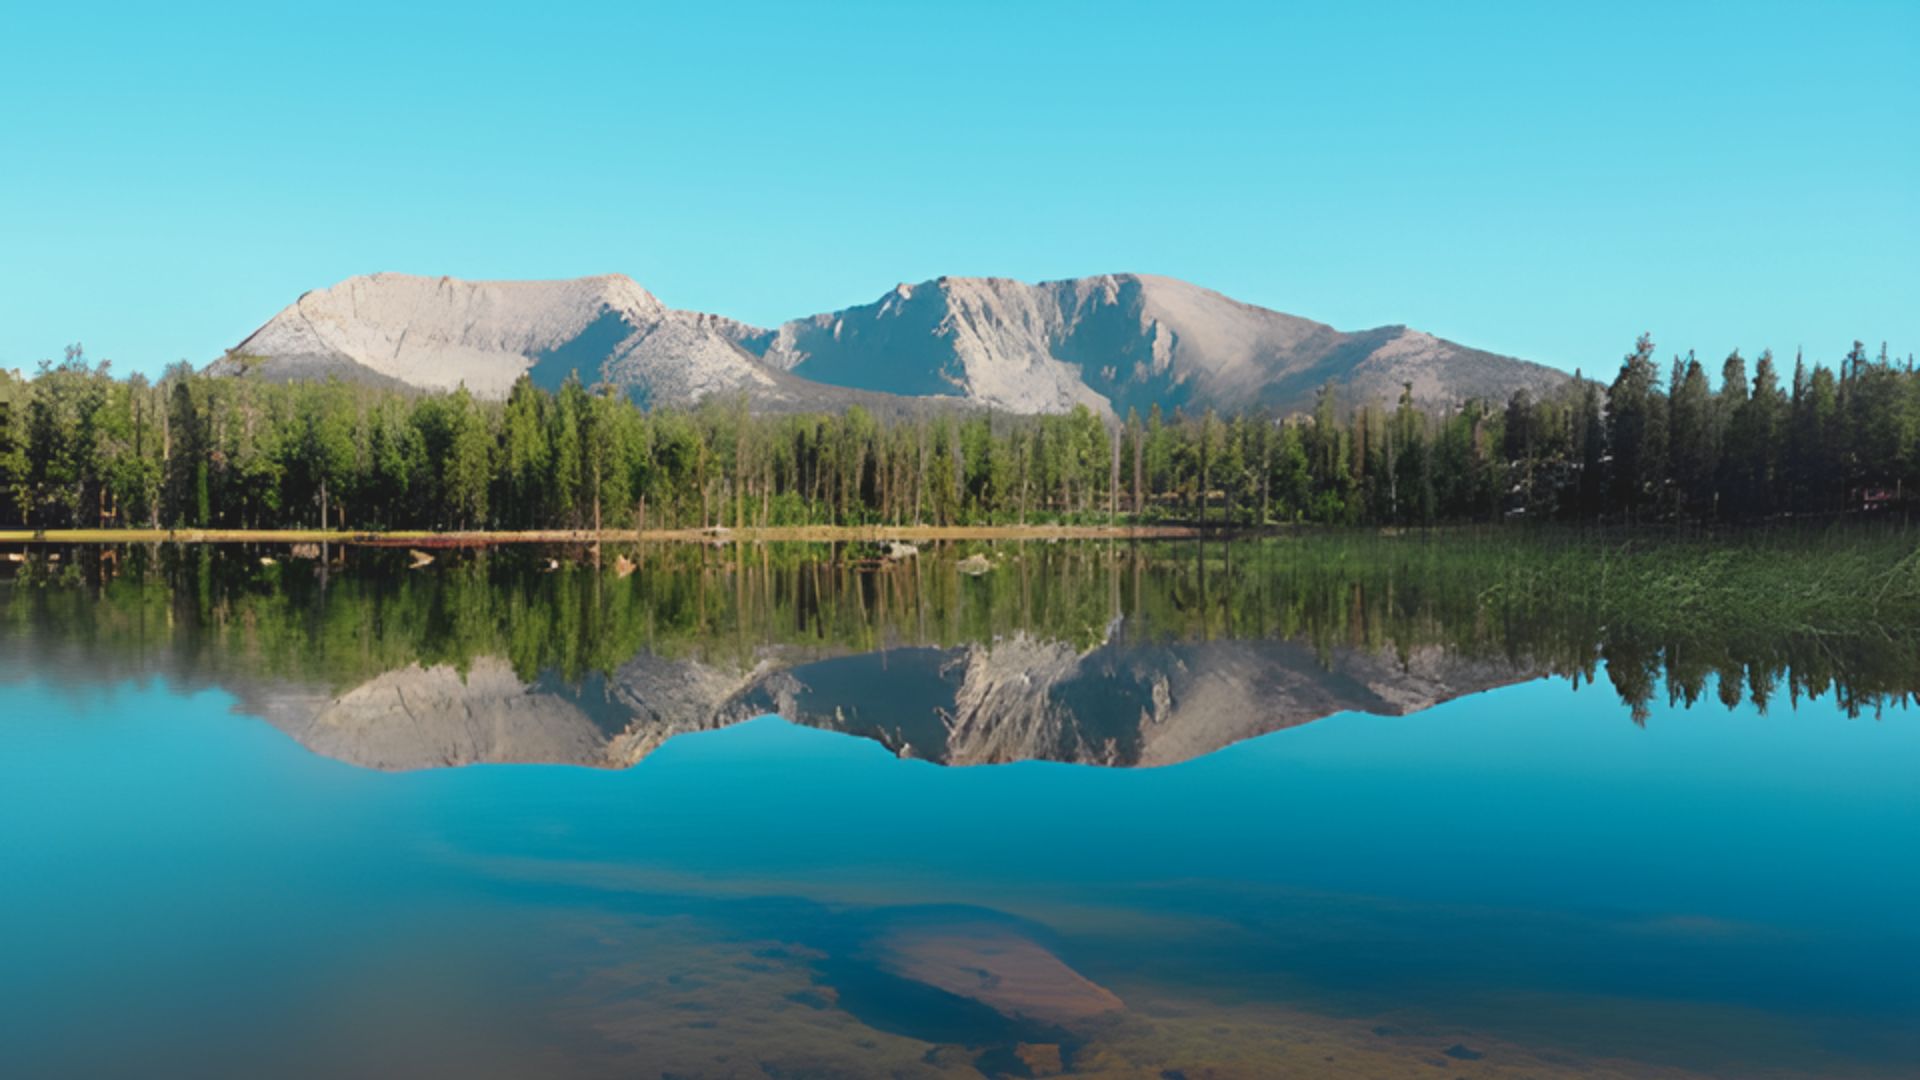
The High Sierra Trail stretches 72.2 miles through Sequoia National Park, crossing the Sierra Nevada from west to east.
This moderately difficult route starts at 6,700 feet and peaks at 10,700 feet, passing through Bearpaw Meadow, Hamilton Lakes, and Kaweah Gap before reaching Mount Whitney’s summit.
Most hikers complete it in 5 to 9 days. Built in 1928, it was the Sierra Nevada’s first recreational hiking trail.
The historic Bearpaw High Sierra Camp, established in 1934, still operates along the route.
High Sierra Trail Permits and Bookings
Getting permits for the High Sierra Trail requires planning ahead, but the process is straightforward once you know the rules and timing.
How to Get High Sierra Trail Permits
You need to book your High Sierra Trail permits exactly 6 months before your planned start date at 7:00 AM Pacific time. Permit costs are reasonable at $15 for the reservation plus $5 per person.
Use Recreation.gov to book your permits online, and have your dates, group size, and backup plans ready before the booking window opens. The most popular dates fill up within minutes.
Walk-Up Permits and Backup Options
Same-day walk-up permits are available at the Lodgepole Visitor Center starting at 1:00 PM the day before you want to start hiking. Checking for canceled permits throughout the spring and summer can also work in your favor.
If you want to hike westbound starting from Whitney Portal, you’ll need to enter the Whitney Portal lottery system for permit access.
Best Time to Hike the High Sierra Trail
The High Sierra Trail is open May through October, but conditions vary greatly. Early season (May-June) often brings snow on north-facing slopes and higher elevations, requiring microspikes, ice axes, and winter camping gear.
July and August offer the most stable weather and minimal snow, providing safer, more comfortable hiking conditions.
For first-timers, mid-July through early September is ideal. Trails are mostly snow-free with reliable weather during this period.
Winter snowfall significantly affects trail conditions throughout the season, so timing matters considerably for safety and enjoyment.
High Sierra Trail Planning Your Trip
Planning your High Sierra Trail trip carefully makes the hike safer and more enjoyable. Smart preparation reduces stress and helps you make the most of your time on the trail.
Direction and Permits
Most hikers go eastbound, starting at Crescent Meadow and finishing at Whitney Portal. This direction works well because permits are easier to get, and it lets you gradually adjust to higher elevations. Ending at Mount Whitney gives a satisfying finish to the hike.
Trip Duration Options
There are several ways to plan your trip. A 5-day plan is best for strong, experienced hikers who can cover 12–15 miles per day.
A 7-day plan suits most hikers, covering 8–12 miles per day and leaving time to enjoy the scenery. A 9-day plan offers a relaxed pace, ideal for photographers or anyone who wants to fully enjoy the trail.
Camping Spots
Camping spots along the trail are officially designated and include bear boxes for easy food storage and water access. Notable sites include Hamilton Lake and Moraine Lake.
Taking the side route to Moraine Lake adds about a mile to the hike but rewards you with one of the most beautiful camping spots in the Sierra Nevada.
High Sierra Trail Transportation and Getting There
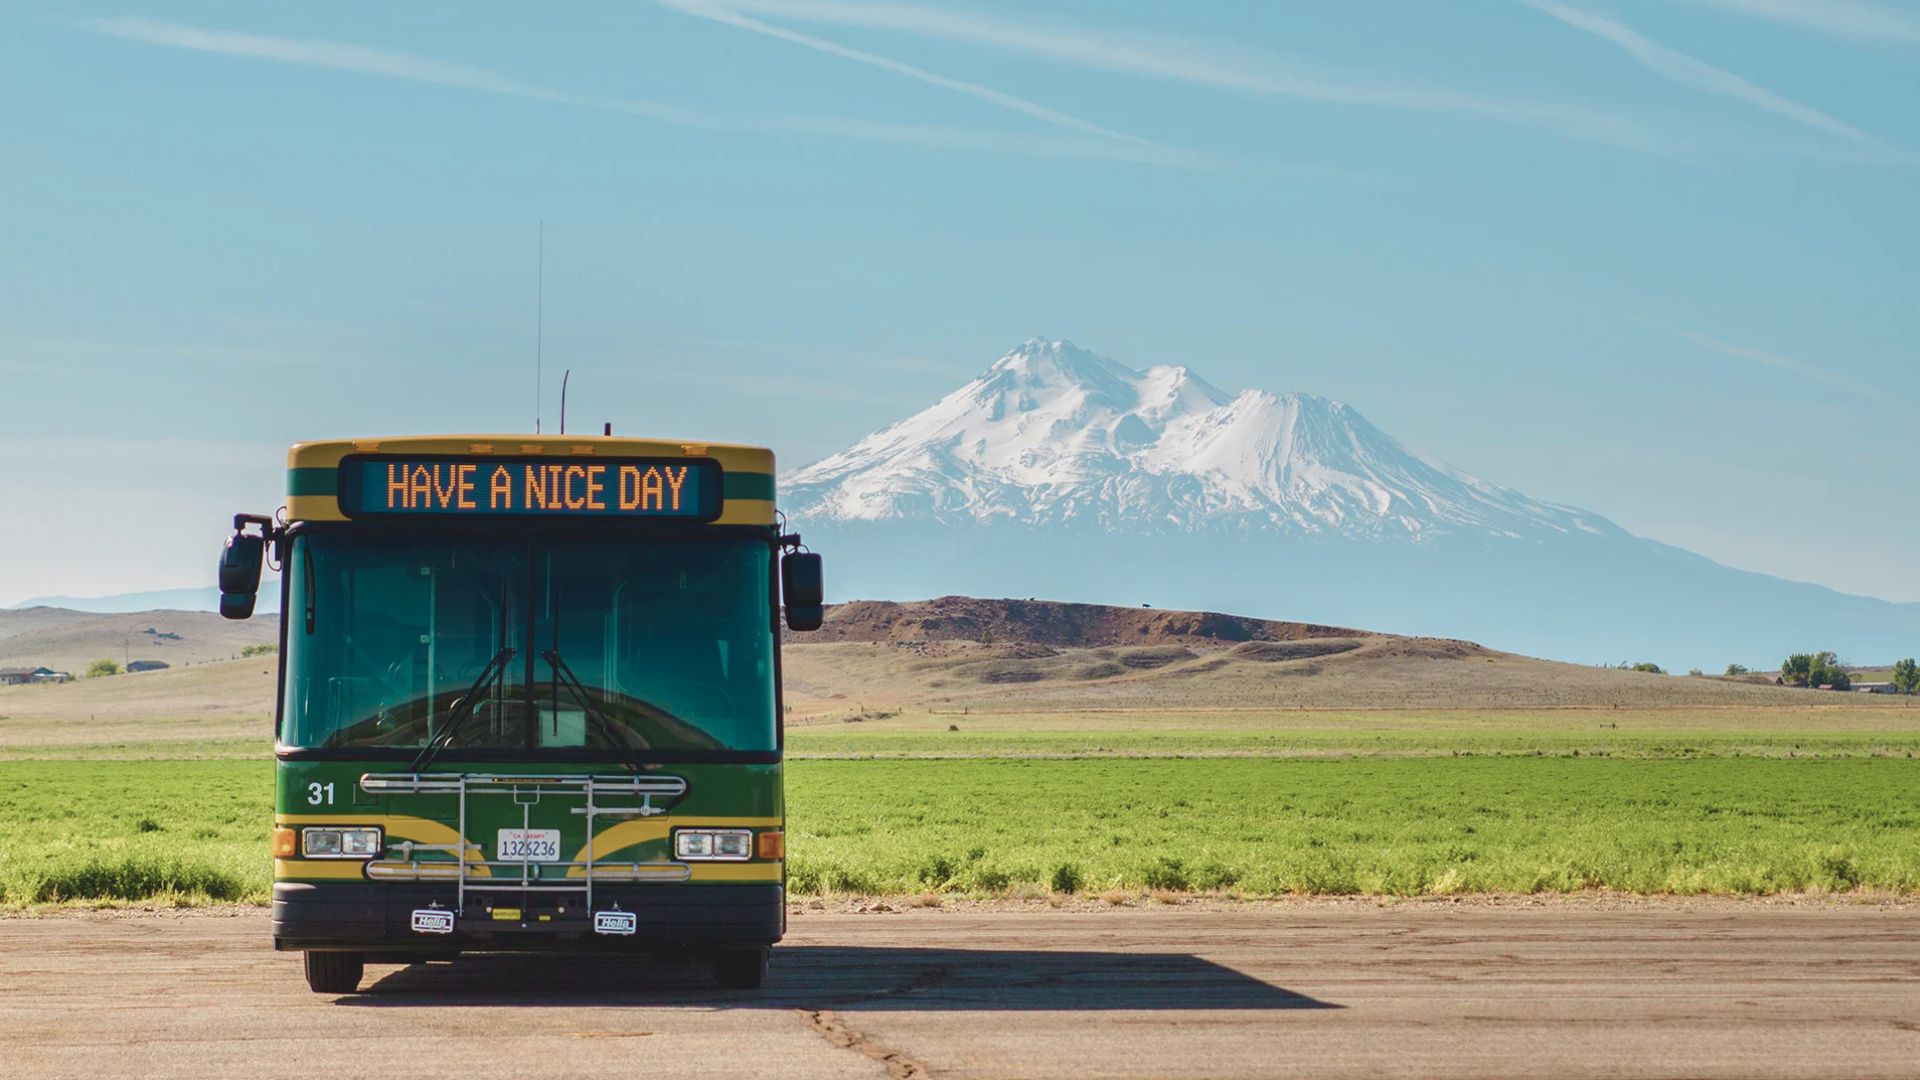
Getting to the High Sierra Trail requires planning since it starts and ends at different locations.
The easiest method is using two cars: leave one at Whitney Portal and drive the other to Crescent Meadow.
Alternatives include family or friend drop-offs, paid shuttle services, hitchhiking during busy season, or trading car keys with fellow hikers.
Public transportation is possible but requires multiple transfers and careful timing. Some hikers choose to hike both ways, eliminating transportation needs but doubling the distance.
High Sierra Trail Gear and Equipment
Having the right gear makes hiking the High Sierra Trail safer and more comfortable. It’s important to be prepared for changing weather and trail conditions. Hikers should focus on lightweight gear since every extra pound can make a big difference.
Basic Equipment:
- Reliable tent
- Warm sleeping bag
- Cooking gear
- Weather protection
Food and Water:
- Approved bear canister (BV500 is a popular choice)
- Water cleaning and treatment system
Waste Management:
- Wag bags for human waste (required in Whitney Zone)
- Sealed disposal system for use above treeline
Early-Season Additional Gear:
- Microspikes for snowy areas
- Ice axe for snow and ice conditions
- Warmer sleeping bags
- Waterproof clothing
- Extra food in case bad weather slows progress
Water, Wildlife, and Safety
Water is available at most major creeks, lakes, and camping areas, but the longest dry stretches are between Big Arroyo and Moraine Lake, and from Guitar Lake to Trail Camp.
Always treat water by filtering, boiling, or using chemical tablets. Black bears are common, so make noise while hiking, never feed them, and store all food in bear canisters constantly, even during lunch breaks.
Other wildlife includes summer mosquitoes, curious marmots, and occasional rattlesnakes at lower elevations. Staying alert and respecting animals keeps both hikers and wildlife safe.
Trail Highlights and Must-See Spots
These are the best places to see and take photos on the trail. Don’t miss the main viewpoints and lakes along the way.
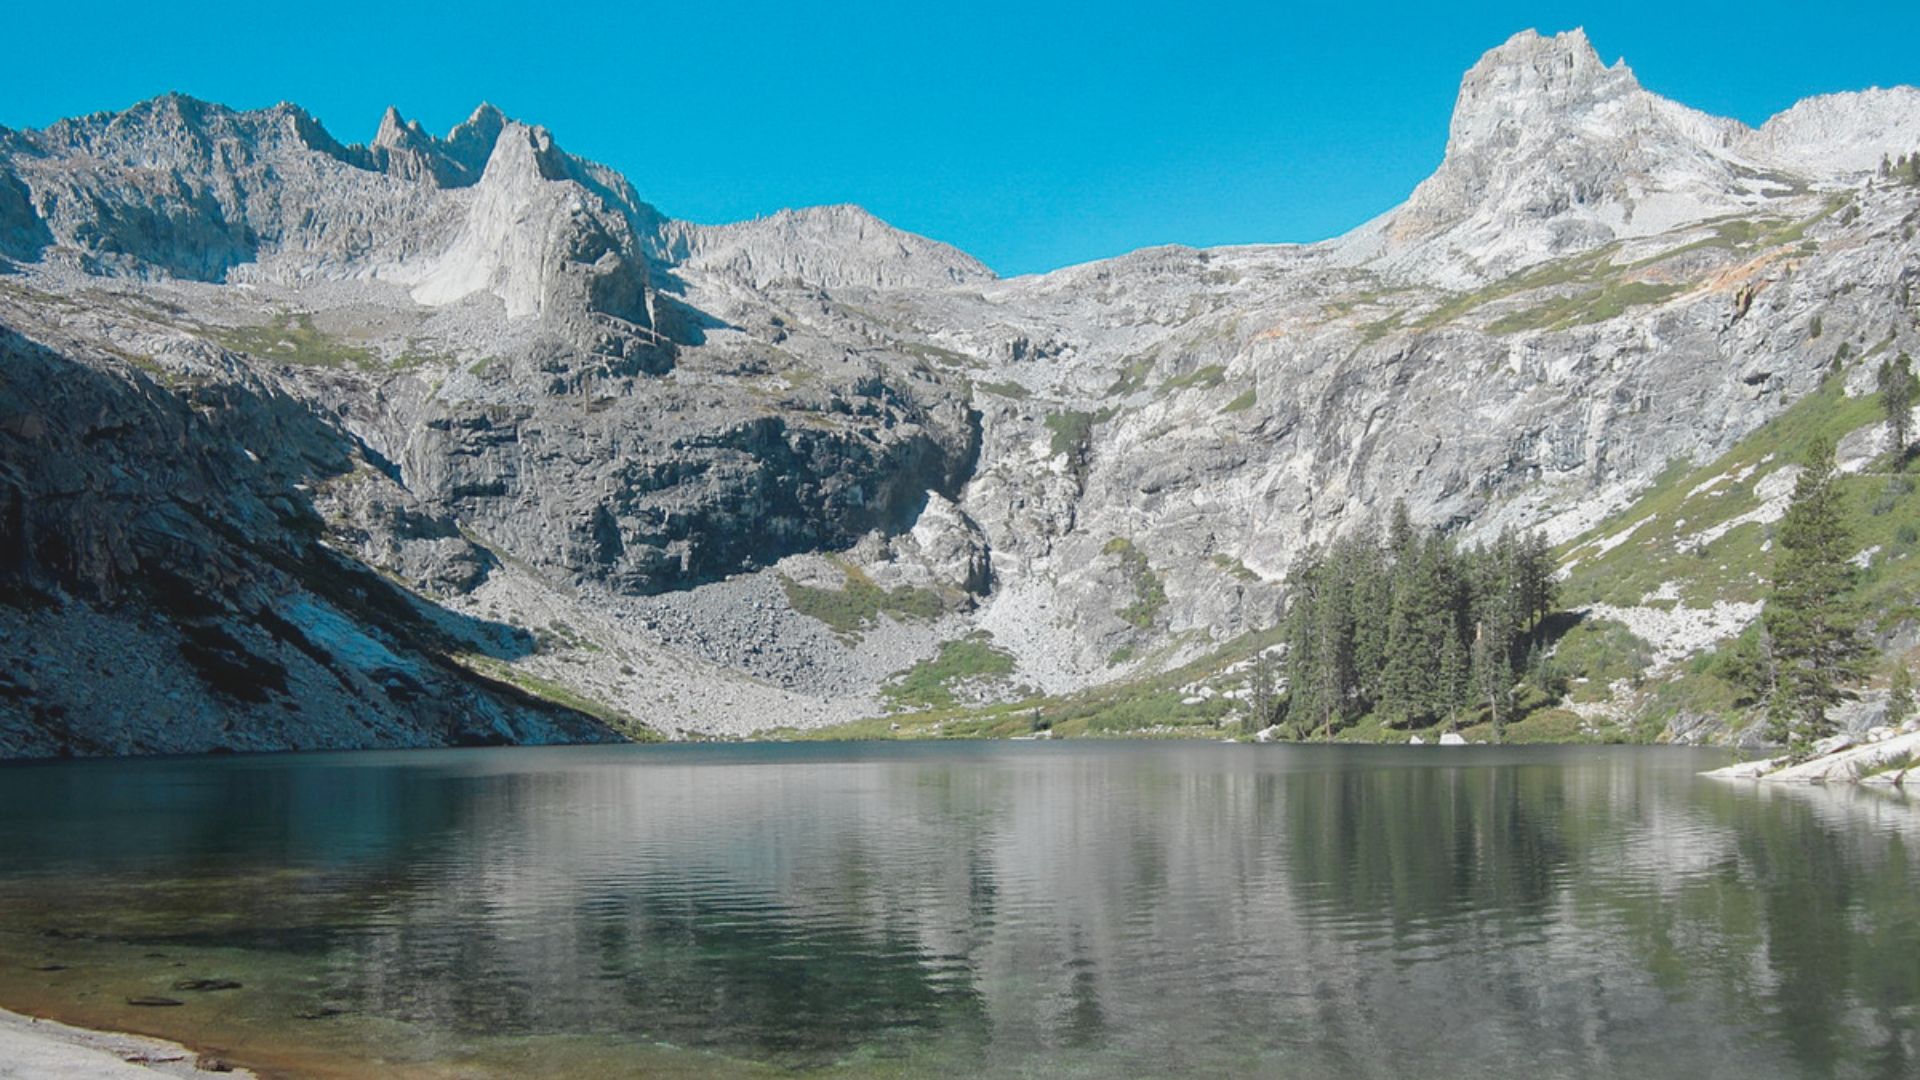
1. Hamilton Lake and Precipice Lake
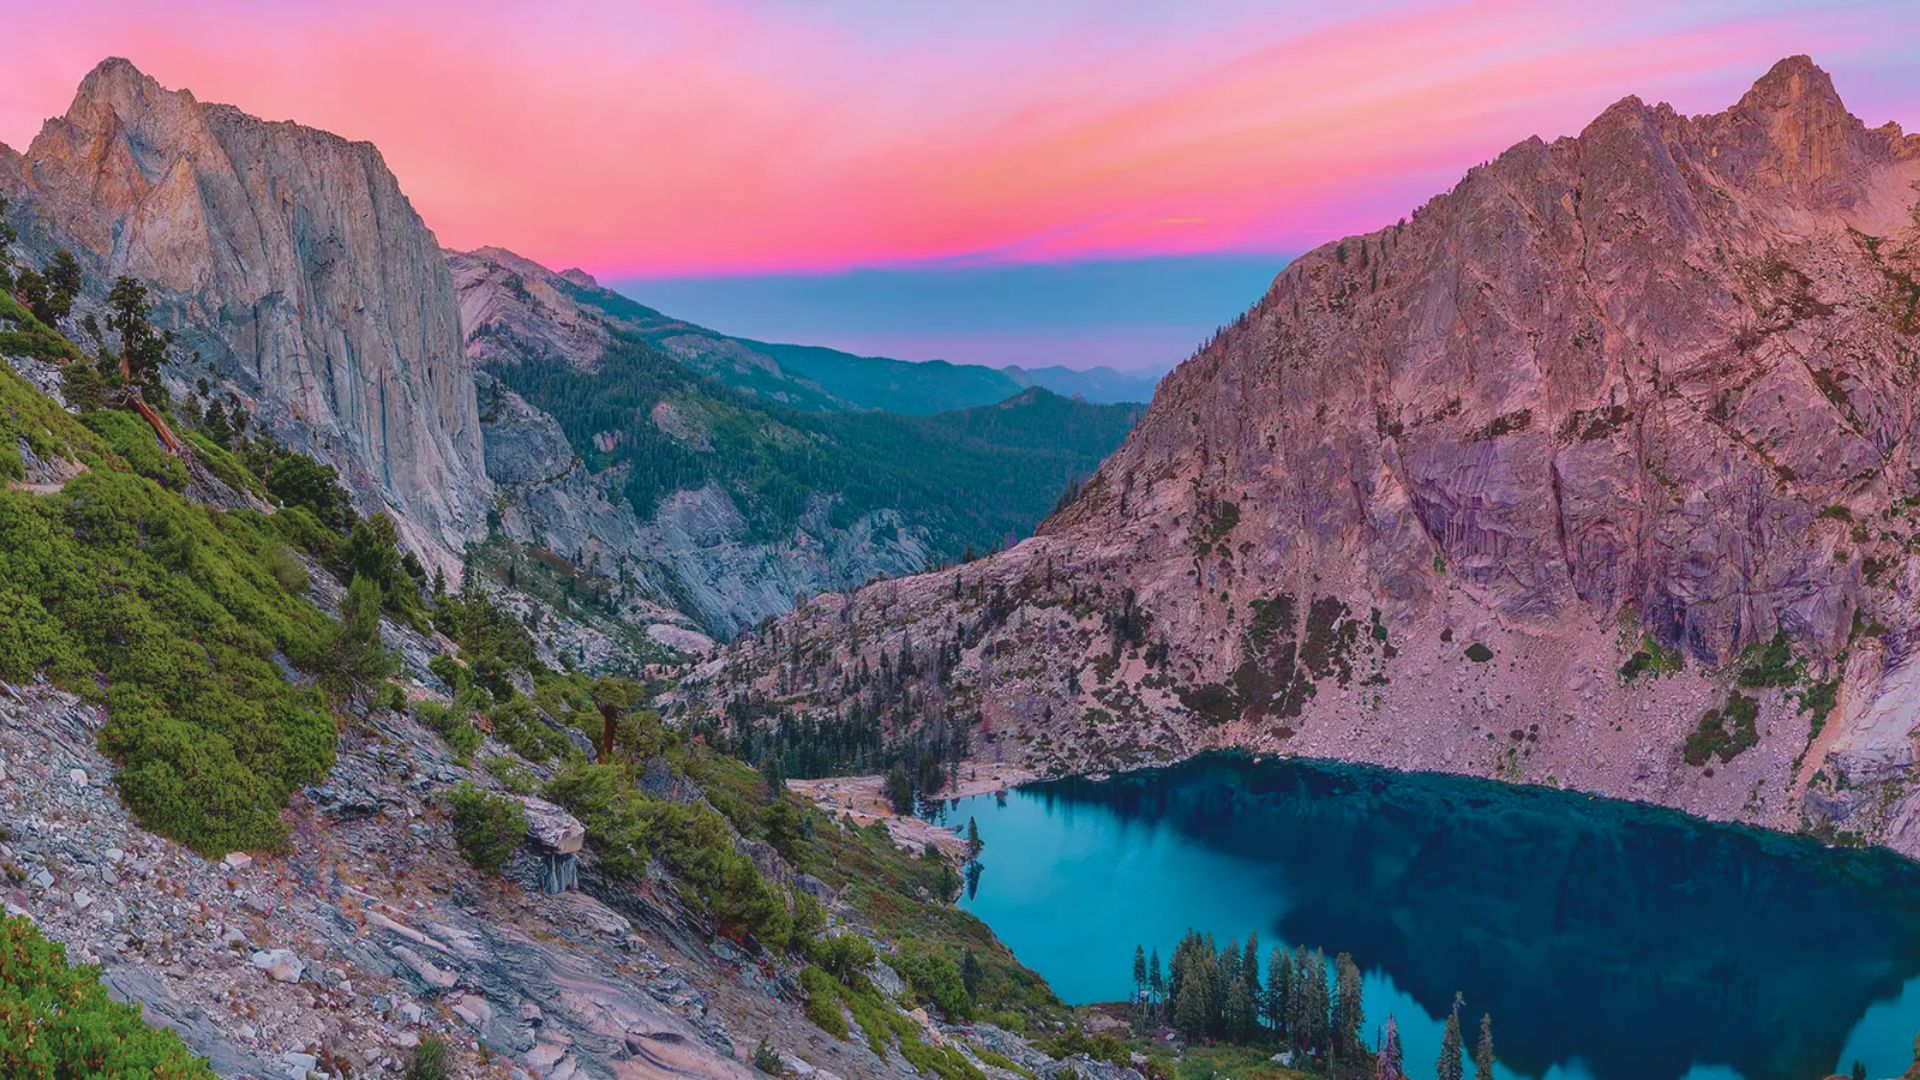
Hamilton Lake sits in a dramatic granite basin with towering cliffs above. Precipice Lake offers equally impressive alpine scenery.
Both locations provide excellent photography opportunities with crystal-clear water reflecting surrounding peaks. These spots are among the most photographed areas on the entire trail.
2. Kaweah Gap Viewpoint
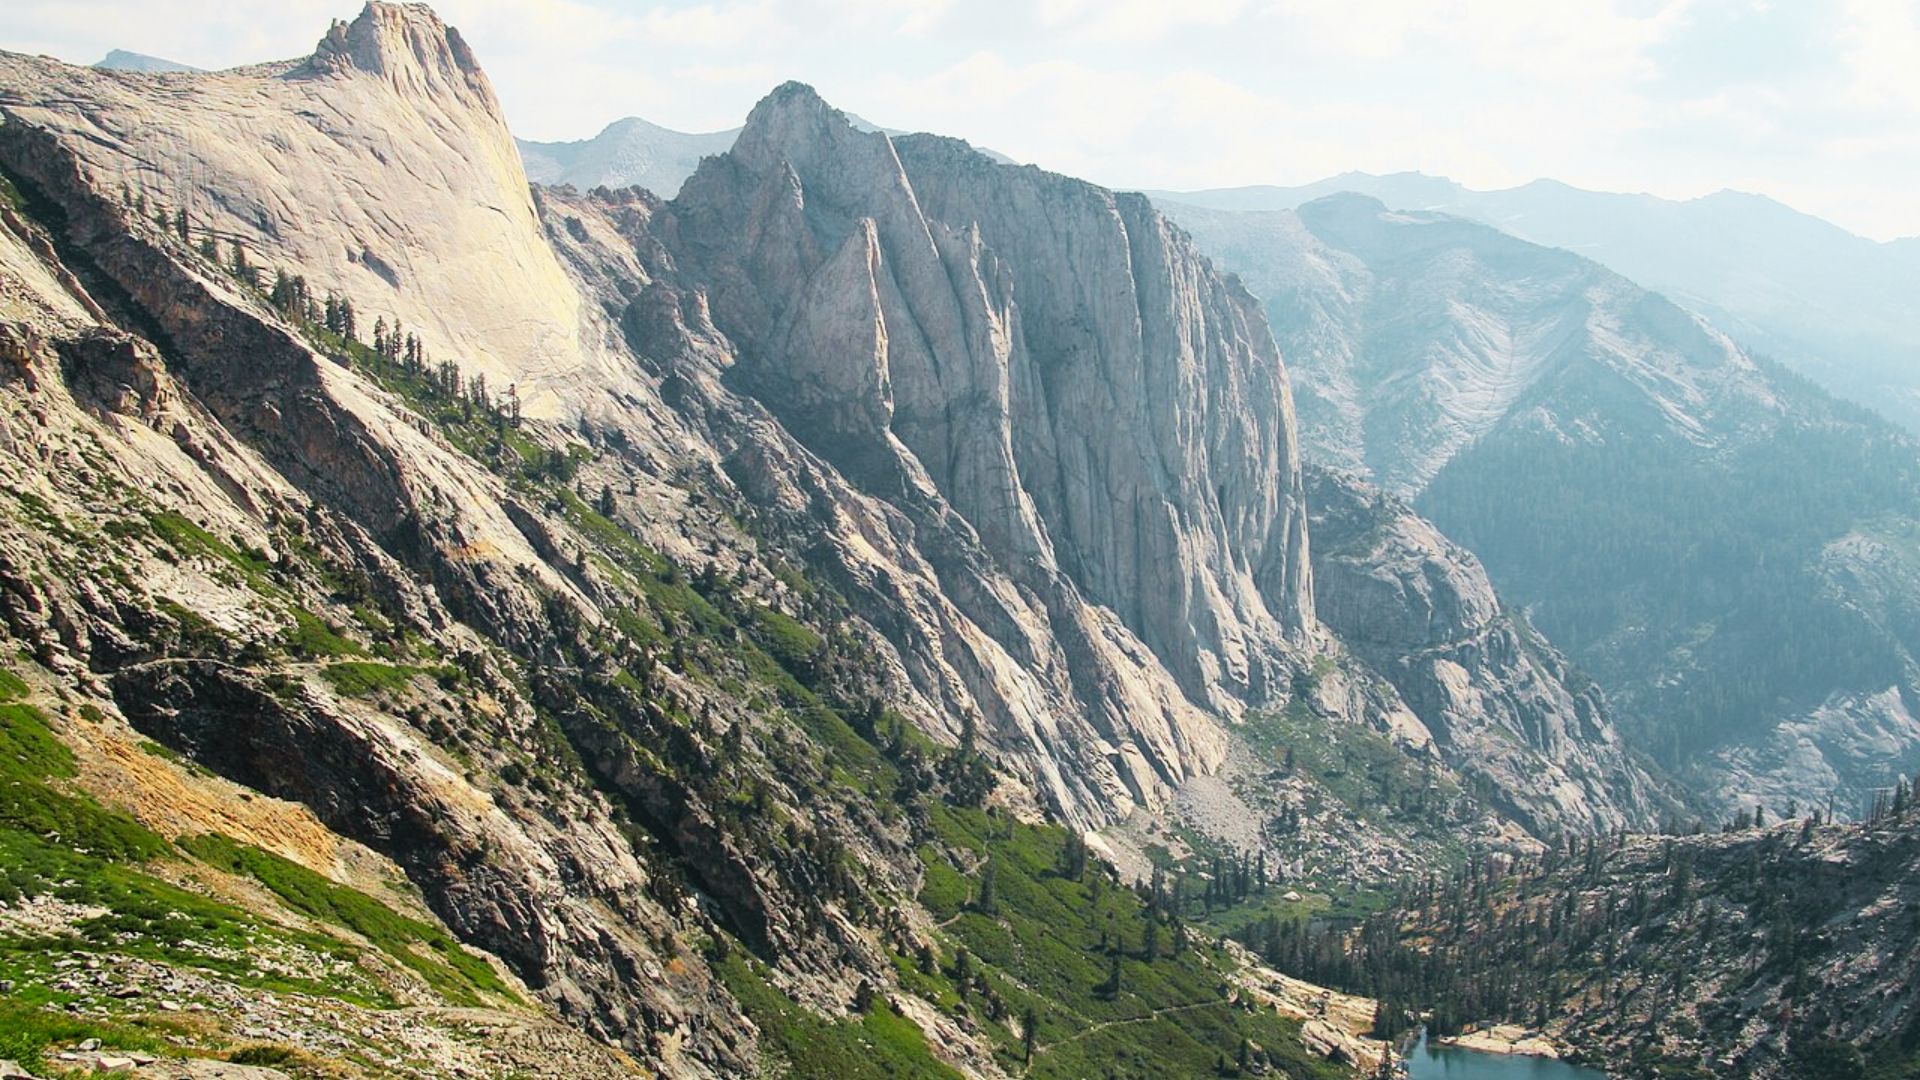
Kaweah Gap marks the trail’s highest point at over 10,000 feet elevation. The viewpoint offers sweeping panoramas in both directions across the Sierra Nevada.
You can see the path you’ve traveled and the terrain ahead. This location provides some of the most expansive views available.
3. Guitar Lake and Mount Whitney Summit
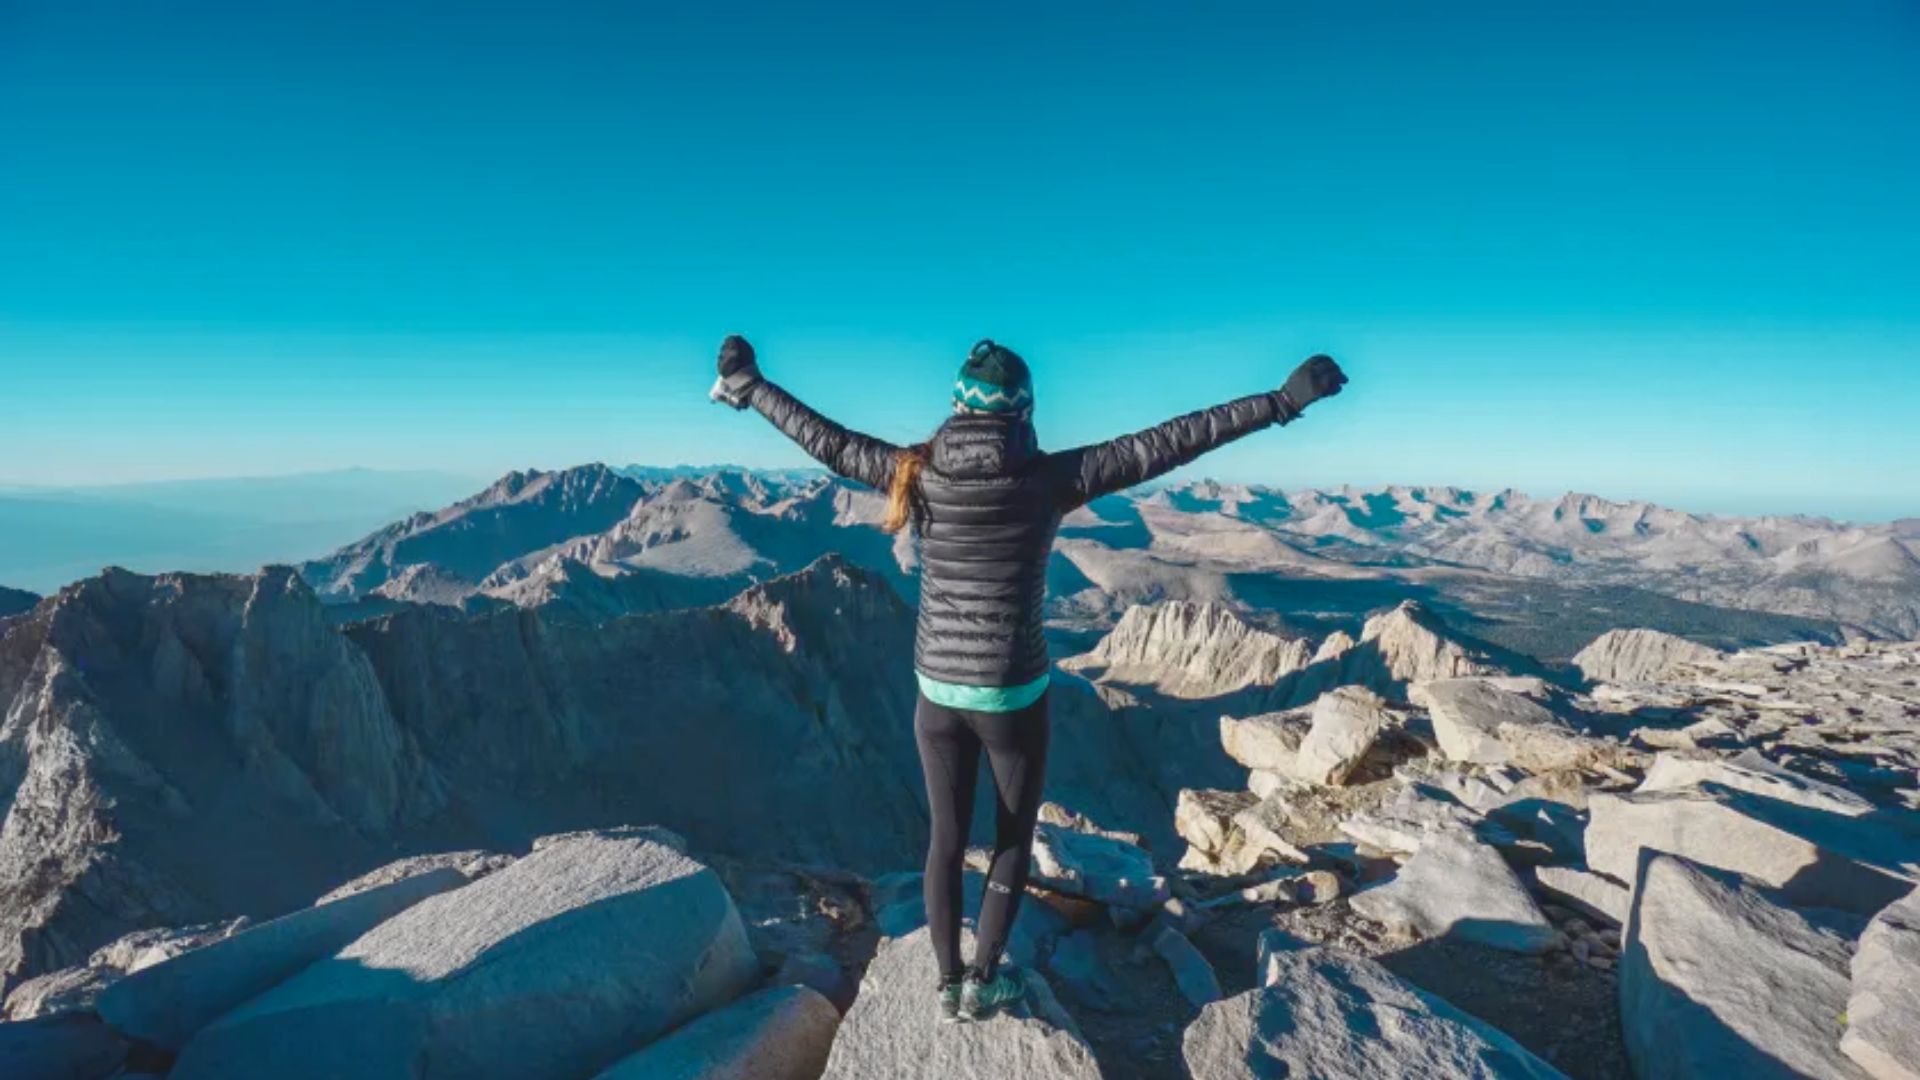
Guitar Lake serves as the final camping spot before the Mount Whitney climb. The summit of Mount Whitney, at 14,505 feet, is the highest point in the lower 48 states.
Reaching the top provides an incredible sense of accomplishment and offers breathtaking 360-degree views across California.
Sunrise and sunset give the best photo opportunities.
Final Tips and Advice
A few simple tips can make your hike safer and more fun. Plan and enjoy every step.
- Start your hiking day early to take advantage of good weather conditions and better light. Early starts also give you first choice of campsites at popular locations.
Bring extra warm layers specifically for the Mount Whitney summit climb. Temperatures at the top are typically 30-40°F colder than lower elevations.
Celebrate completing your hike at Whitney Portal Cafe with their famous pancakes. It’s a well-deserved reward after days on the trail. - Consider future Sierra Nevada trips like the John Muir Trail after finishing this route. The High Sierra Trail provides excellent preparation for other classic backpacking adventures.
- Pack out all trash and leave no trace to preserve the wilderness for future hikers. Respect wildlife by maintaining proper distance and storing food correctly at all times.
- Check weather forecasts before departing and be prepared to adjust your plans if needed. Afternoon thunderstorms are common in the Sierra Nevada during summer months.
Conclusion
The High Sierra Trail offers an accessible introduction to thru-hiking, delivering a genuine mountain experience in just one week across 72 miles.
Smart planning is critical for success: secure your permits early, choose the right season, and prepare your gear and fitness in advance.
Don’t wait to start planning your High Sierra Trail adventure. Whether you’re an experienced backpacker or ready for your first multi-day trek, this iconic route promises memories that last a lifetime.
Begin your preparation today and experience California’s finest alpine wilderness firsthand.
Frequently Asked Questions
Can You Hike The High Sierra Trail Without Permits?
No, permits are required for all overnight hiking. Rangers actively check permits, and violations result in fines. Consider nearby day hikes if you can’t get permits.
What Happens If Bad Weather Stops Your High Sierra Trail Hike?
Limited exit options exist, mainly at Bearpaw Meadow. Have emergency plans, extra food, and flexible schedules. Most weather delays last 1-2 days maximum.
Are Dogs Allowed On The High Sierra Trail?
Dogs are not allowed in Sequoia National Park to protect wildlife. Consider nearby national forest trails for dog-friendly backpacking options instead.
How Much Does It Cost To Complete The High Sierra Trail?
Permits cost $20 total, plus transportation, food, and gear. Budget $300-800, depending on gear needs and transportation choices, for a complete trip.
Can Beginners Successfully Hike The High Sierra Trail?
Yes, with proper preparation and realistic timelines. Build fitness, practice with gear, and choose a 7-9 day schedule for your first Sierra backpacking trip.