

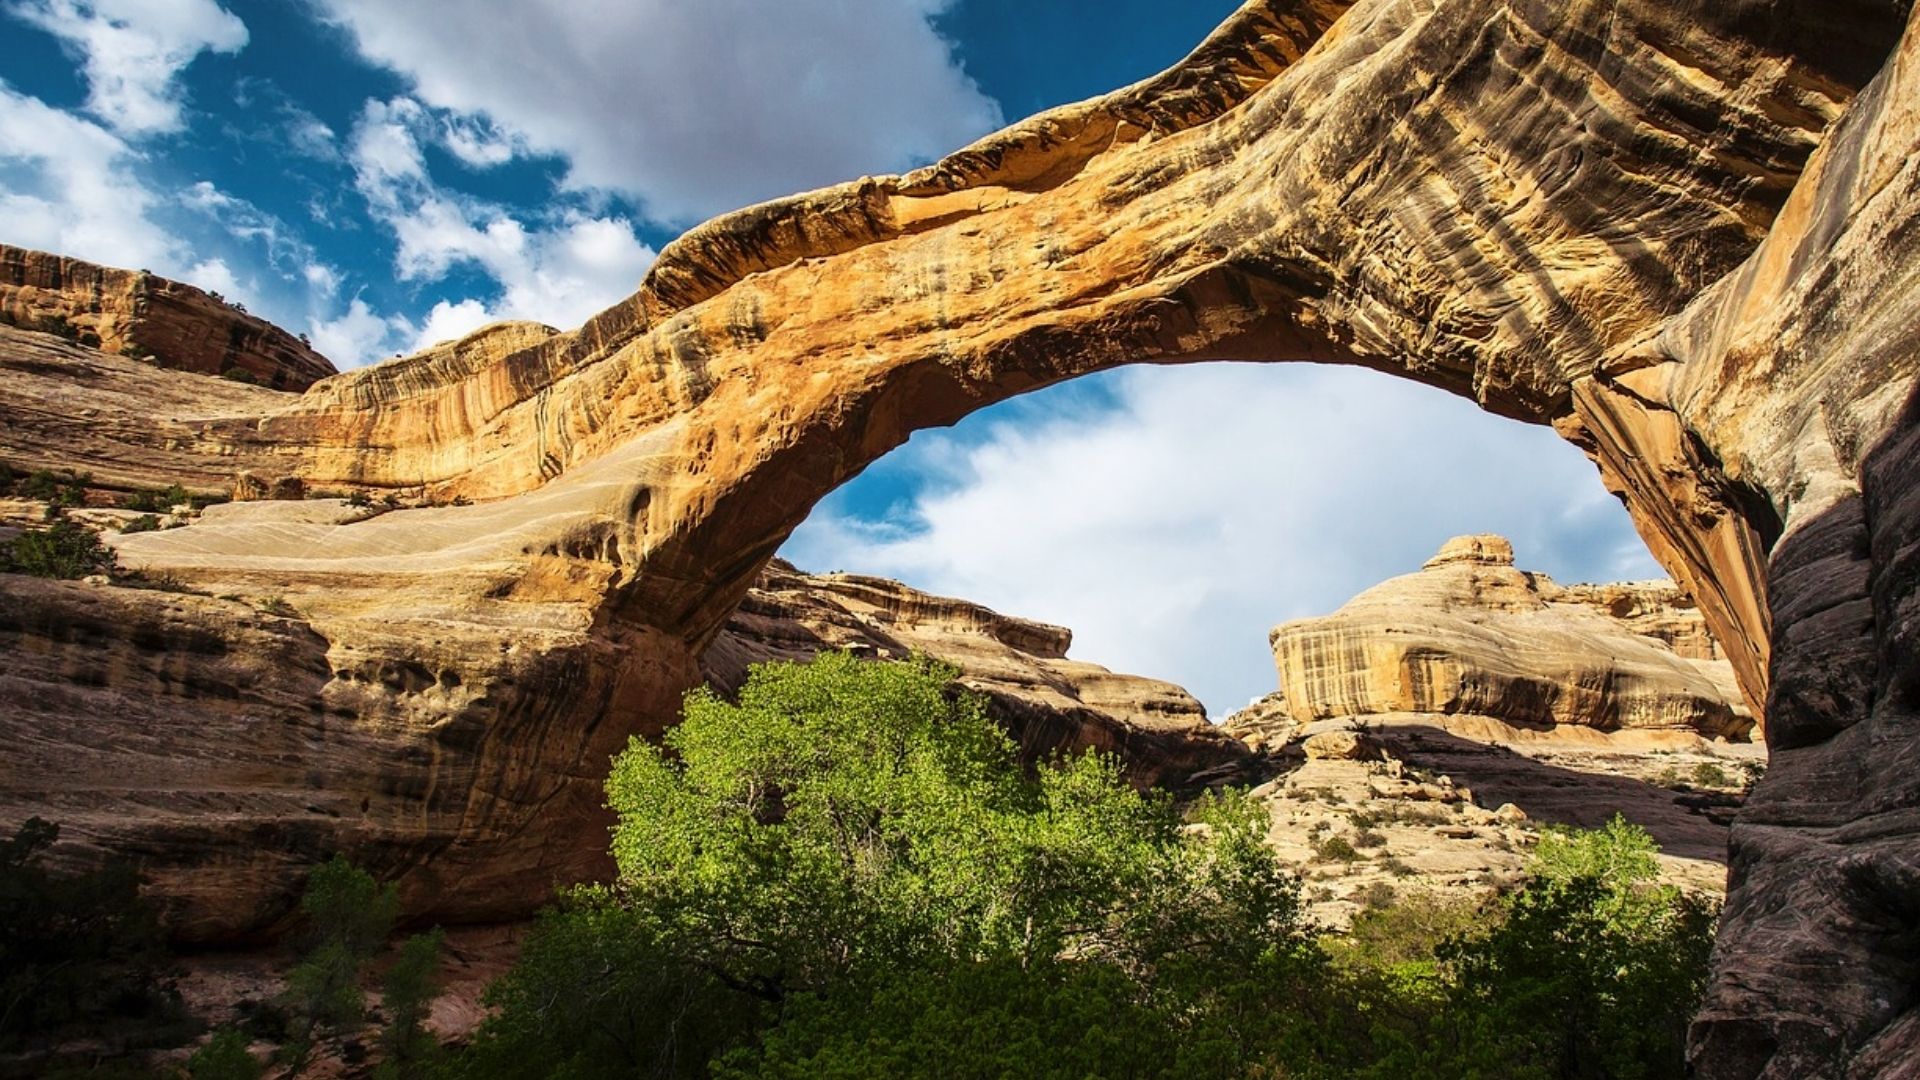
Standing on a sandstone arch 54 feet above the canyon floor sounds both thrilling and a little scary. I get it.
Before I hiked Devils Bridge Sedona, I had the same mix of curiosity and nerves. Where exactly do I park? Is the trail too hard for a regular hiker? What if I freeze up on the arch?
I’ve been there, and I figured it all out.
In this blog, I cover everything you need to know. Trail length, access routes, parking options, safety tips, and the best time to go.
I’ve done the research so you don’t have to guess.
By the end, you’ll feel fully prepared, confident, and ready to hit the trail.
Why Devil’s Bridge Is One of Sedona’s Most Popular Hikes
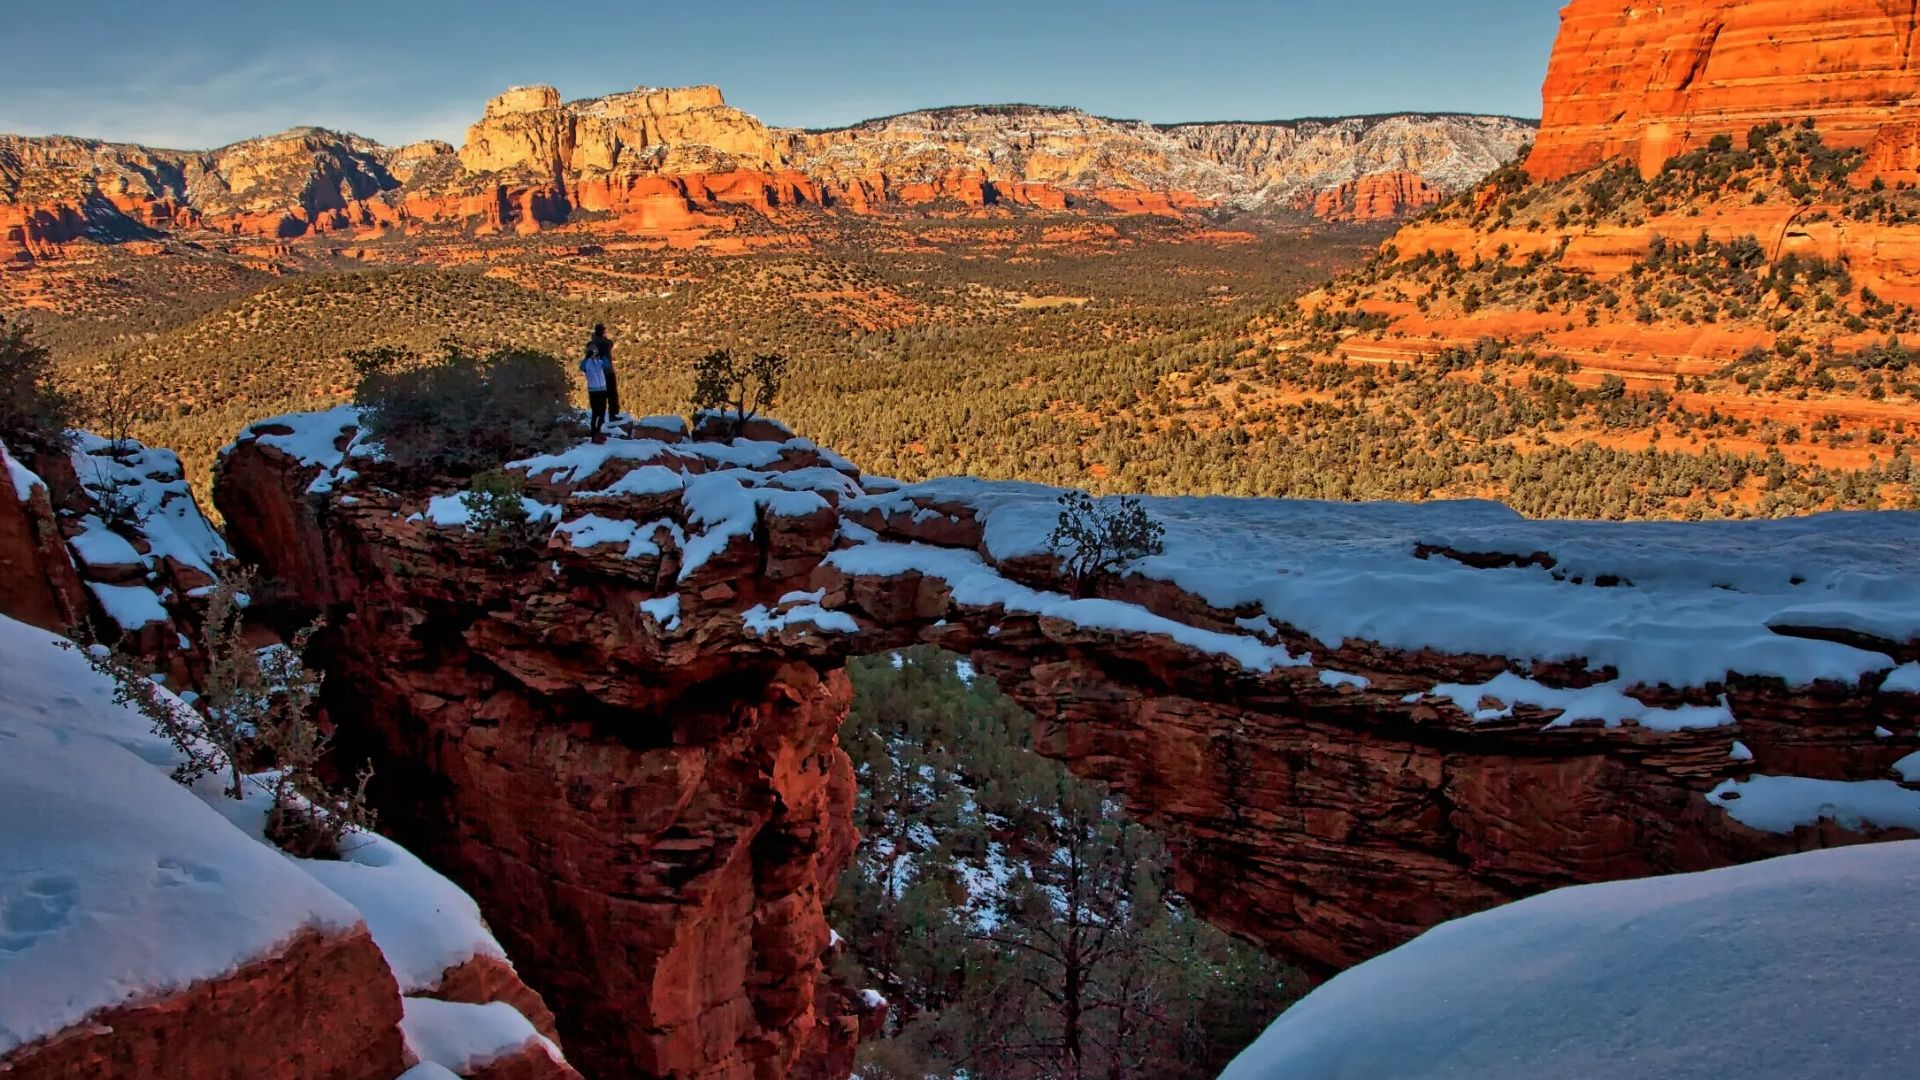
Devil’s Bridge is the largest natural sandstone arch in the Sedona area. It sits about 54 feet above the canyon floor, and the views stretch for miles across red rock country.
People come from all over the world to walk across that arch. The trail is well-marked, and most adults with moderate fitness can handle it.
There’s something powerful about standing above the canyon on solid stone. You’re not just walking through nature.
You’re standing on top of it.That feeling is what keeps drawing people back, season after season.
Devil’s Bridge Sedona Trail Overview

The main route to Devil’s Bridge covers about 4.2 miles round trip with roughly 400 feet of elevation gain.
The difficulty level is moderate, which means most people with basic fitness can complete it. Some sections are rocky, especially near the top.
The trail is well-marked and easy to follow. Most hikers finish in 2 to 3 hours. If you move at a steady pace, you’ll be done well before midday.
Going slower is perfectly fine. There are plenty of spots to rest along the way.
How to Access Devil’s Bridge Sedona
Your access route depends on where you’re parking and what you’re driving.
Driving via Dry Creek Road
Take Dry Creek Road off Route 89A in West Sedona. Drive about 2 miles and turn onto FR 152, which is a dirt road.
This is the most common route to the main trailhead. It’s easy to follow but gets rough in spots. Take it slow on uneven sections and pay attention as you go.
Accessing the Mescal Trailhead
The Mescal Trailhead sits on Long Canyon Road, just off Dry Creek Road. The road to this trailhead is paved, so any car can reach it.
The hike from here is longer than from the main trailhead, but access is easy. This is the right choice if your vehicle is not suited for dirt roads.
Parking Information and Shuttle Access
Parking near the main trailhead fills up fast, especially on weekends. You need a Red Rock Pass to park in the area.
If you can’t find a spot, Sedona offers a free shuttle during peak season. It drops you close to the trailhead. I’d suggest arriving before 8 AM or using the shuttle to start stress-free.
High Clearance Vehicle Requirements
The road to the main trailhead via FR 152 is unpaved and rocky. A high-clearance vehicle handles it far better than a regular sedan.
If you’re driving a low car, park at the Mescal or Chuck Wagon trailhead instead. Always check road conditions before you go, especially after rain, since the road can get muddy fast.
Devil’s Bridge Trailhead Locations
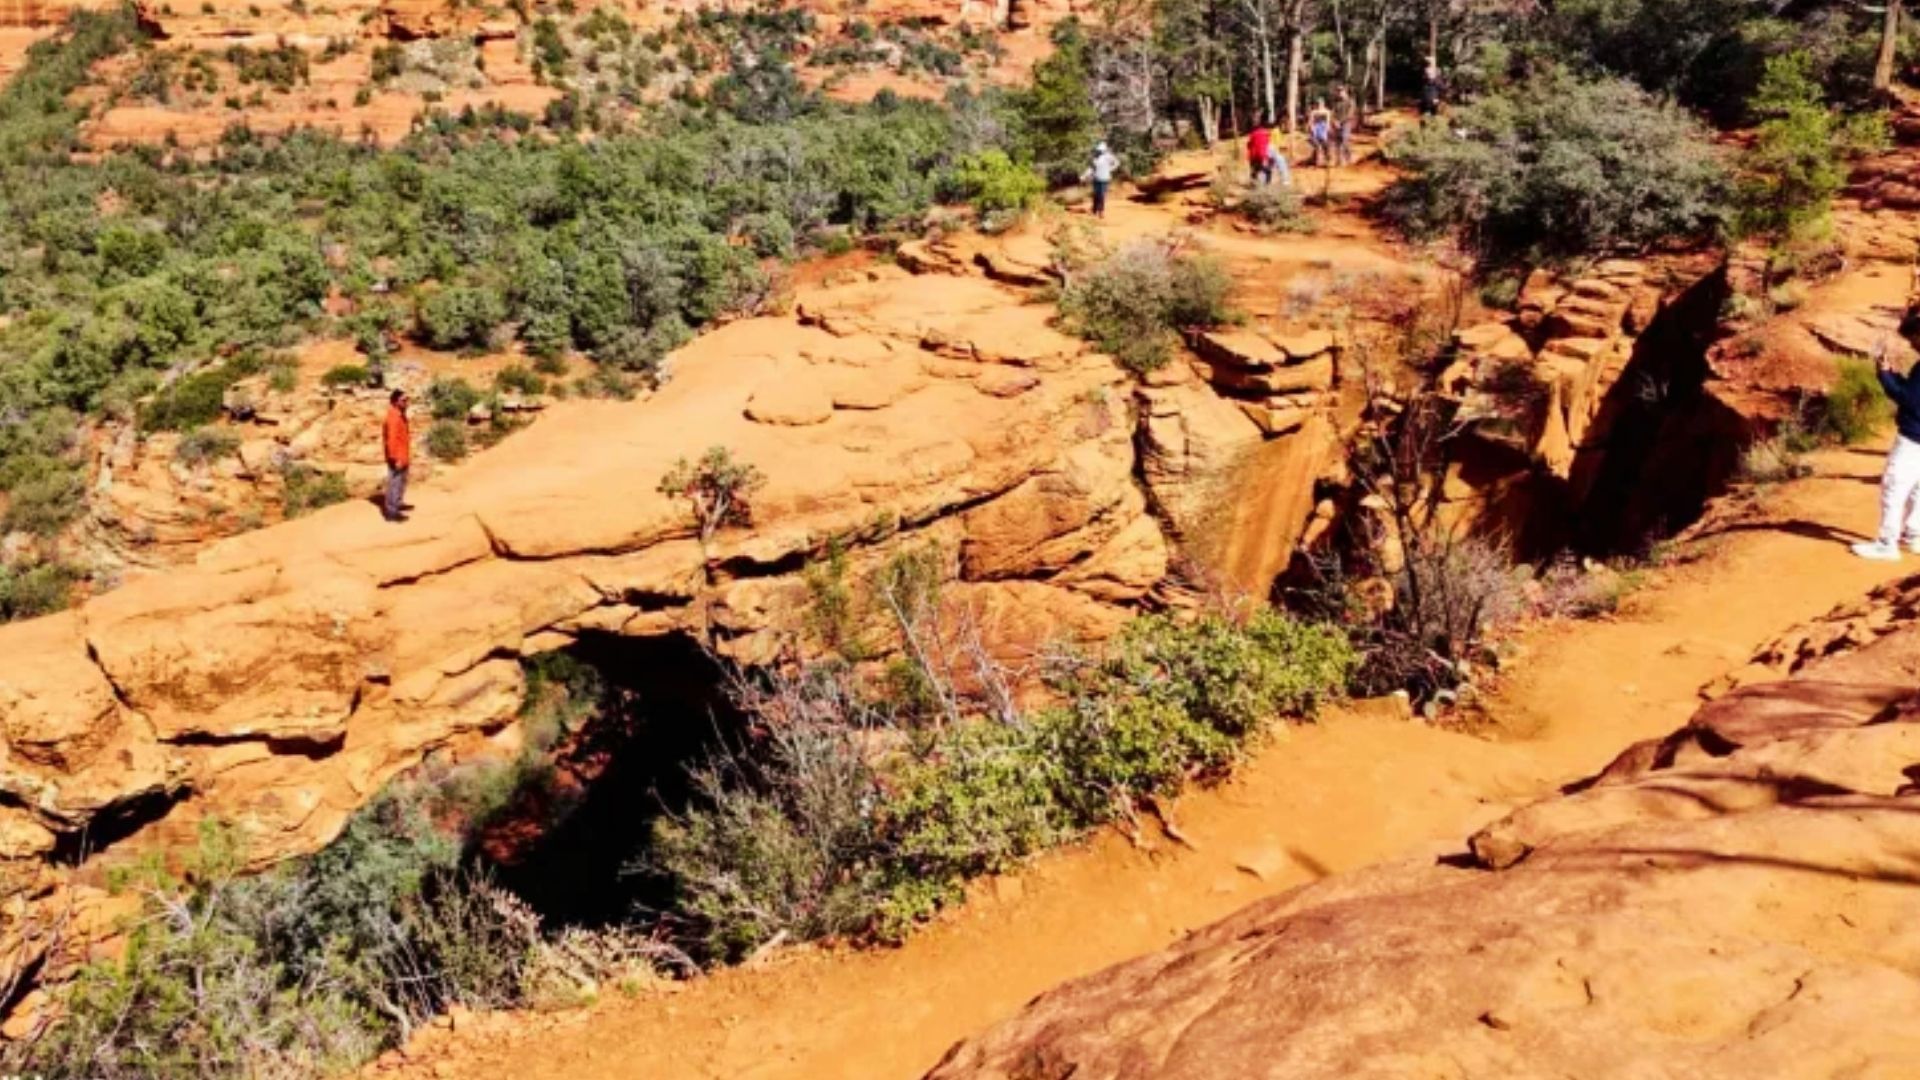
You can start from three different points, and each one leads you to the same arch.
Devil’s Bridge via Dry Creek Road
This is the shortest route to the arch. The hike is about 1.8 miles one way from the main trailhead off FR 152. The trail gets rocky near the top.
Most people choose this route for speed. You’ll need a high-clearance vehicle or the shuttle to reach this starting point. Early arrival is strongly recommended here.
Devil’s Bridge via Mescal Trailhead
Starting from Mescal adds distance but makes parking much easier. The round trip is about 3.9 miles from this point.
The path is well-marked and passes through open desert and red rock terrain. This route works for most fitness levels. It’s also a solid option if you’re hiking with dogs. No high-clearance vehicle needed.
Devil’s Bridge via Chuck Wagon Trail
The Chuck Wagon Trail is the longest approach to Devil’s Bridge. It’s less crowded and gives you a different view of the red rock landscape.
This route suits hikers who want more distance and fewer people on the path. Parking is available near the trailhead. The trail connects to the main path and leads straight to the arch.
Hiking Conditions and Trail Safety Tips
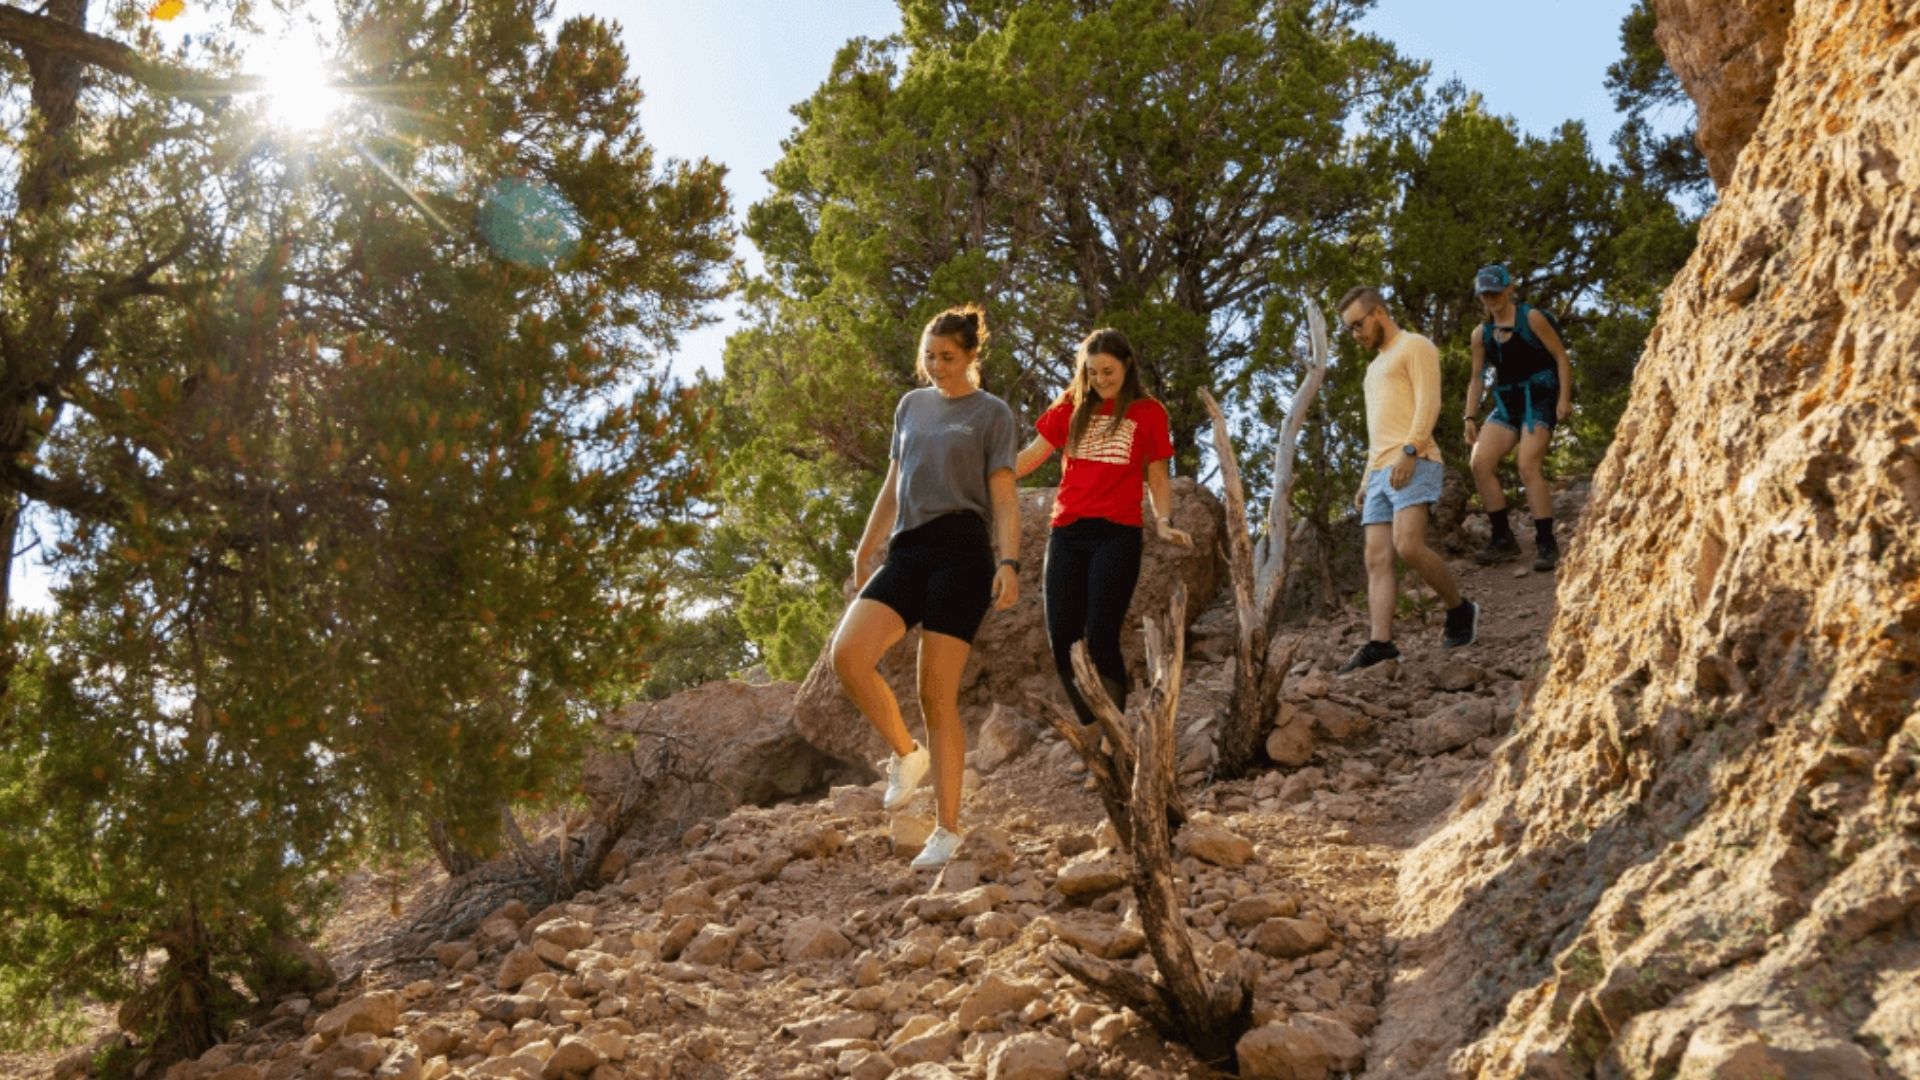
Know what to expect before you step onto this trail.
Heat, Hydration, and Sun Protection
Sedona gets very hot in summer. Temperatures can top 100°F between June and September. The trail has little shade, so sun exposure is constant.
Drink at least 2 liters of water for the full hike. Bring more if you go midday. Wear sunscreen and a hat. Starting early keeps you cool and makes the whole experience much safer.
Proper Hiking Shoes for Rocky Terrain
Flip-flops and thin sneakers won’t hold up on this trail. The path has uneven rocks, loose gravel, and steep sections near the top. Wear trail running shoes or hiking boots with solid grip.
Ankle support helps on the rougher parts. I wore light trail shoes when I went, and they worked well. The right footwear makes a real difference here.
Safety Tips for Walking on the Bridge
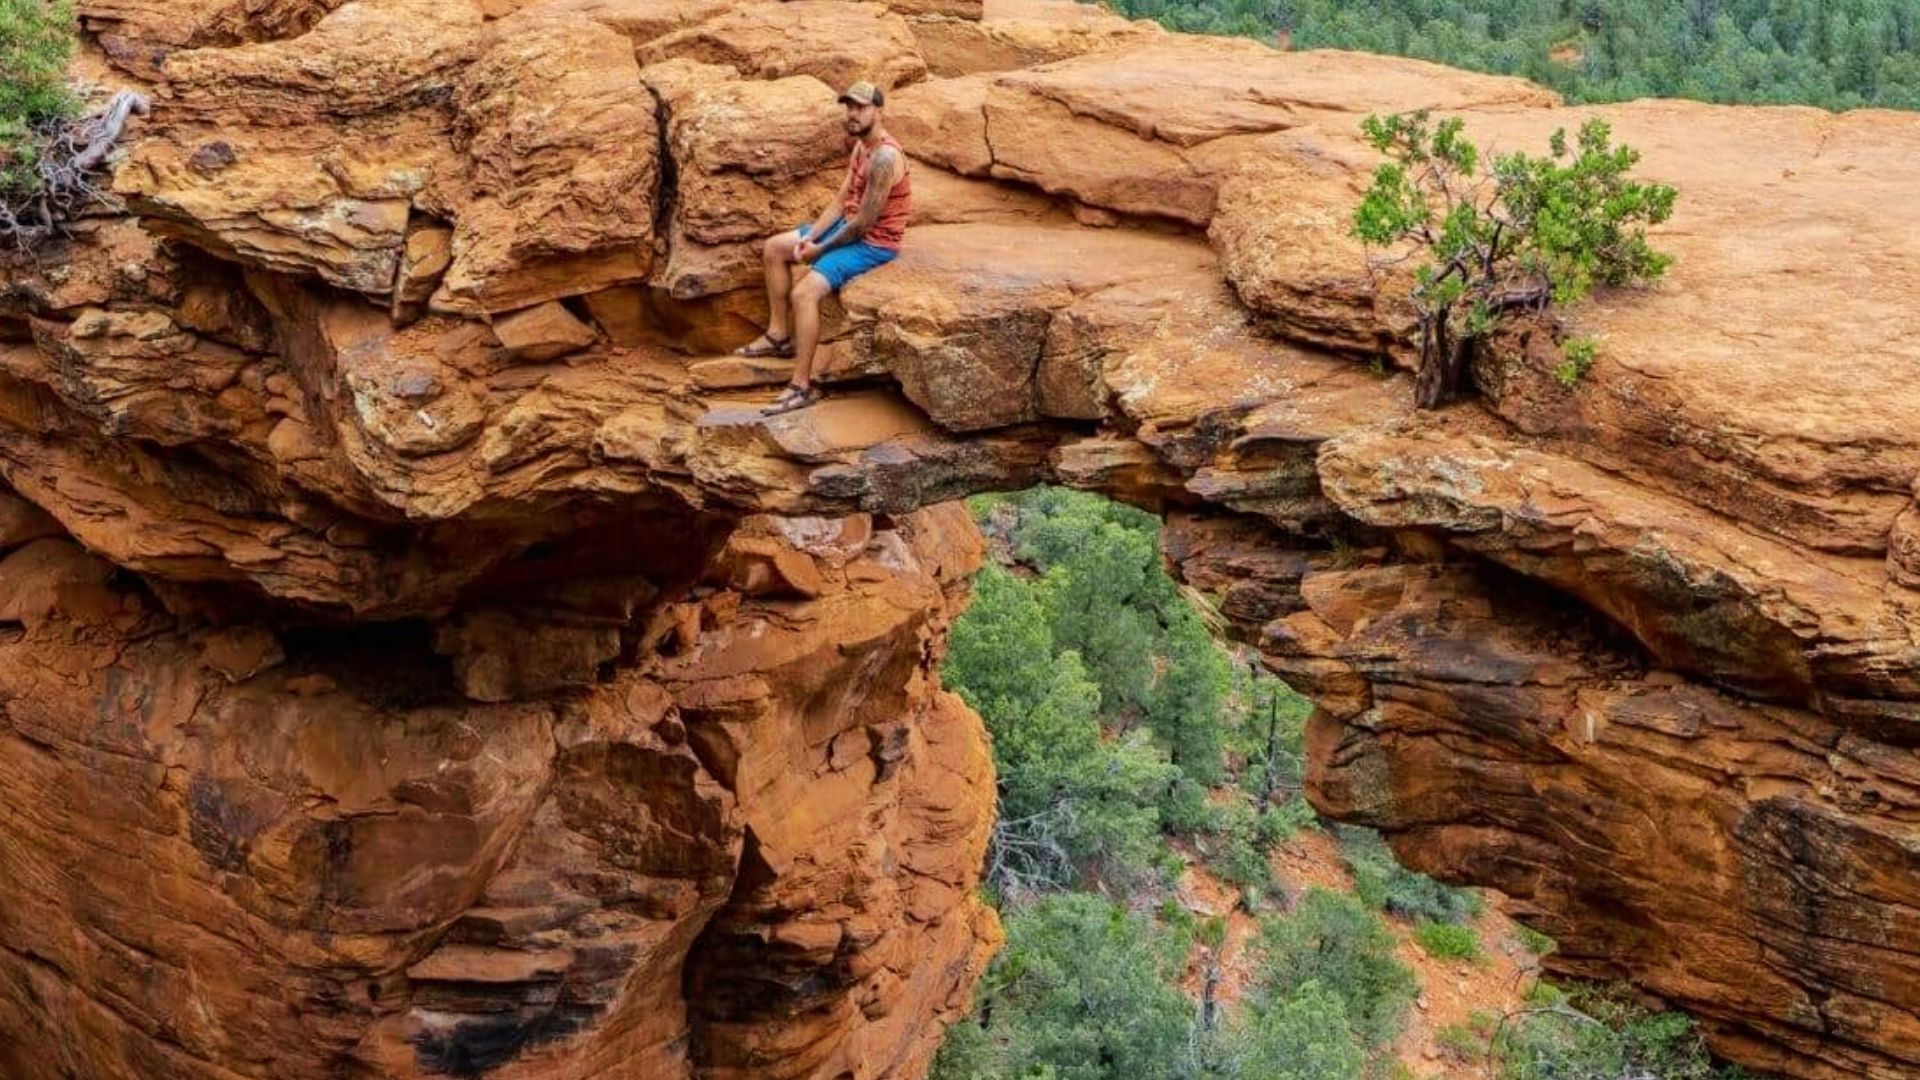
The arch is the highlight but also the riskiest part. It narrows at the edges, so stay toward the center. Don’t run. Wait your turn if the arch is crowded.
Go slowly and stay calm. If heights make you nervous, take a breath before you step on. The arch is stable. You just need to take it easy and move with care.
Hiking With Dogs and Kids
Dogs are allowed but must stay on a leash at all times. Rocky terrain can hurt paws in hot weather, so check the ground temperature before you go.
Kids can handle this trail if they’re confident on uneven ground. Keep them close near the arch and any steep areas.Go at a pace that works for your whole group.
Weather and Thunderstorm Awareness
Sedona sees afternoon thunderstorms mainly from July through September. These storms can move in fast. If dark clouds start building, head back to the trailhead right away.
Do not stay on the arch during lightning.Rain makes the rocks slippery and risky. Check the weather before you leave. Morning hikes are the safest way to avoid afternoon storm risk.
Best Time to Hike Devil’s Bridge
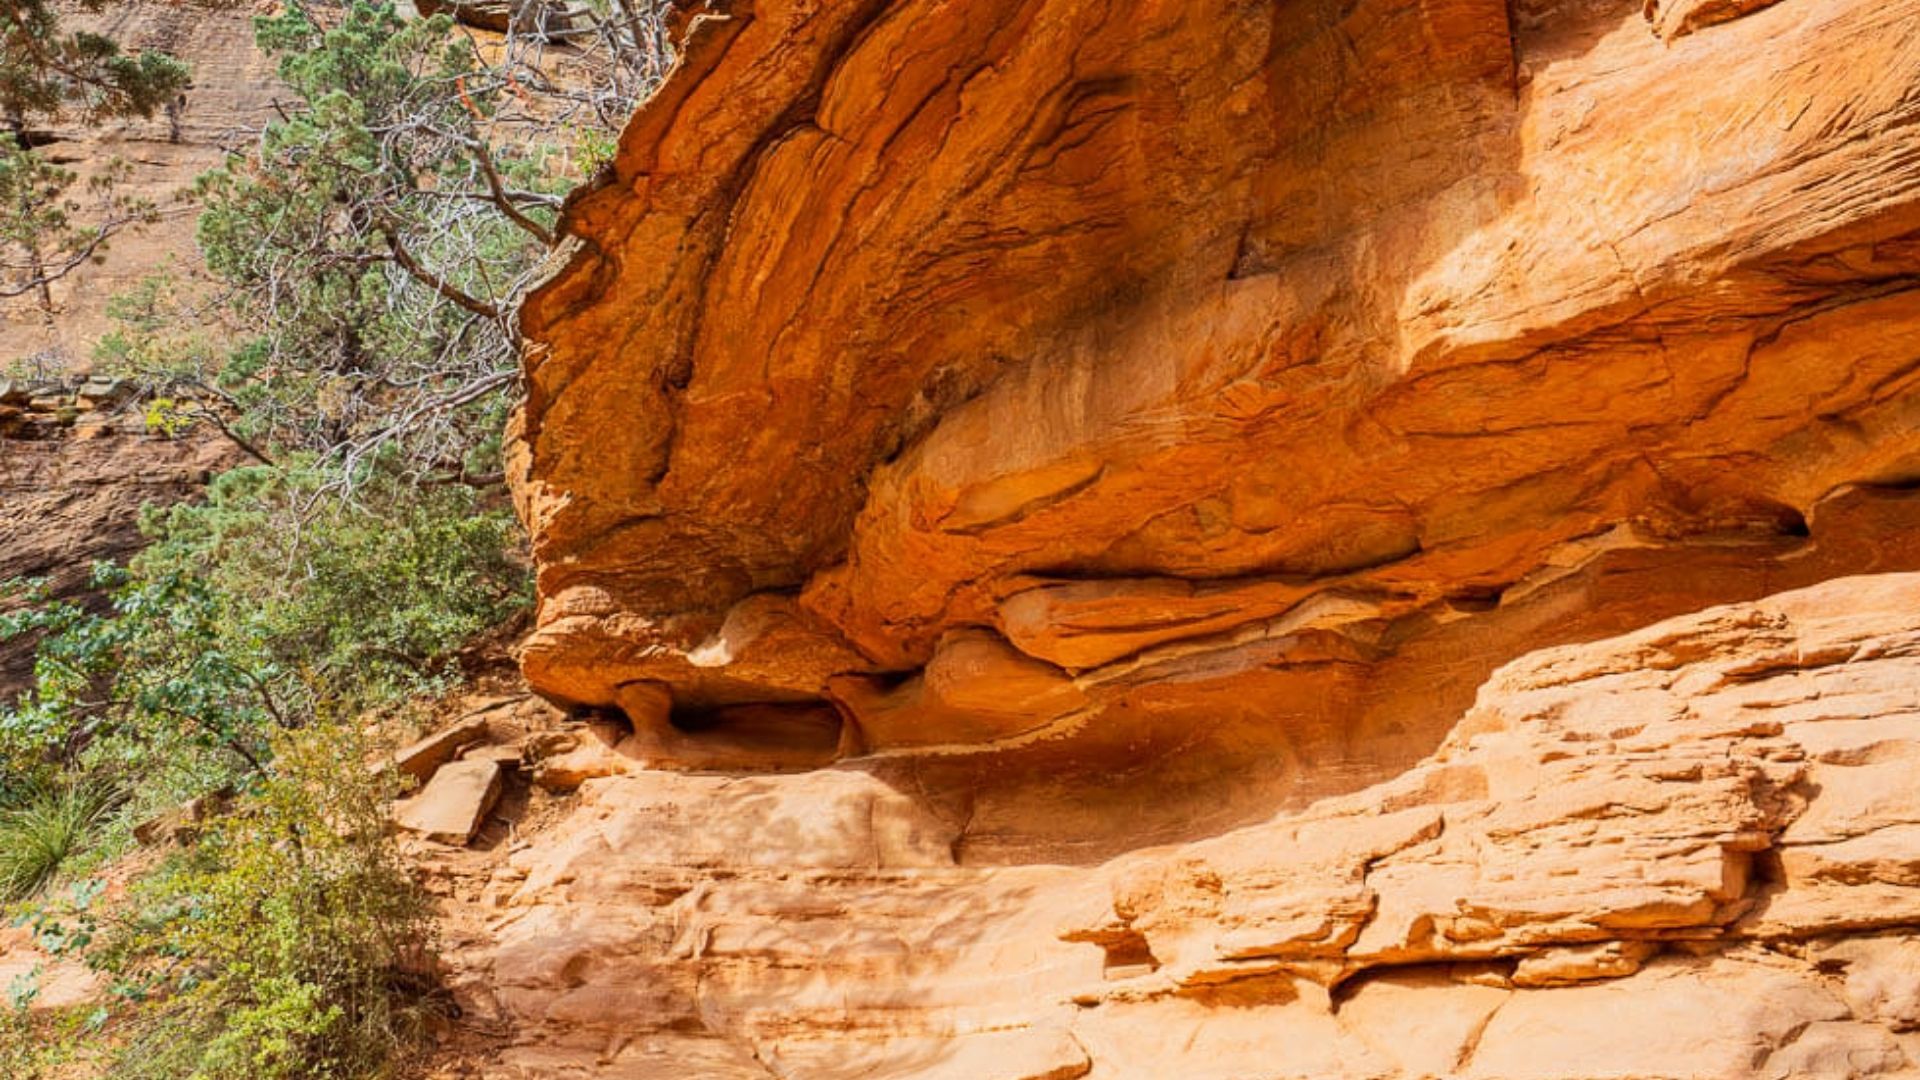
The best months to visit are March, April, October, and November. Sunrise hikes give you great light on the red rocks and far fewer people on the trail.
Sunset hikes are popular, but be off the path before dark. In summer, start before 7 AM and head back by noon.
The heat from June through September is intense and not worth underestimating. Winter is generally mild, but shaded sections can get icy in the early morning.
Spring and fall give you the most comfortable conditions for a full day on the trail without heat or crowd pressure.
Conclusion
Hiking Devils Bridge Sedona stays with you long after you’re back home.
I still remember stepping onto that arch and looking out over the red canyon below. It was quiet, wide, and unlike anything else I’d done on a trail.
I hope this blog helped you feel ready. Go early, bring enough water, and wear proper shoes.
If you found this helpful, share it with someone planning a Sedona trip. Drop a comment below. I’d love to hear how it went.
Frequently Asked Questions
Is Devil’s Bridge Sedona hard to hike?
It’s a moderate trail that most people with basic fitness can complete in 2 to 3 hours.
Do I need a permit to hike Devil’s Bridge?
No permit is needed, but a Red Rock Pass is required for parking in the area.
How long is the Devil’s Bridge hike?
The main trail is about 4.2 miles round trip and takes most hikers 2 to 3 hours.
Can I bring my dog to Devil’s Bridge Sedona?
Yes, dogs are welcome on the trail but must be kept on a leash at all times.
What should I bring for the Devil’s Bridge hike?
Bring water, sunscreen, a hat, and wear trail shoes with solid grip for rocky terrain.
