

I’ve always been drawn to routes that actually make you work for the summit. The Mt Whitney Mountaineers Route is one of those climbs.
It’s not a casual hike. But it’s not out of reach either, if you come prepared.
In this guide, I’ll cover everything: permits, gear, route sections, seasonal conditions, and safety. I’ve put this together with real trail knowledge so you’re not guessing when it matters most.
Here’s exactly what I’ll break down for you.
Quick Overview of the Mountaineers Route
The Mt Whitney Mountaineers Route is an 18.5-mile round trip that gains roughly 6,100 feet. It’s rated Class 3, meaning some hands-on scrambling is involved.
It’s harder than the standard trail but far more rewarding. Most climbers complete it in one or two days.
Snow and ice can be present well into summer, so knowing conditions before you go is non-negotiable.
Preparing for the Mt Whitney Mountaineers Route
Good prep before your climb makes everything safer and more manageable on the mountain.
Physical Preparation
Endurance matters more than speed on this route. Train with long uphill hikes and loaded packs.
I’d recommend completing a few 10,000-foot peaks first. Altitude hits harder above 12,000 feet, so spend a night at elevation before summit day. Your lungs will thank you.
Permits and Regulations
You need a permit to hike this route from May through November. They’re issued through Recreation.gov and go fast, and apply during the lottery period in February.
Check the Inyo National Forest website for current regulations. Rules can change year to year, so always verify before finalizing your plans.
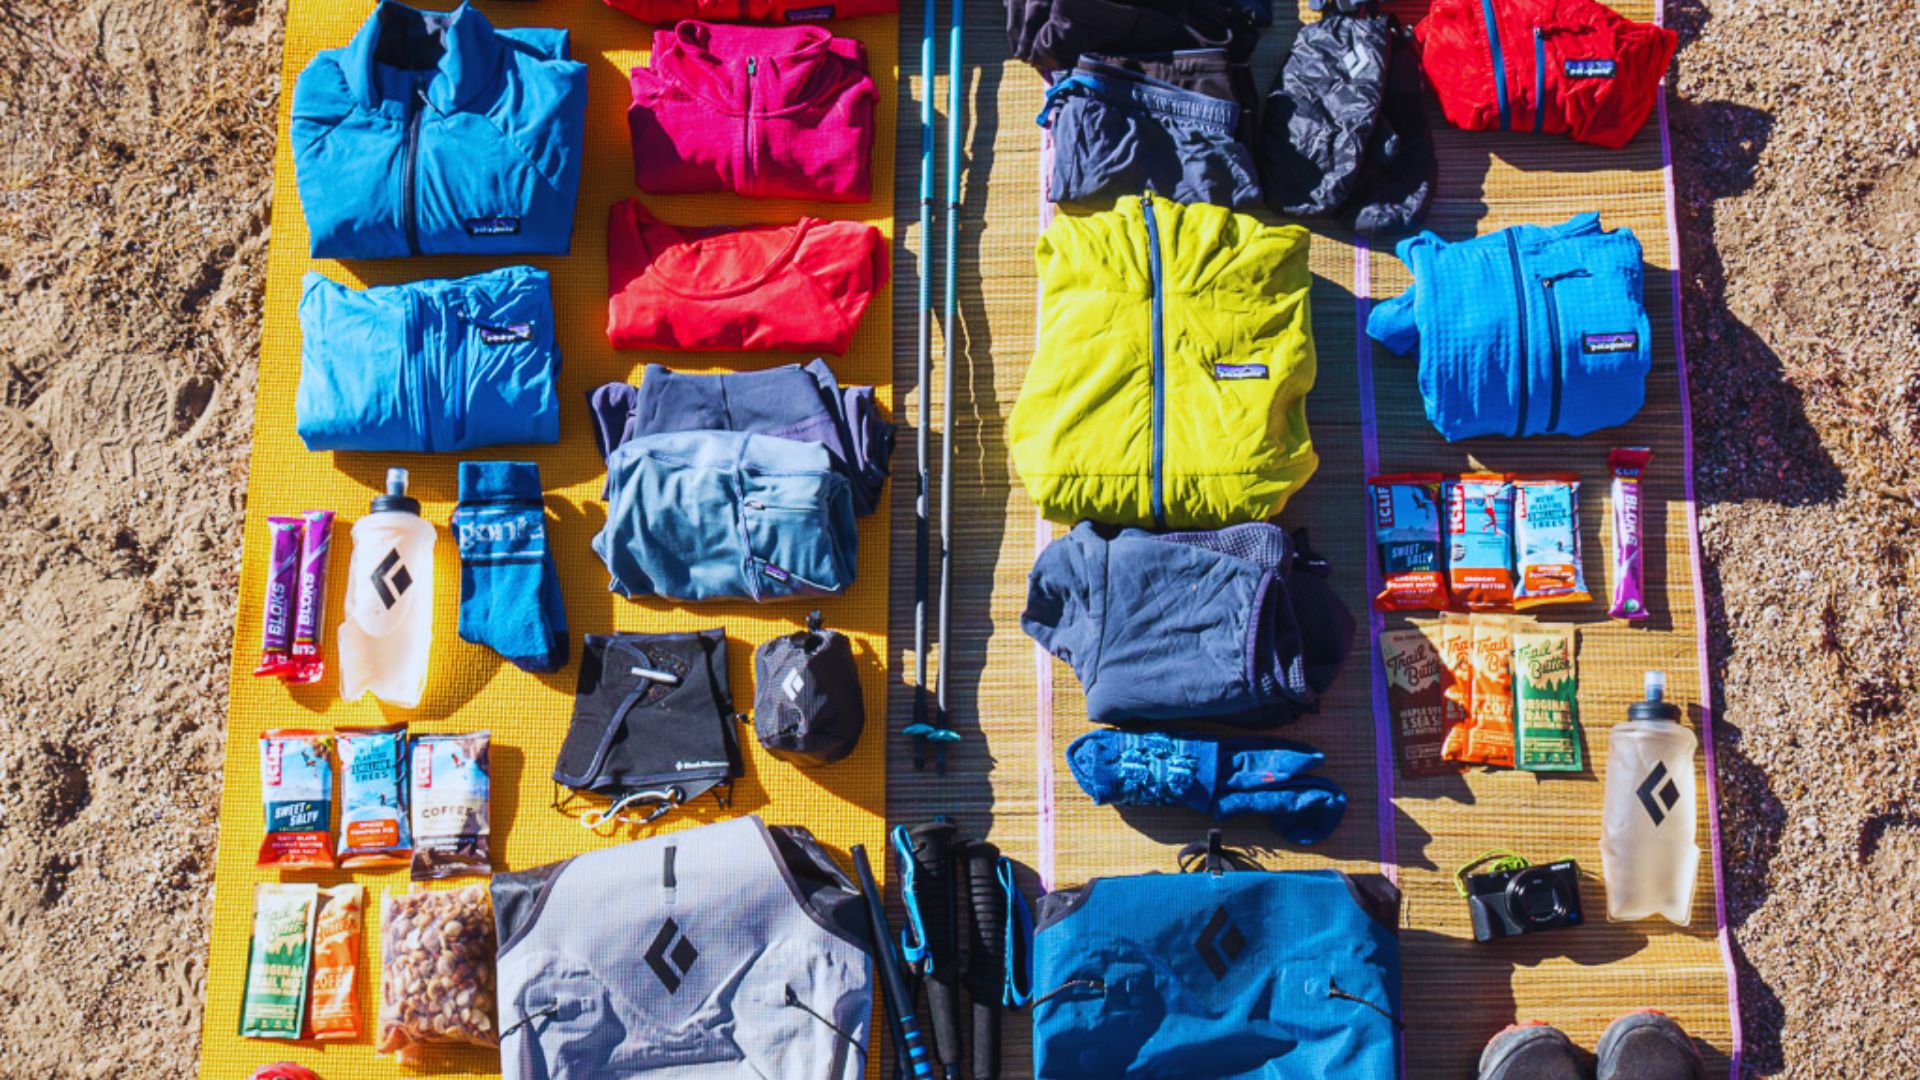
Gear Essentials
Pack layers, a headlamp, trekking poles, and a first aid kit for summer. In winter or spring, you’ll need crampons, an ice axe, and a helmet, no exceptions.
A GPS device and printed topographic maps are both worth carrying. Cell service is unreliable, and the terrain looks similar in several sections.
Route Overview
Knowing the terrain ahead of time helps you move faster and make smarter calls on the mountain.
Trailhead and Early Sections
The route starts at Whitney Portal, the same as the main trail. After about 3.5 miles, you split off from the standard path at Lone Pine Lake.
From here, terrain gets rockier with stream crossings and light scrambling. It’s manageable but pay attention, the path isn’t always obvious.
Lower and Upper Boy Scout Lakes
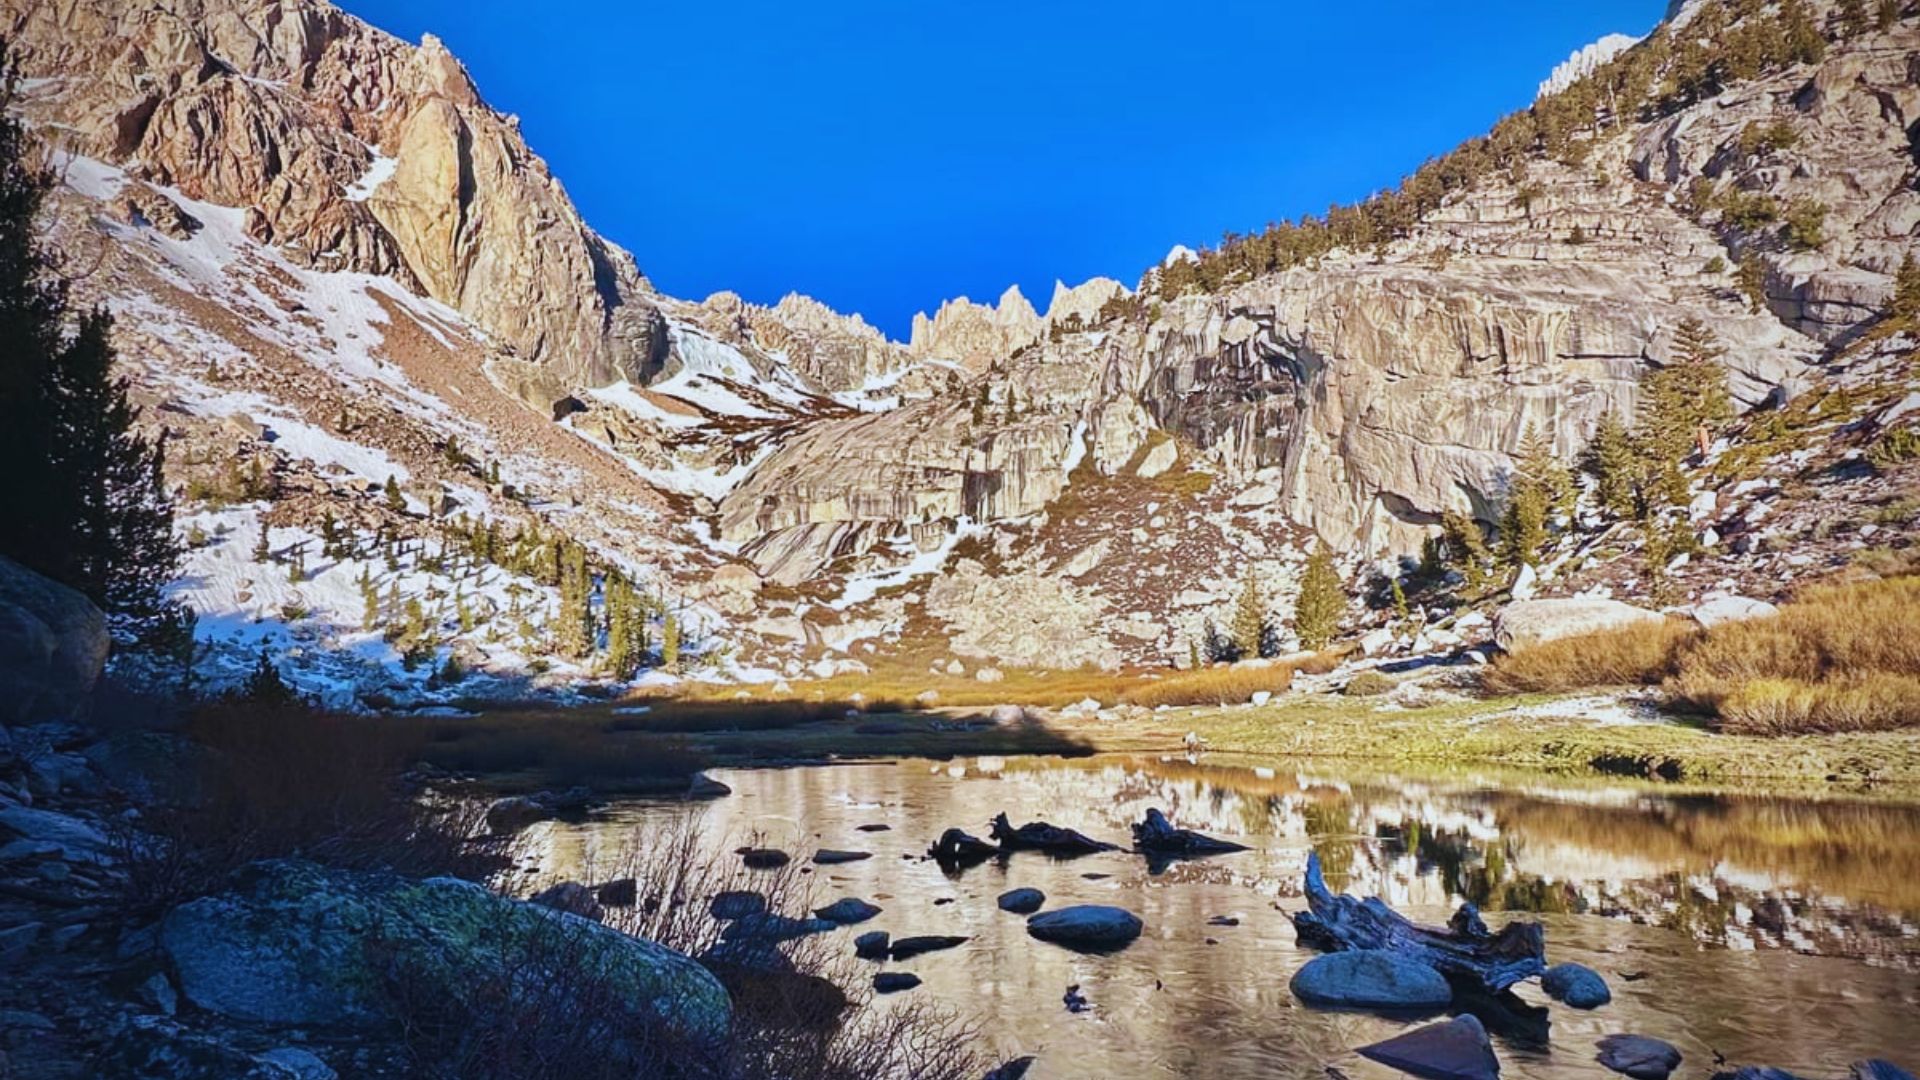
Lower Boy Scout Lake sits around 10,328 feet and is a common first-night camp spot. Upper Boy Scout Lake is your next major landmark.
Navigation errors happen most often between these two lakes, people cut left too early. Stay patient, check your map, and watch for cairns marking the path ahead.
Technical Sections
This is where the route gets serious, read each section carefully before your climb.
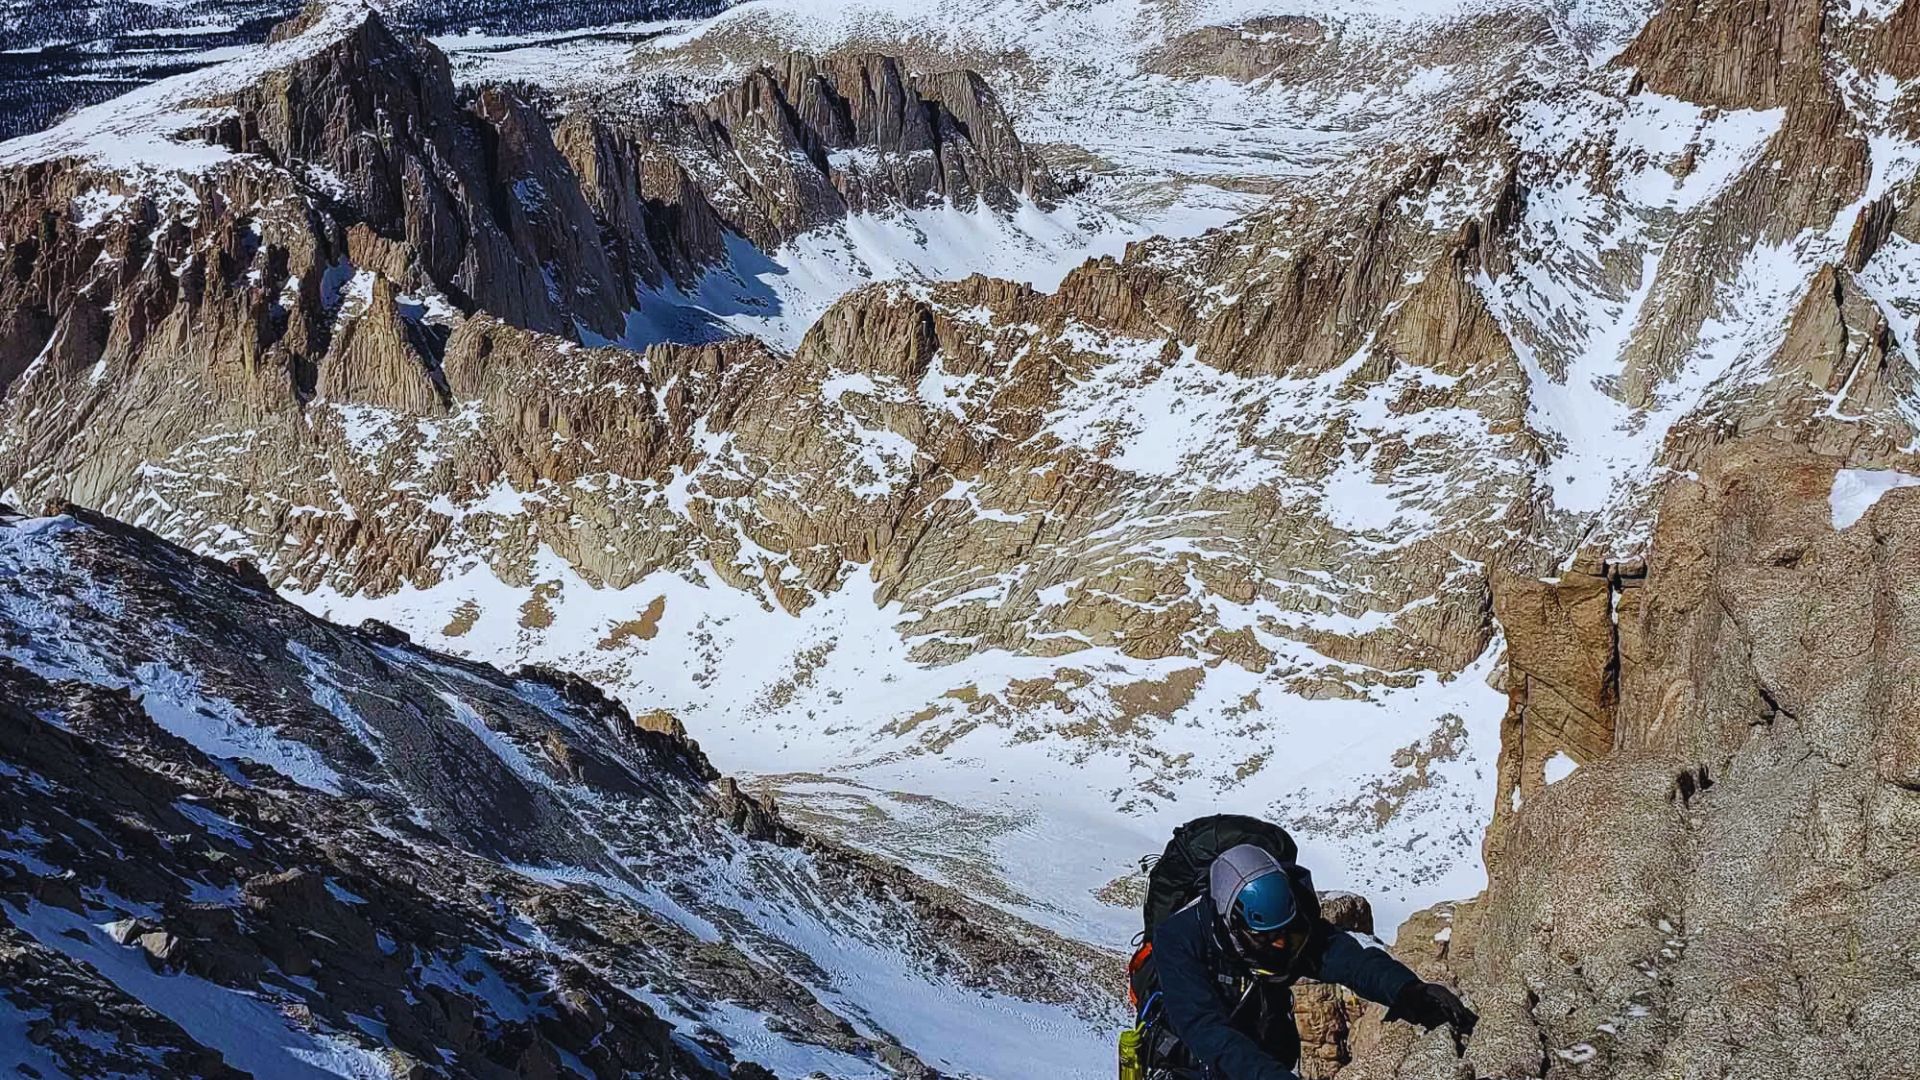
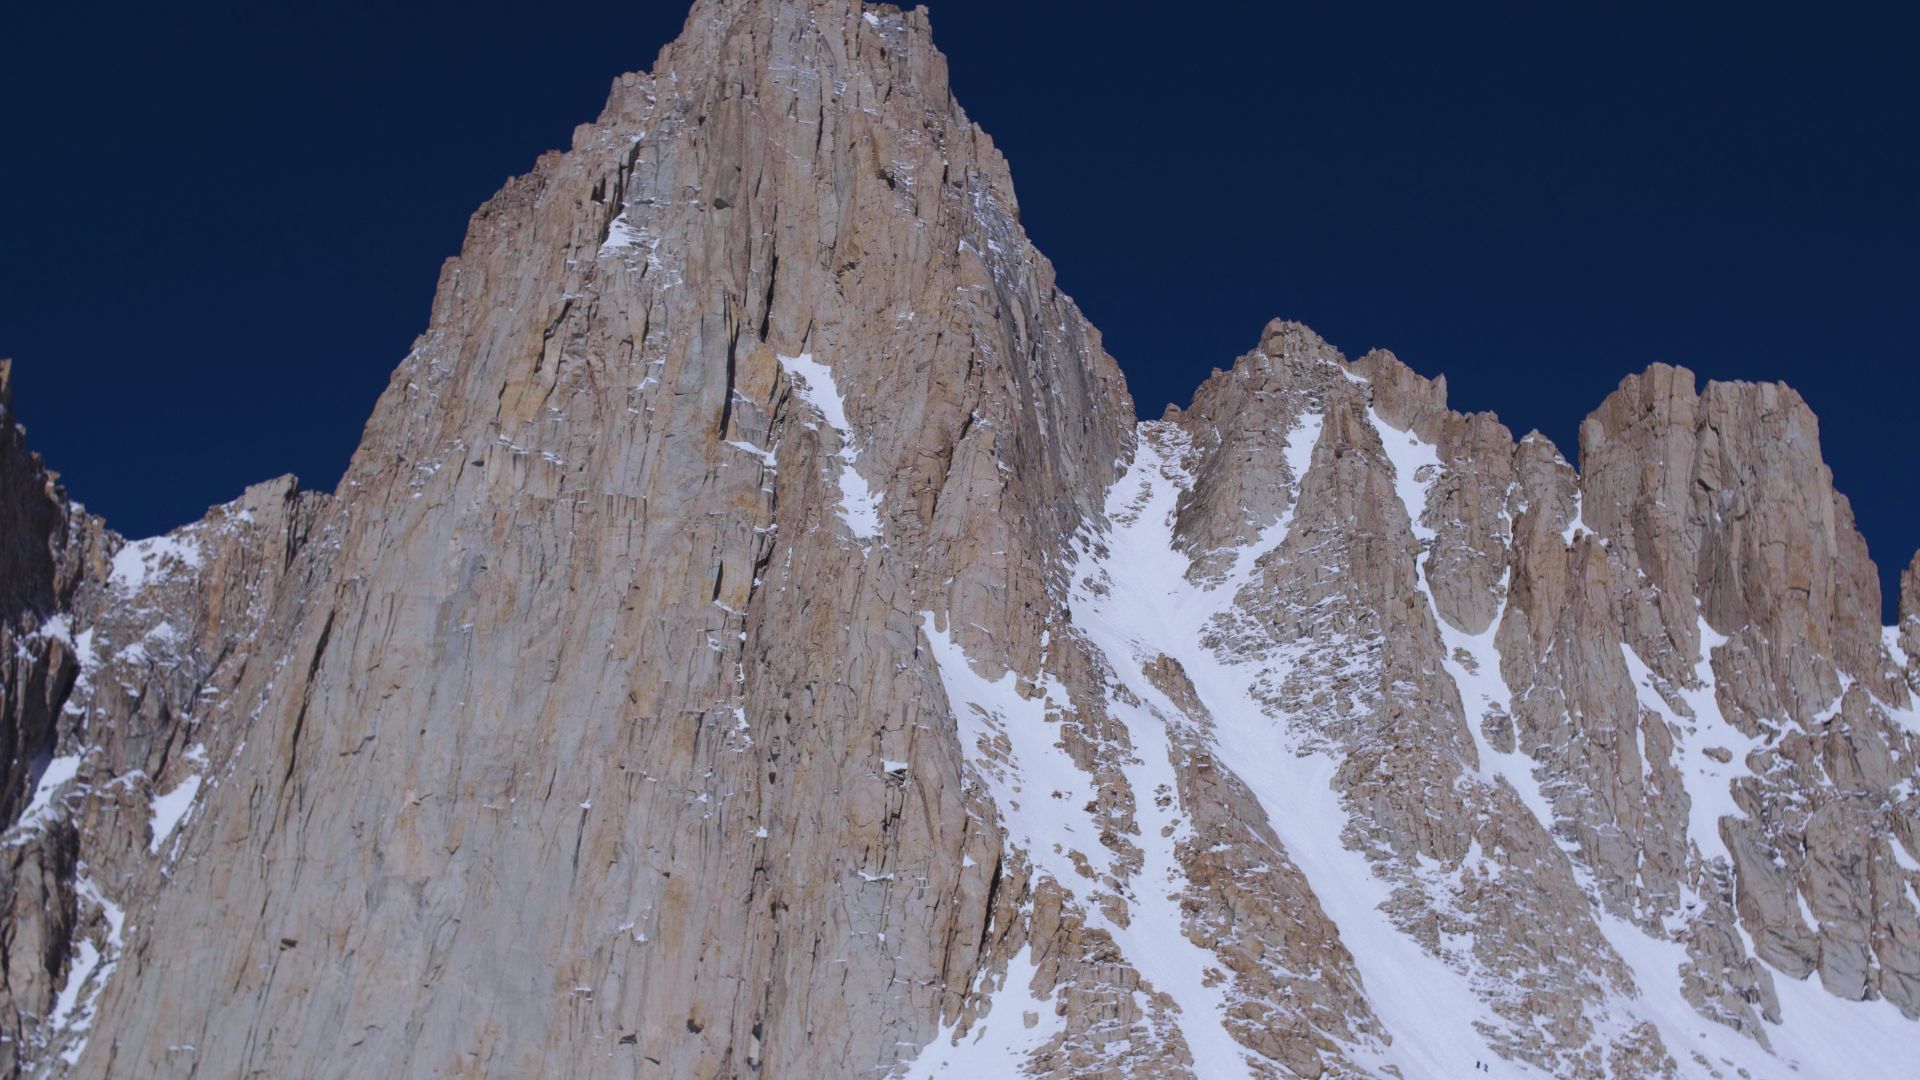
Iceberg Lake
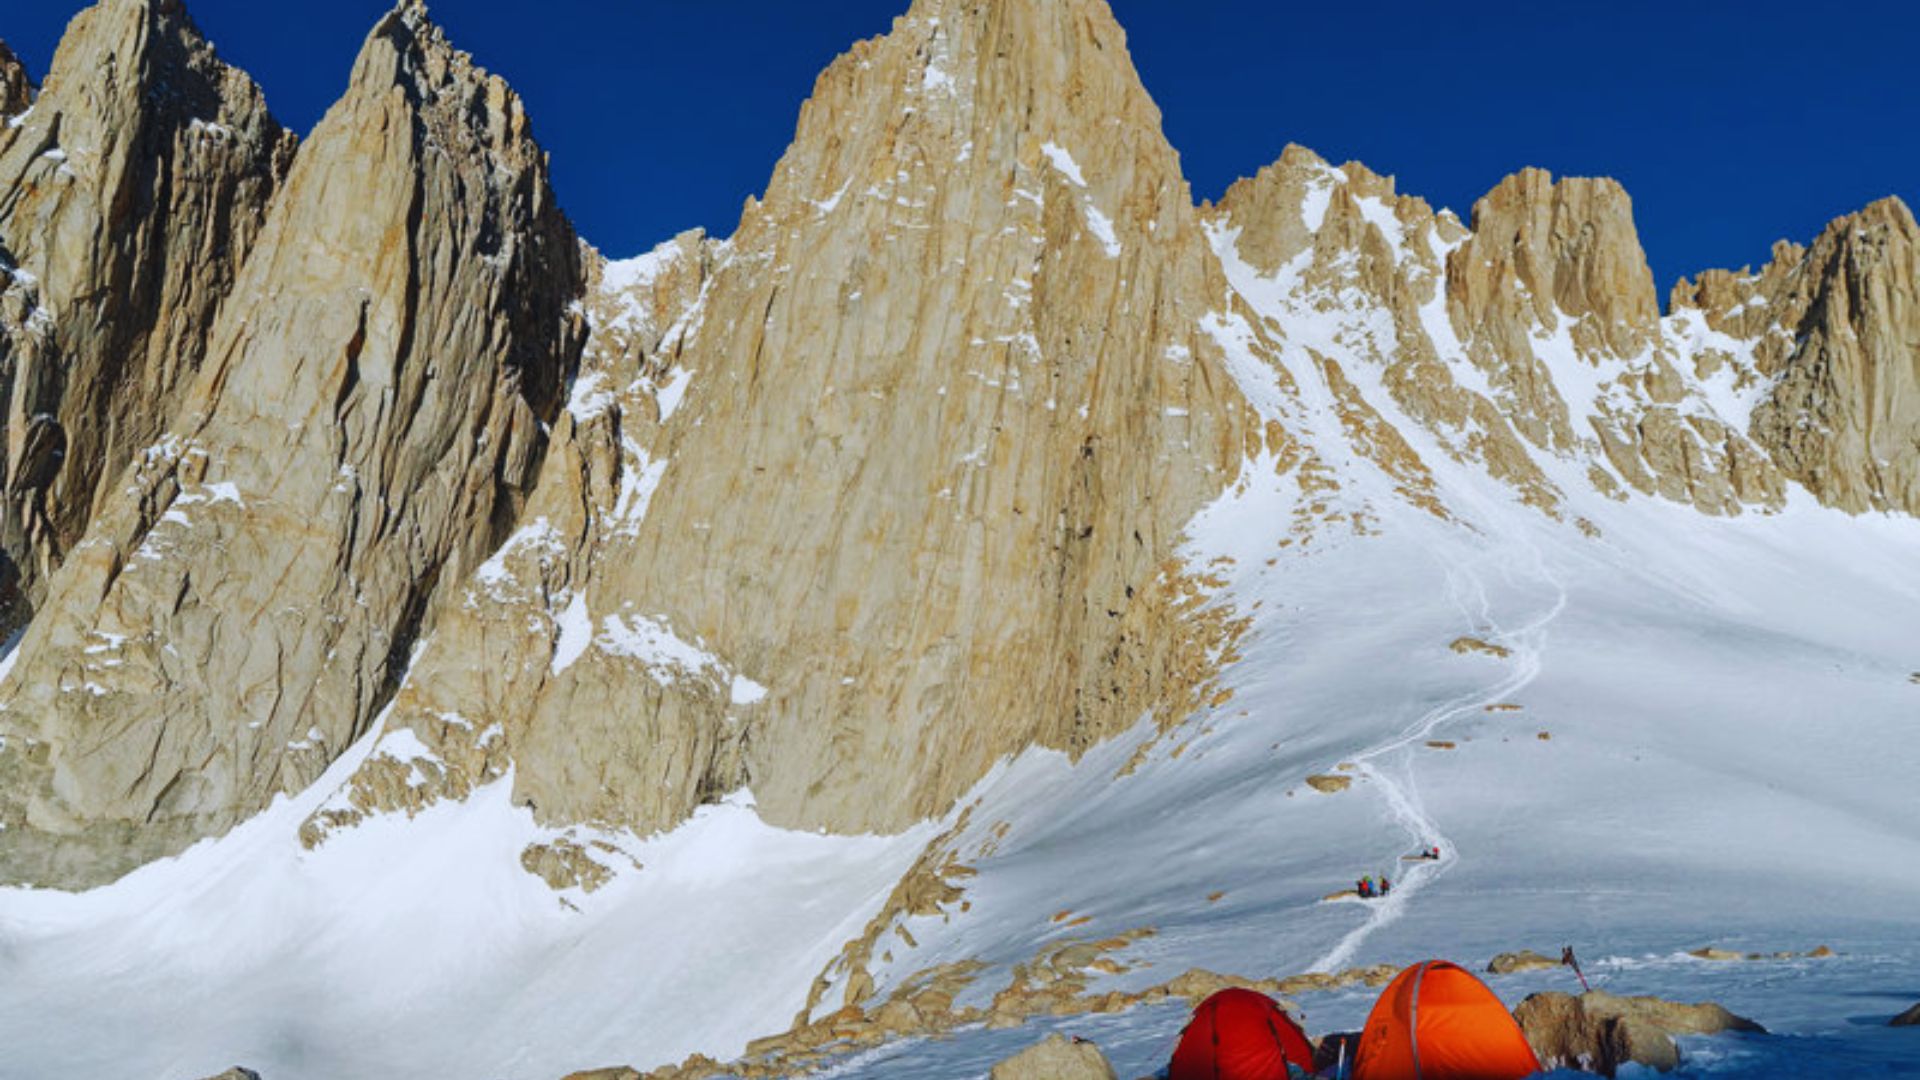
Iceberg Lake sits at about 12,600 feet and is the last major rest point before the technical push. From here, you’ll choose your line up the Chute.
The terrain around the lake includes loose rock, snow remnants in early season, and steep sides. Take your time scouting the next section before moving up.
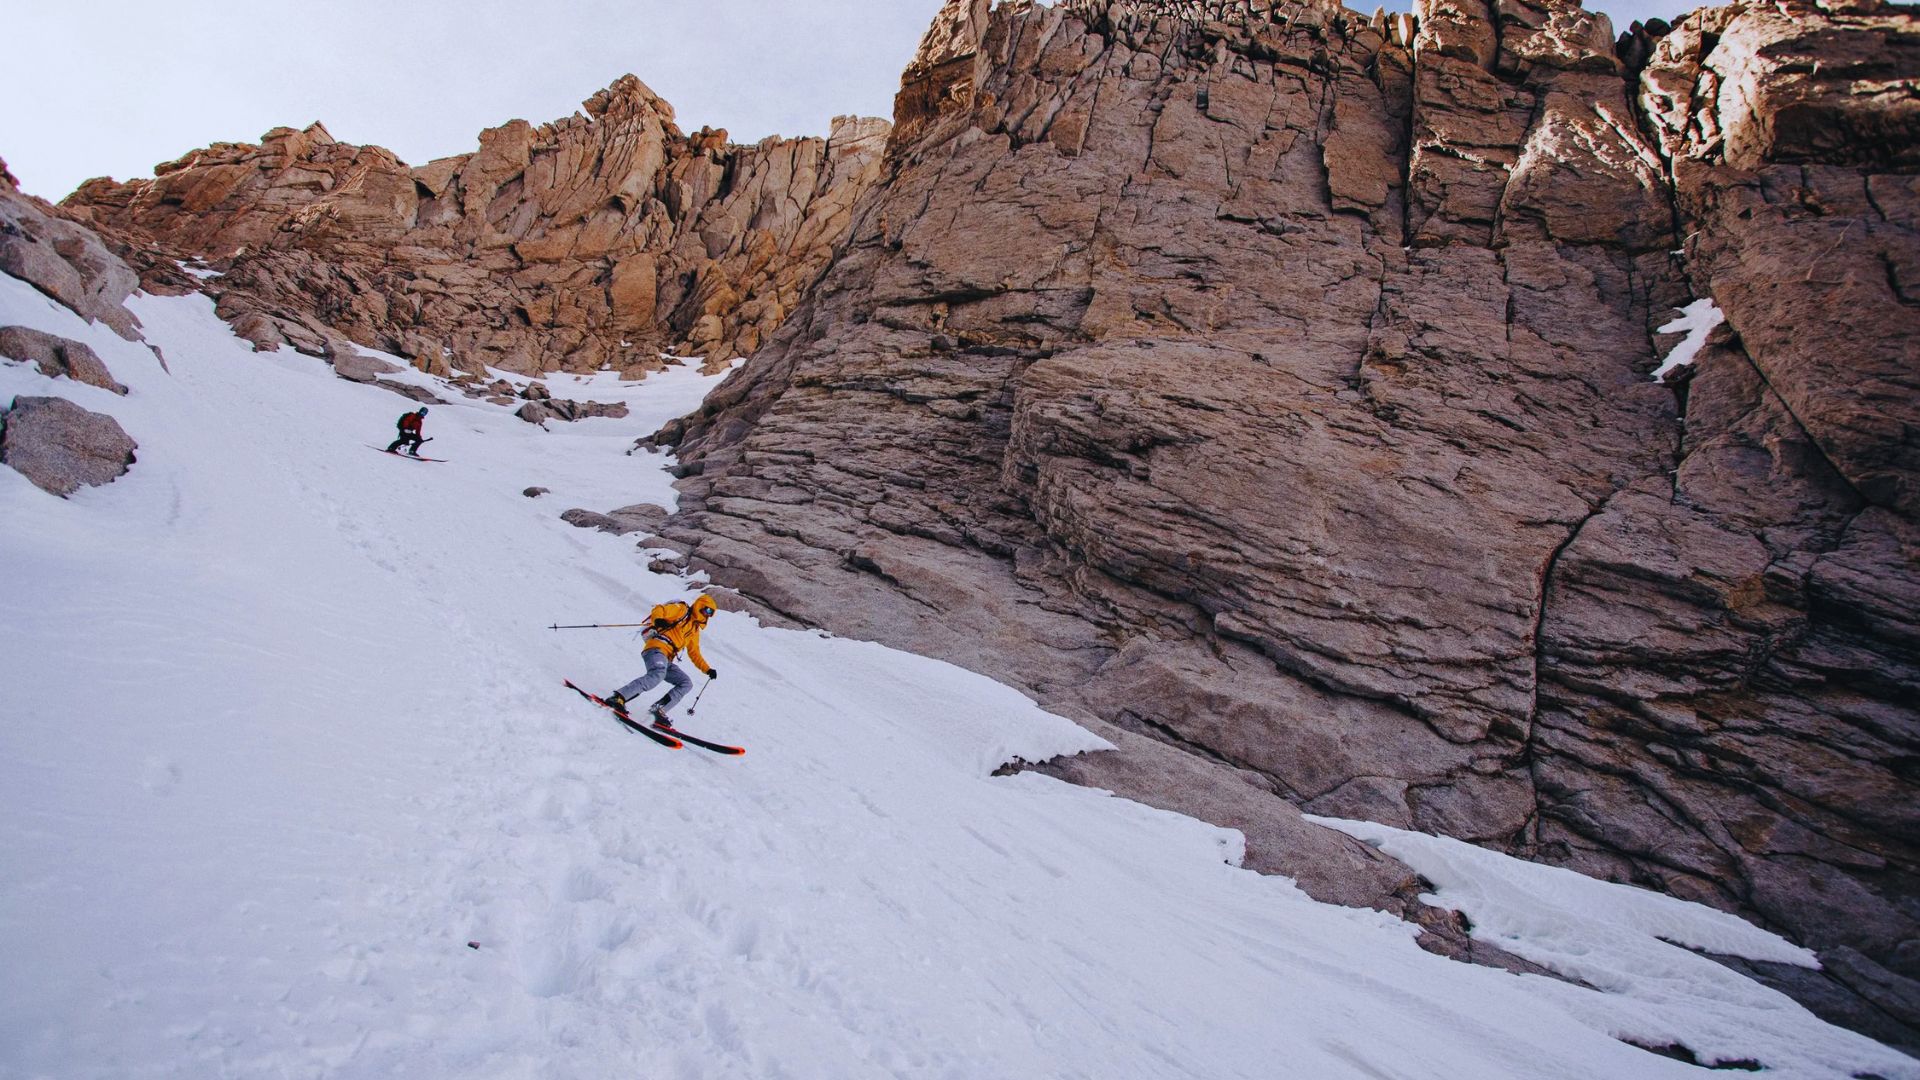
The Chute
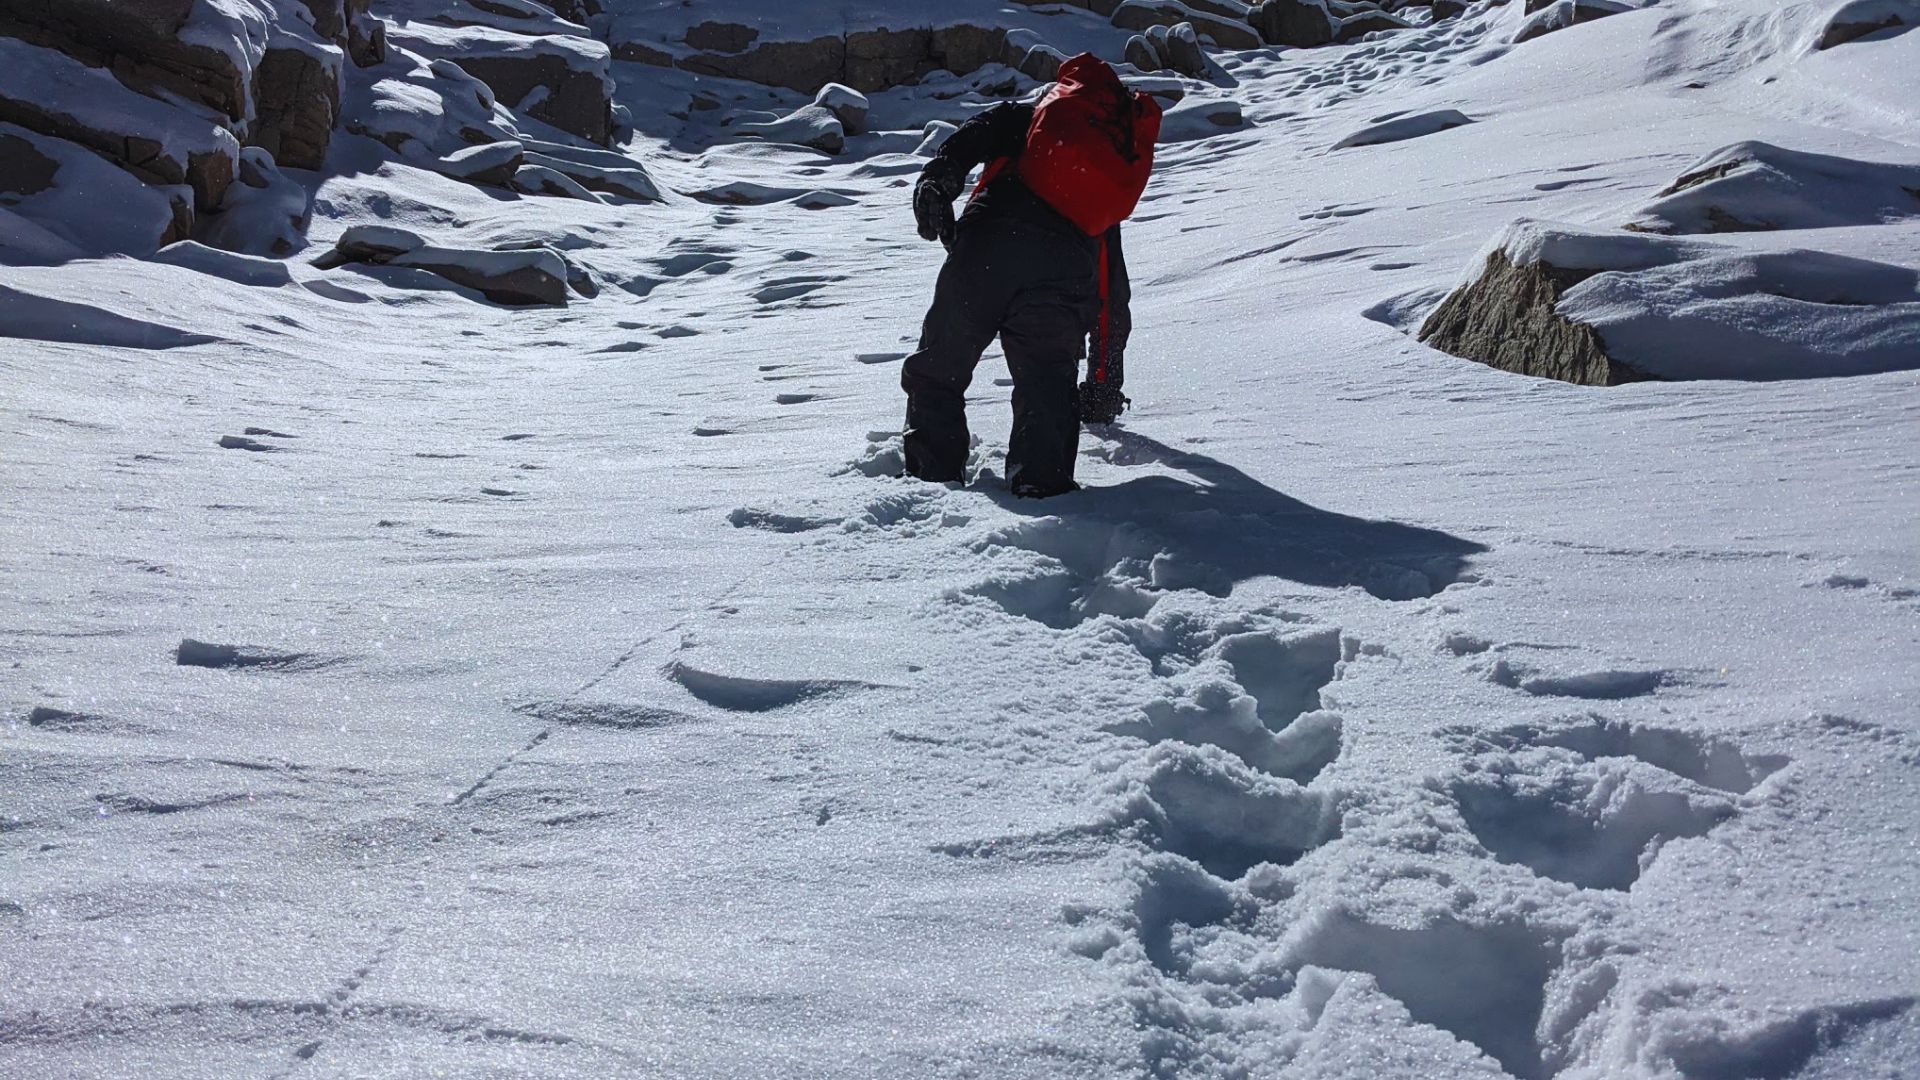
In summer, the Chute is loose scree and steep rock, tiring but manageable without special gear. In winter and spring, it’s snow and ice, and that changes everything.
Crampons and an ice axe are required. Self-arrest is a real skill you need before attempting this section in cold conditions. Practice before you go.
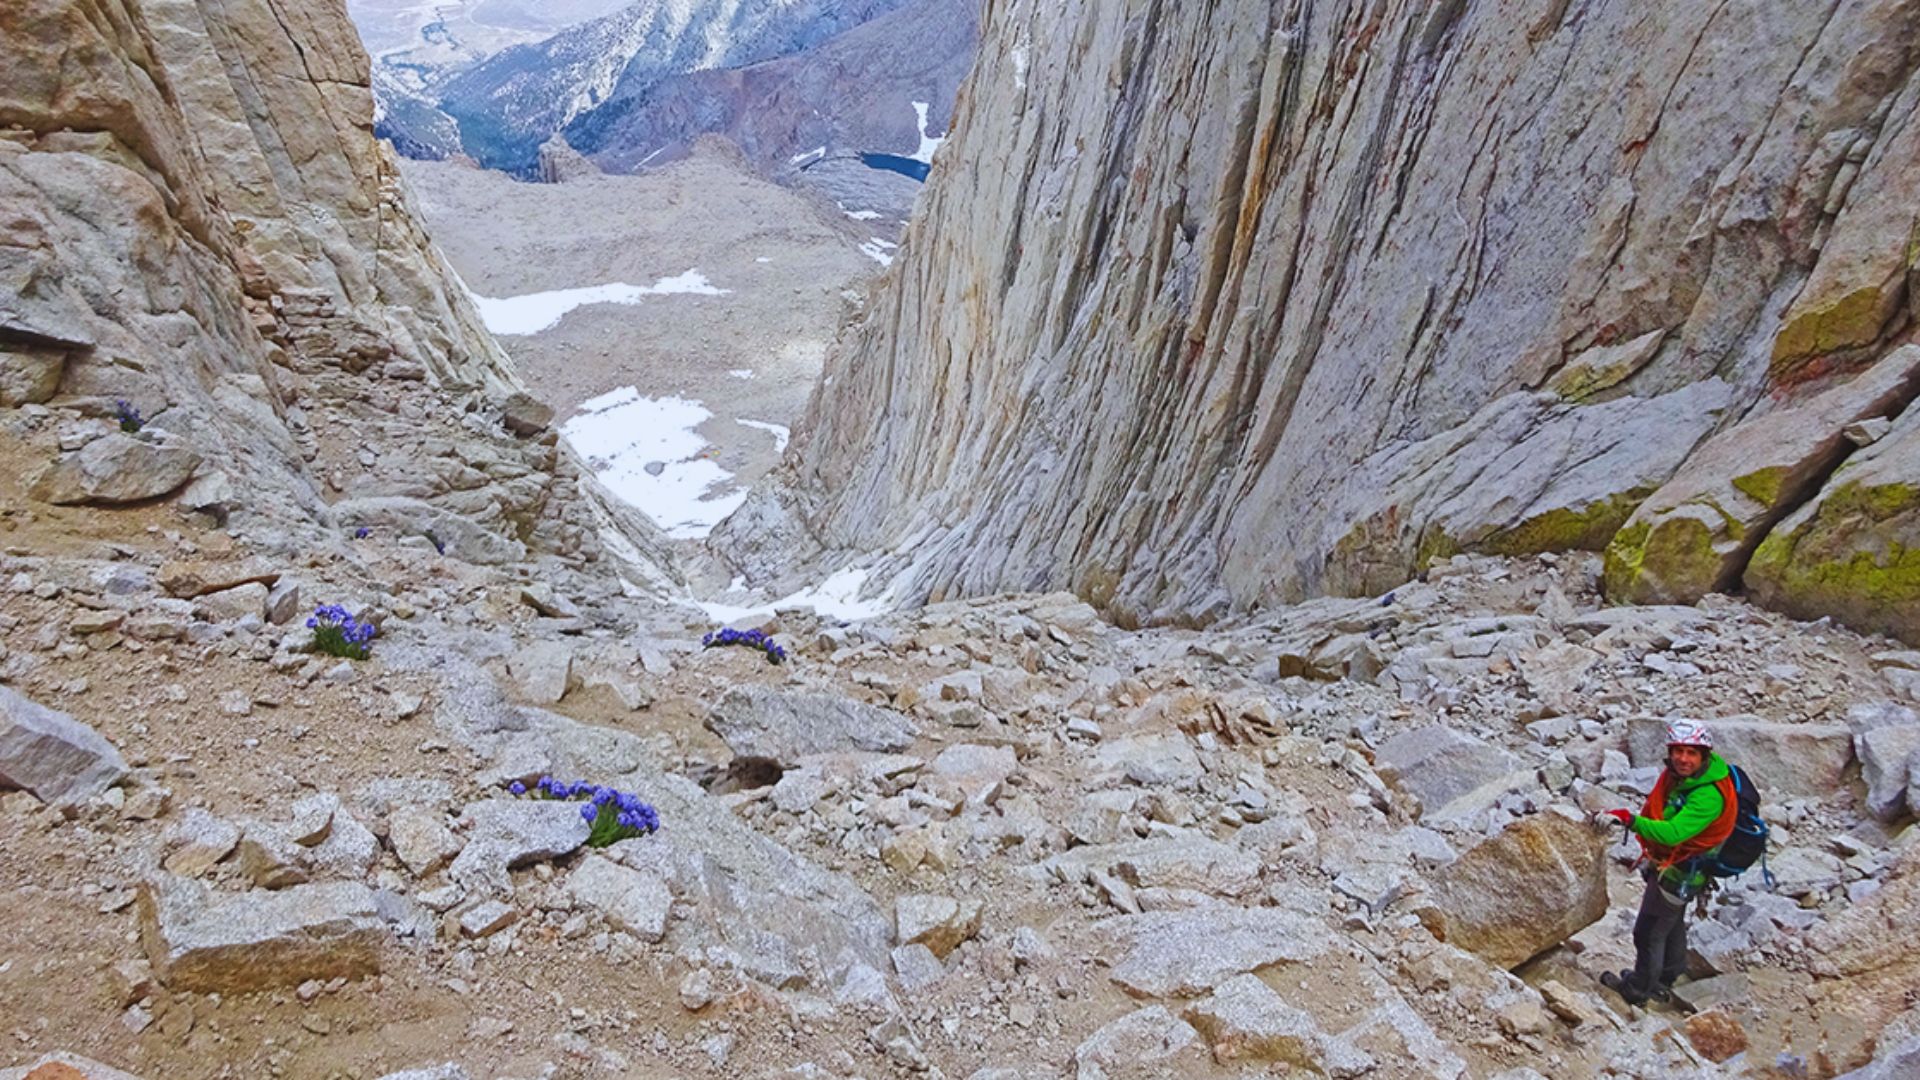
The Notch
The Notch is where you get your first full view of the final push. From here, you have two choices: the Final 400 scramble or the Easy Walk-Off along the main trail ridge.
The Walk-Off is gentler and longer. Your fitness and experience level on the day should guide which option you take.
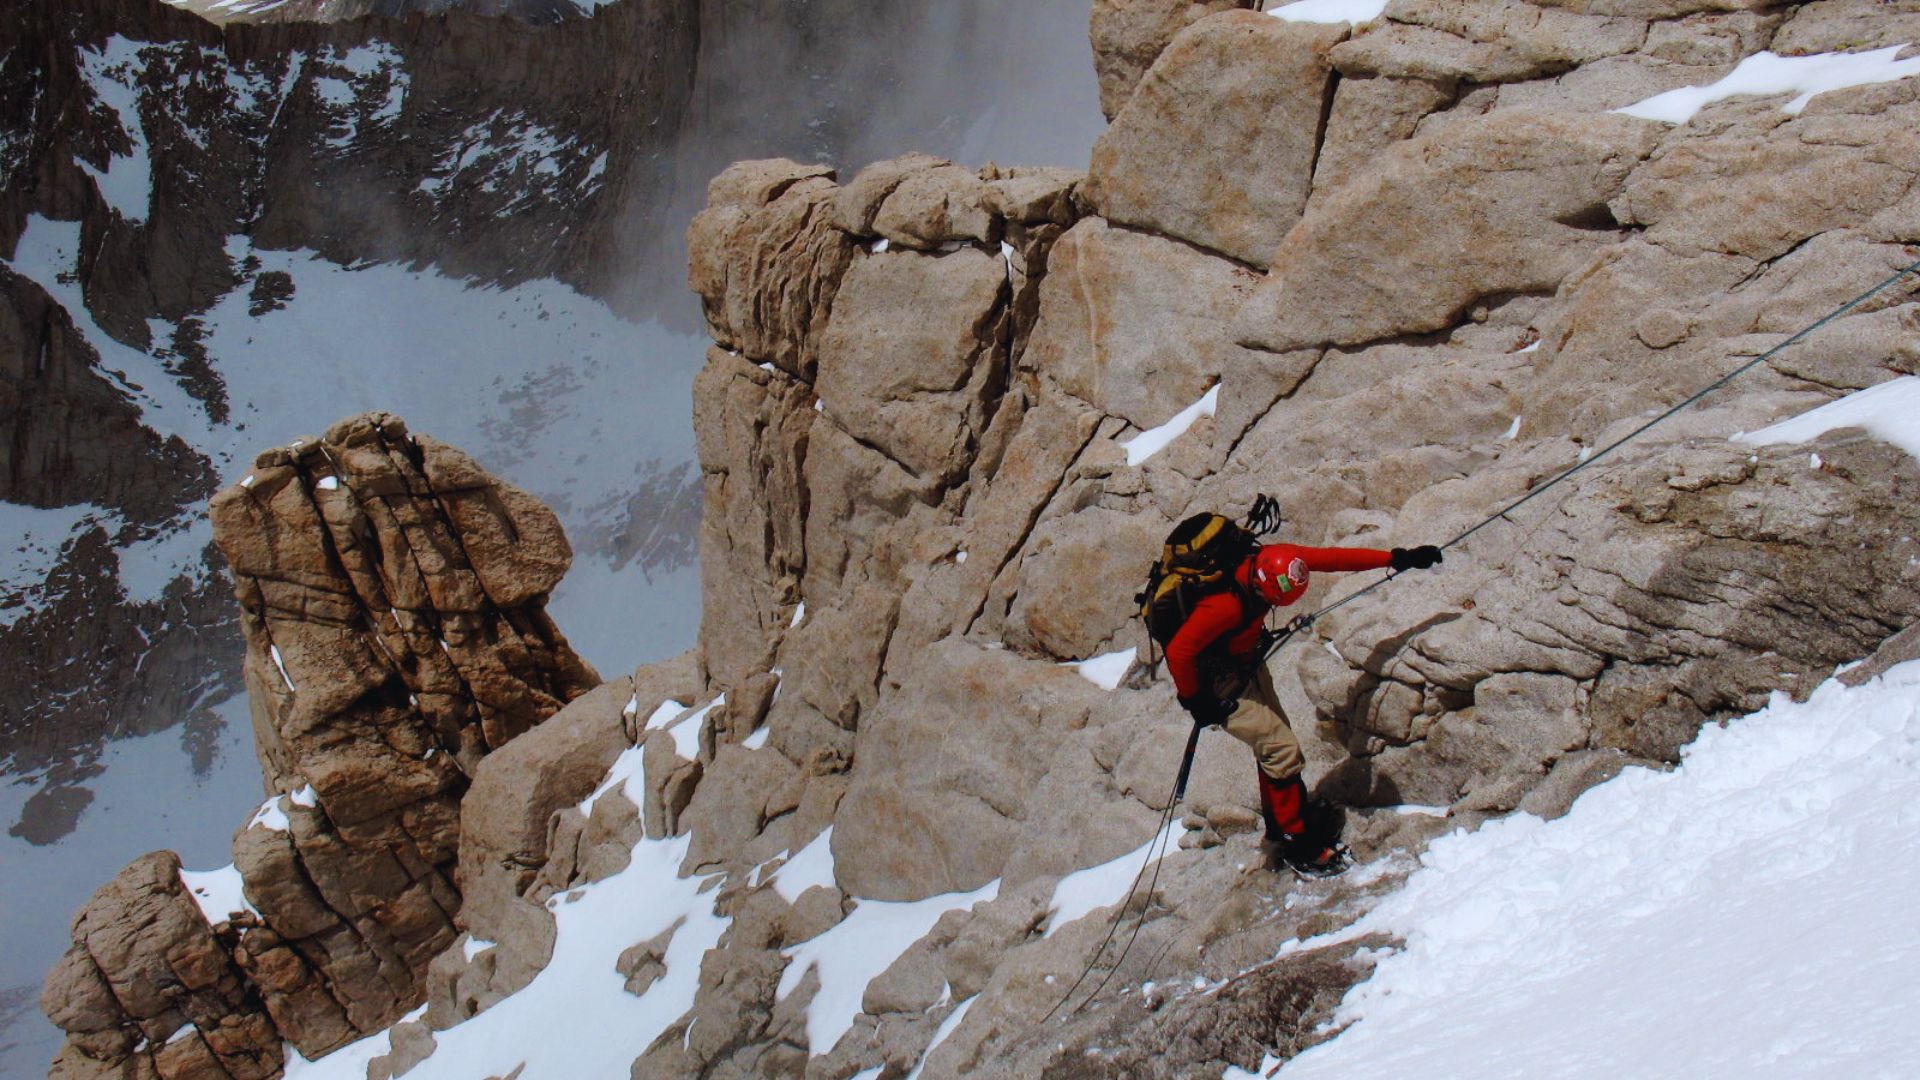
The Final 400
This is a Class 3 scramble, about 400 feet of hands-and-feet climbing up solid granite. It’s exposed but not vertical. Use three points of contact at all times.
The holds are generally solid. Stay calm, move deliberately, and don’t rush. This section is where most close calls happen, so take it seriously.
Summit and Descent
You’ve done the hard part, here’s what to expect at the top and on the way back down.
Reaching the Summit
Most climbers hit the summit in 8 to 12 hours from Whitney Portal, depending on pace and conditions. At 14,505 feet, the views are genuinely worth every step.
You’ll see the Sierras spread out in every direction. Sign the summit register, take a moment, eat something. Then start planning your descent before fatigue sets in.
Descending Options
You can descend the same Mountaineers Route or drop down via the standard Mt Whitney Trail. The main trail is less technical and easier on tired legs.
The Mountaineers Route descent is faster but harder to follow when you’re exhausted. Rockfall risk increases in afternoon heat.
Whatever you choose, move carefully, most accidents happen on the way down.
Route Comparison
Here’s a side-by-side look at both routes so you can choose what fits your skill level.
| Feature | Mountaineers Route | Mt Whitney Trail |
|---|---|---|
|
Distance (round trip) |
~18.5 miles |
~22 miles |
|
Elevation Gain |
~6,100 ft |
~6,100 ft |
|
Difficulty |
Class 3 |
Class 1 |
|
Technical Gear Needed |
Yes (seasonal) |
No |
|
Crowds |
Low |
High |
|
Best For |
Experienced hikers |
All fitness levels |
The Mountaineers Route is steeper and more direct. It requires route-finding skills and comfort with scrambling.
The standard trail is longer but straightforward. If you’re new to high-altitude hiking, start with the main trail and come back for this one when you’re ready.
Seasonal Considerations
The season you pick changes your entire experience on this route.
Summer (July–September): Loose scree replaces snow in the Chute. Lighter gear works fine. Afternoon thunderstorms are common, start early.
Rock and debris shift more freely in summer heat, so helmets are still a smart call near the Chute and Final 400.
Winter and Spring (October–June): Snow and ice cover the upper sections. Crampons and an ice axe are required, not optional. Avalanche risk exists in certain sections.
Cold temperatures and shorter daylight hours make planning even more critical. This is a full mountaineering experience in winter, treat it like one.
Navigation and Safety Tips
Stay sharp on this route, here’s what I always keep in mind.
- Download offline maps before leaving cell range. Apps like Gaia GPS are reliable and work without signal.
- Start before sunrise. Aim for a 3–4 AM start to avoid afternoon thunderstorms and beat the heat in lower sections.
- Never solo the technical sections in winter without proper training and a partner who knows self-arrest.
- Mark your camp GPS coordinates. Everything looks different on the descent, especially in poor light or after a long day.
- Turn around if conditions change. No summit is worth pushing through dangerous weather or beyond your ability.
Conclusion
The Mt Whitney Mountaineers Route is one of the most satisfying climbs in the lower 48. I won’t pretend it’s easy, it pushed me in ways I didn’t expect the first time.
But that’s exactly what makes reaching the summit feel so good.
If you’re thinking about it, start training now. Get your permit sorted early. And go in knowing what you’re getting into.
Drop a comment below if you have questions, I’d love to help you plan it. Share this post with someone who needs the nudge to finally go for it.
Frequently Asked Questions
Is the Mt Whitney Mountaineers Route safe for beginners?
It’s not recommended for first-time hikers. The Class 3 scrambling and route-finding involved require prior experience on steep terrain. Build up to it with easier high-altitude peaks first.
Do I need a permit for the Mountaineers Route?
Yes. From May through November, a permit is required. You’ll need to apply through Recreation.gov during the February lottery. Demand is high, so apply early.
What is the best time of year to hike the Mountaineers Route?
Late July through September is the most forgiving window. Snow is mostly gone, weather is more stable, and the route is at its least technical. Earlier in summer, expect snow in the Chute.
How long does the Mountaineers Route take to complete?
Most hikers take 8 to 12 hours for the full round trip in one day. Two-day attempts with a camp at Boy Scout Lake are also common and give your body more time to adjust to altitude.
What gear do I absolutely need for this route?
At minimum: layers, a headlamp, trekking poles, GPS, and a topographic map. In spring or early summer, add crampons, an ice axe, and a helmet. Don’t skip the ice axe if snow is present in the Chute.