

Your first backpacking trip may have gone two ways. You packed far too much and struggled with the weight, or you forgot key items and spent the night miserable. Either way, it was rough and likely not what you hoped for.
The truth is simple. A good overnight list makes the whole experience easier. Pack too much, and every climb feels heavy. Pack too little and you may end up cold, hungry, or uncomfortable. After years of trying different gear, I learned what actually works.
This guide offers a clear checklist that keeps your load around fifteen to twenty pounds. No extras you will never use, only the items that help you stay safe and comfortable on the trail. Let us get you ready with a pack that feels right from the start.
The Big Four – Your Foundation Gear
These four items will make or break your trip. Get them right and you’ll sleep well, stay dry, and barely notice the weight. Get them wrong and you’ll suffer every step of the way.
Backpack (30-50 Liters)
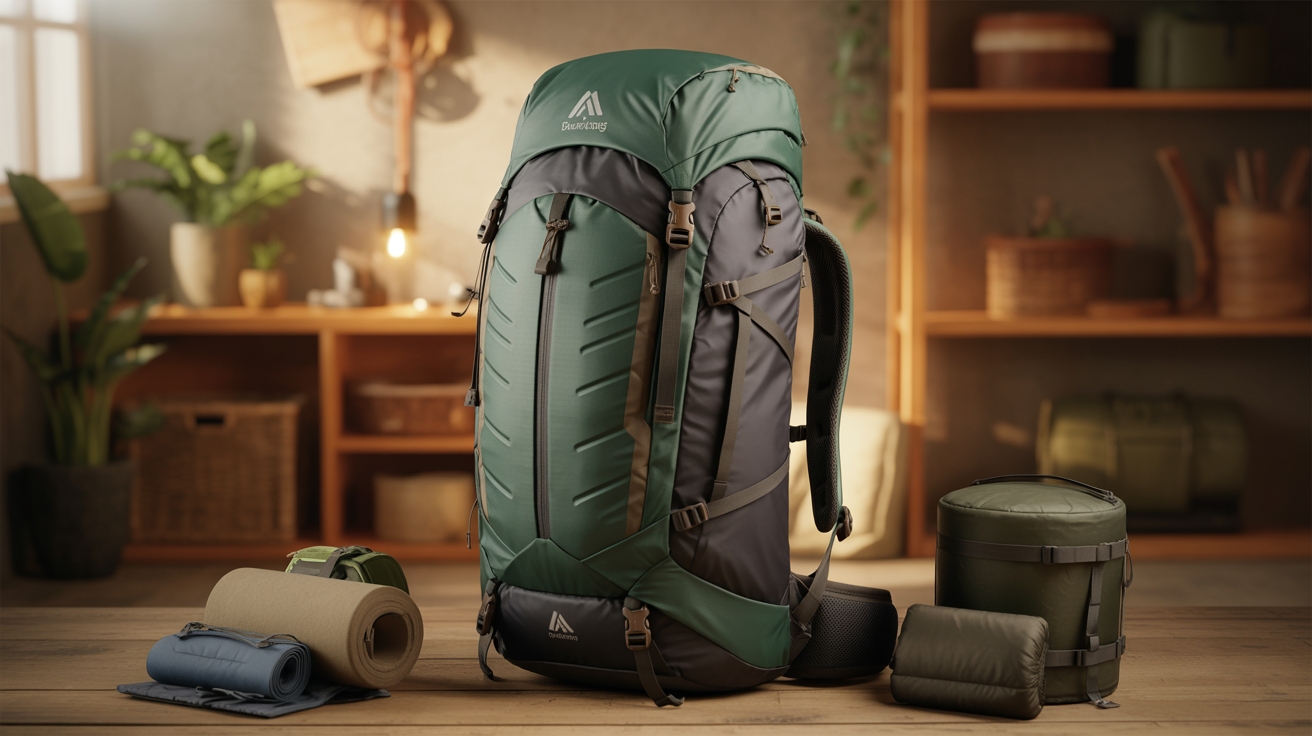
You don’t need a massive pack for one night out. A 30-50 liter backpack handles everything for overnight trips.
Look for these key features:
- Rain cover to keep gear dry
- Padded hip belt (your hips carry weight, not shoulders)
- Compression straps to cinch down the load
- Multiple pockets for organization
Bigger isn’t better here. A huge pack just tempts you to fill it with stuff you don’t need. Stick with the 30-50 liter range and you’ll force yourself to pack smart.
Shelter System
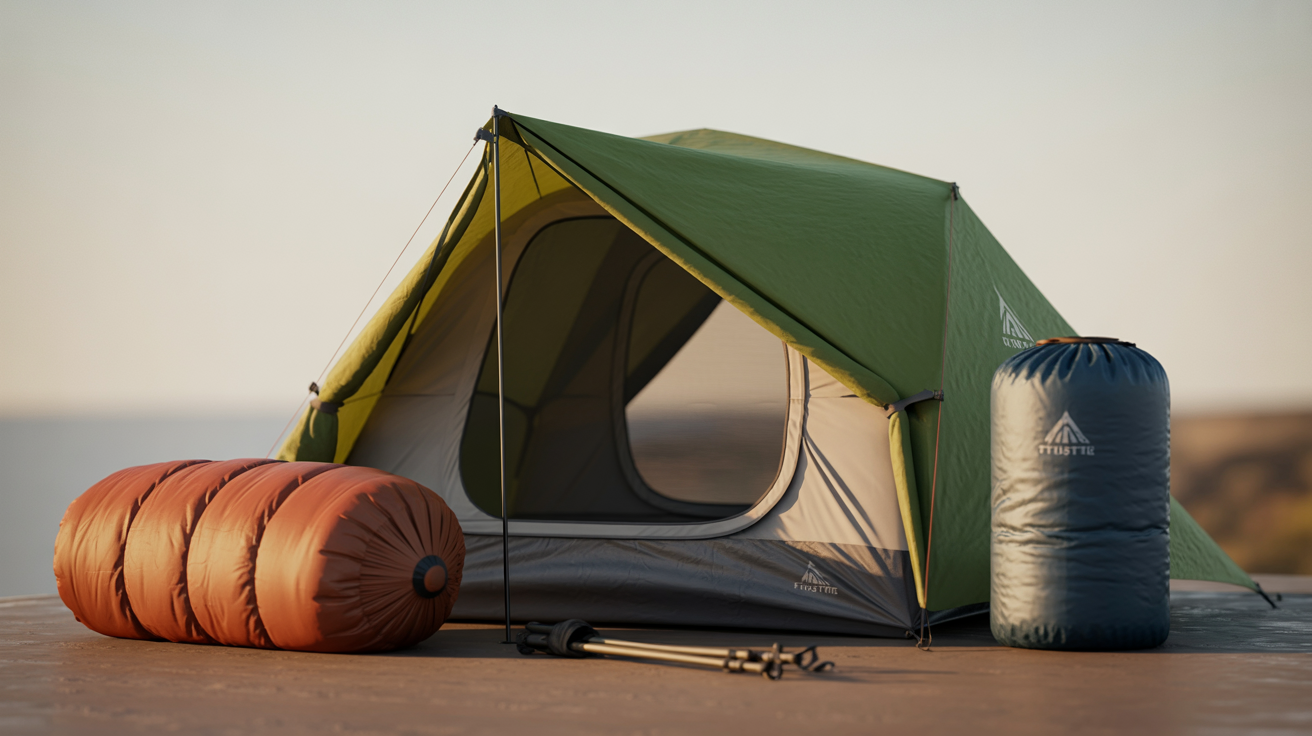
Your tent is your home for the night. Pick something lightweight but dependable.
Backpacking tents come with stakes and guylines already included. They’re designed to pack small and weigh less than car camping tents. Add a tent footprint underneath to protect the floor from rocks and sticks.
Going ultralight? Consider a bivy sack or hammock system instead. They weigh even less but offer less protection. I stick with a tent because I like having space to sit up and organize gear when it rains.
Sleep System
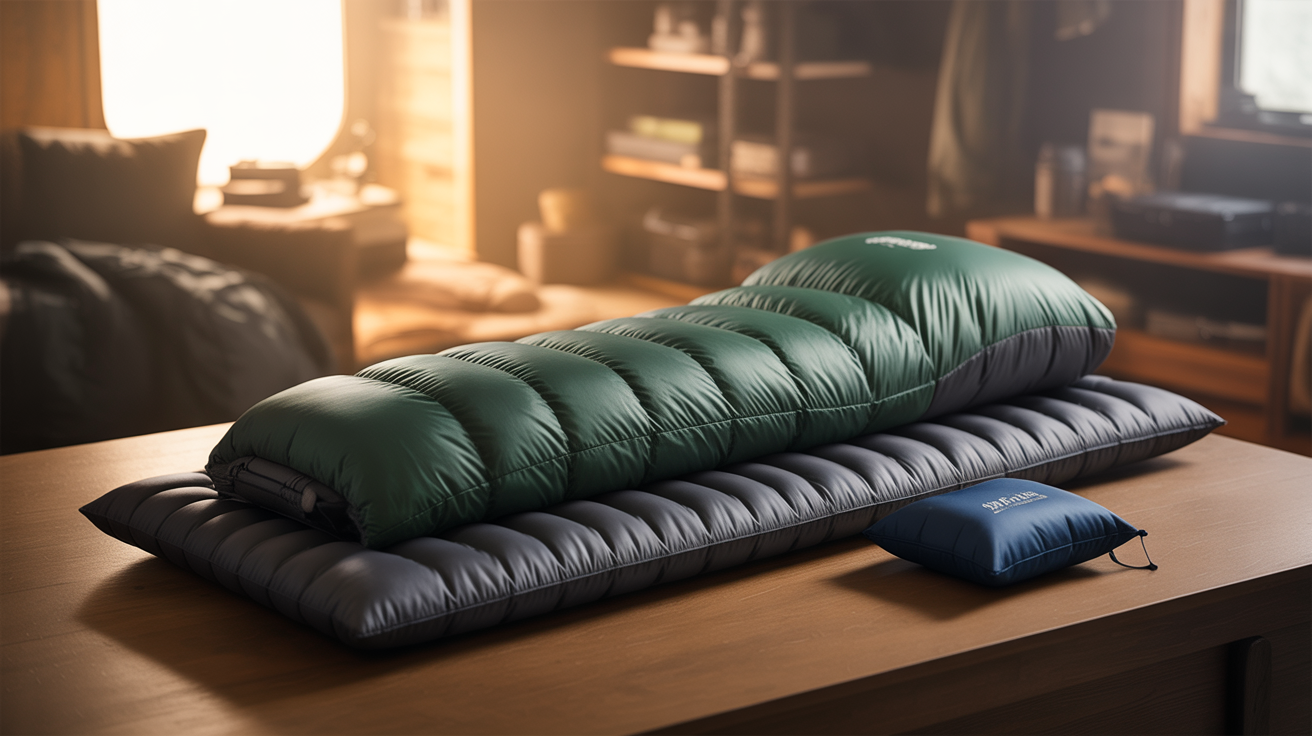
This is where comfort meets warmth. You need both a sleeping bag and a sleeping pad.
For sleeping bags, you’ve got two choices. Down bags pack smaller and weigh less, but they’re useless when wet. Synthetic bags handle moisture better and cost less. Check the temperature rating and go 10 degrees lower than you expect to actually need.
The sleeping pad matters just as much. Cold ground steals your body heat fast. Insulated pads like the Nemo models keep you warm and cushioned. Don’t skip the pad to save weight. A terrible night’s sleep ruins the whole trip.
Backpacking Stove and Fuel
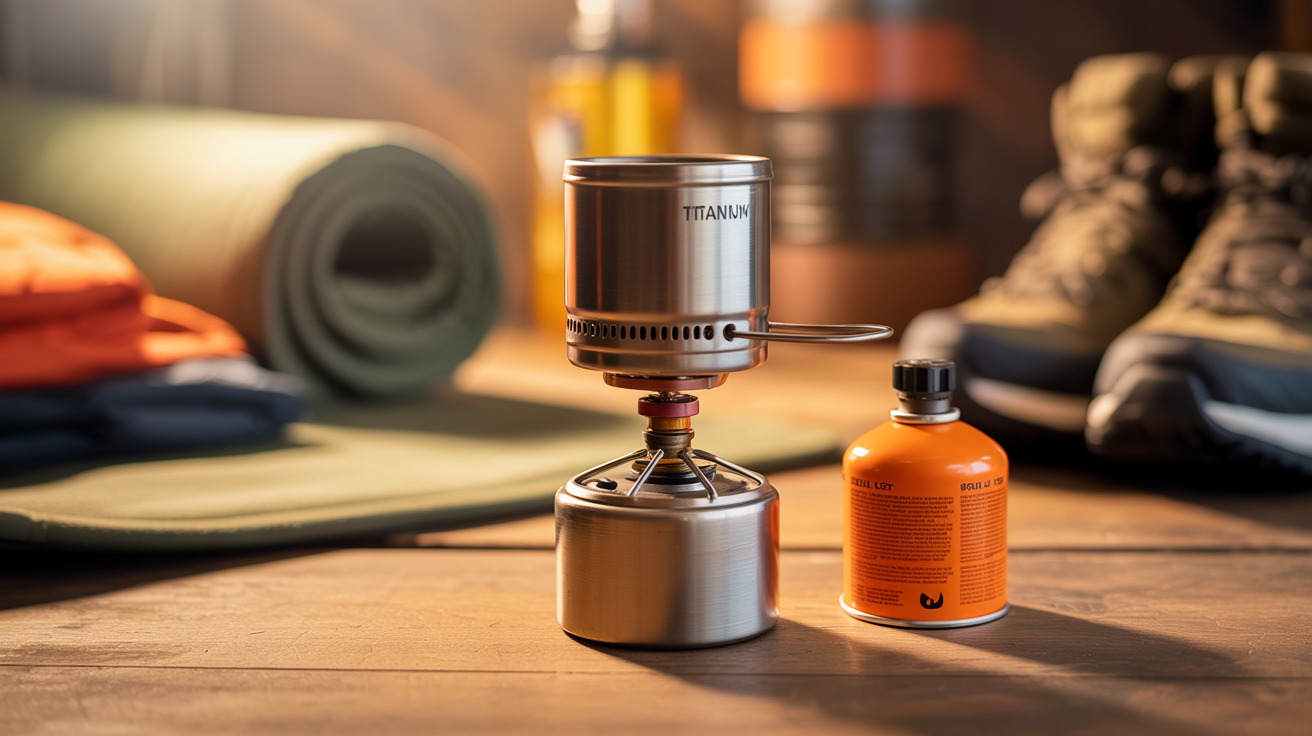
Hot food at camp makes everything better. A compact stove system weighs around a pound and runs on small fuel canisters.
Budget options like Fire Maple work just as well as expensive brands. A small fuel canister can easily handle an overnight trip. Your cookset needs just three things: a pot, a pot grabber to avoid burns, and a lid.
Want to go even lighter? Skip the stove entirely and eat cold meals. I’ve done it, but I really miss my hot coffee in the morning.
Clothing – Pack Less Than You Think
Stop. Put half those clothes back. I’m serious. Overpacking clothes is the biggest mistake new backpackers make.
The Golden Rule of Backpacking Clothes
Here’s what nobody tells you: You’re going to be disgusting anyway. Sweaty, dirty, and probably smelly. Packing five shirts won’t change that.
I wear the same outfit the entire trip. Gross? Sure. But you know what’s worse? Carrying three extra pounds of clothes you never wear. Focus on layers instead of outfits. Layers keep you warm when it’s cold and let you shed weight when you heat up.
What to Actually Pack
Start with moisture-wicking underwear and a T-shirt as your base. These dry fast and don’t hold sweat like cotton.
For bottoms, quick-dry pants are your best friend. They work in the sun, shade, heat, and cold. Topo Design makes solid options, but any synthetic hiking pants work fine. Top it with a tank top or long-sleeve sun shirt, depending on the forecast.
That’s your main outfit. Really. One outfit for the whole trip.
Layering System
Now add your layers for temperature control. This is where you actually stay comfortable.
Pack these items:
- Down jacket or insulated jacket (warmth without weight)
- Lightweight fleece or sweater (mid-layer for cool mornings)
- Rain jacket (keeps wind and water out)
- Long underwear for cold-weather trips
Each layer serves a specific purpose. The base wicks sweat. The mid-layer traps warmth. The outer layer blocks wind and rain. Don’t double up on the same job. That’s just extra weight.
Accessories and Extras
Socks deserve special attention. Pack 2-3 pairs of wool socks minimum. Wet socks lead to blisters, and blisters end trips early.
Add these based on conditions:
- Hat for sun protection or warmth
- Gloves for cold mornings
- Sweatpants for lounging at camp
- Camp shoes or sandals for creek crossings (optional but nice)
Everything else stays home. Your feet and hands get extras. Nothing else does.
What to Leave at Home
Don’t pack multiple outfit changes. You won’t use them. Extra backup clothes just add weight.
Skip these items:
- More than one pair of pants
- Multiple shirts
- Cotton anything (stays wet forever)
- That “just in case” jacket
Trust me on this. After your first trip, you’ll wish you had packed lighter. Start light from day one.
Food and Water Planning
You need calories and hydration. Everything else about food is just details.
Water Carrying and Treatment
Carry 3 liters total capacity for most overnight trips. That doesn’t mean carrying 3 liters all the time. Fill up at streams and springs along the trail.
Collapsible 1-liter bottles save pack space when empty. The Grayl filter works fast, and the Larq bottle uses UV light to clean water. Both beat pumping water through old-school filters.
Going ultralight? Iodine pills weigh almost nothing and purify water in 30 minutes. They make water taste weird, but they work.
Meal Planning Made Simple
You need one real meal per night out. That’s it. Dinner at camp, done.
Budget-friendly options that actually taste good:
- Ramen (75 cents and surprisingly filling)
- Instant mashed potatoes with cheese
- Pasta with olive oil and seasoning
- Tortillas with peanut butter
Freeze-dried backpacking meals work great but cost $8-12 each. They’re lightweight and easy, but your wallet takes a beating. I save them for longer trips.
Want something special? Wrap garlic bread in foil before you leave home. Heat it by the fire at camp. Best trail meal ever.
Snacks That Actually Work
Forget the “healthy backpacking snacks” advice. You’re burning serious calories out there. Eat what tastes good and packs light.
My go-to snacks:
- Chips (almost weightless, super salty)
- M&Ms and chocolate bars
- Crackers with cheese or peanut butter
- Jerky for protein
- Granola bars and fruit snacks
- Pistachios or mixed nuts
- Energy chews for quick fuel
Notice a pattern? High calories, lots of salt, and actually enjoyable to eat. Trail mix is fine, but it gets boring fast. Pack a variety so you actually want to eat.
Don’t forget coffee. Instant packets or Starbucks Via work without a fancy setup. Cold coffee beats no coffee when you’re trying to go ultralight.
Safety and Emergency Essentials
Gear that keeps you alive isn’t optional. I don’t care how light you want to go.
Lighting
A headlamp keeps your hands free for cooking, setting up camp, and midnight bathroom trips. Pack extra batteries. Dead batteries at night sucks.
A packable lantern is nice for hanging in your tent, but totally optional. The headlamp does everything you actually need.
First Aid and Emergency
Your first aid kit doesn’t need to be elaborate. Basic supplies handle most trail injuries.
Must-have safety items:
- First aid kit with bandages, gauze, and medical tape
- Mini Garmin satellite communicator (calls for help anywhere)
- An emergency shelter, like a space blanket
- Waterproof lighter and matches
- Fire starter for emergencies
- Whistle (signals carry farther than yelling)
- Knife or multi-tool
That satellite communicator matters more than people think. Cell phones don’t work in the backcountry. When something goes wrong, that little device saves lives.
Sun Protection
The sun is relentless at elevation. Don’t learn this the hard way.
Pack these items:
- Sunglasses with a retention strap
- Sunscreen (SPF 30 minimum)
- SPF lip balm
- Sun hat with a brim
Apply sunscreen every two hours. Reapply after swimming or heavy sweating. Sunburn at camp ruins the next day’s hike.
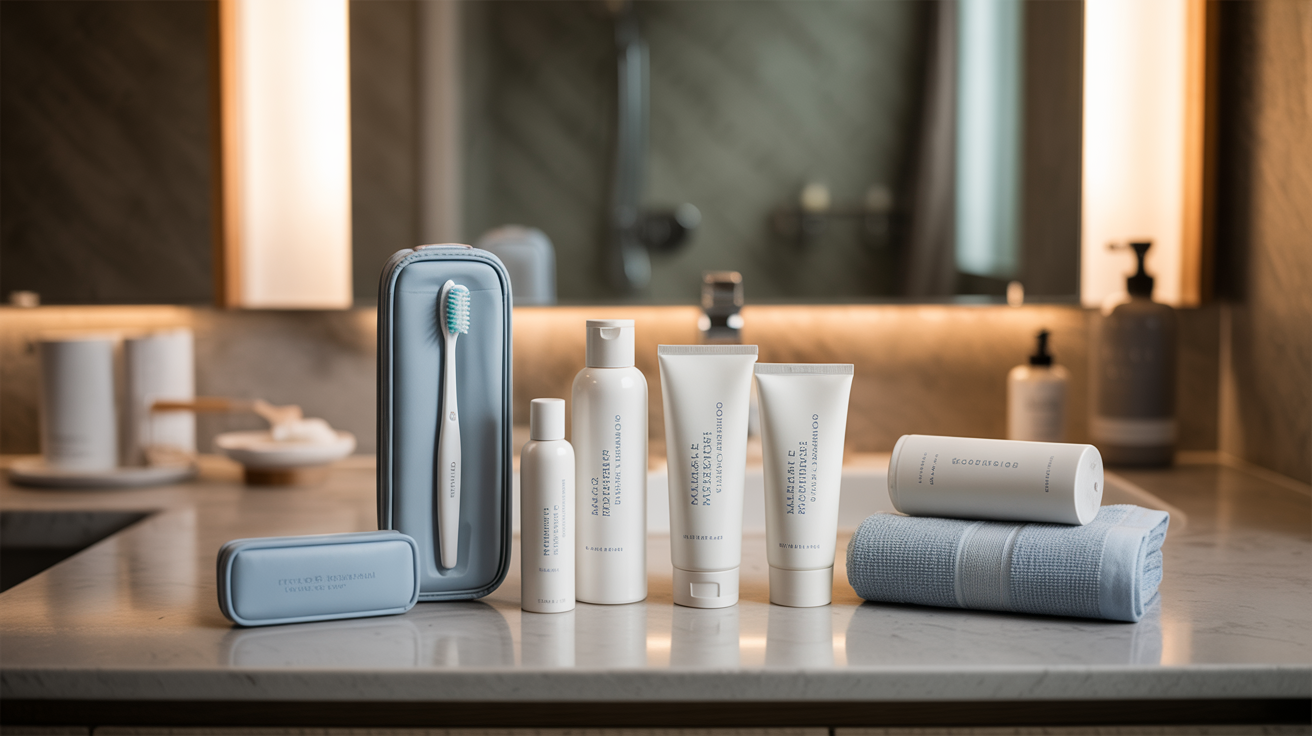
Hygiene and Personal Care
You’ll be dirty. Accept it. But basic hygiene still matters for comfort and health.
Basic Toiletries
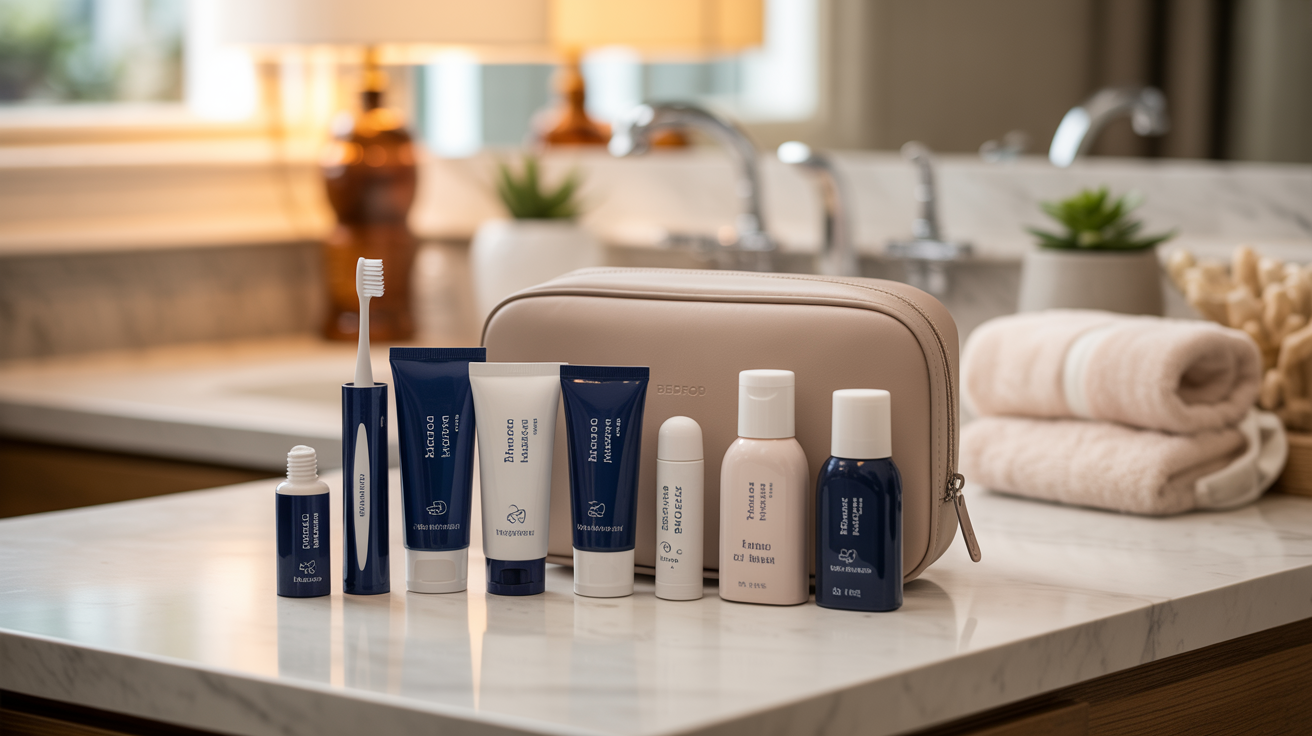
Keep toiletries minimal. Travel-sized everything. Smaller containers mean less weight.
Bring these important stuff:
- Toothbrush and toothpaste
- Contact solution and case if needed
- Eye drops for dry air
- Small brush and hair ties
- Hand sanitizer
- Biodegradable soap
That’s really all you need. Skip the face wash, moisturizer, and other daily routines. You’re camping, not staying at a hotel.
Bathroom’s Important
Leave No Trace means packing out all toilet paper. Yes, really. All of it.
Your bathroom kit needs:
- Toilet paper in a sealed bag
- Wet wipes for cleaning up
- Another sealed bag for packing out the used paper
- Sanitation trowel for digging cat holes
Dig holes 6-8 inches deep and 200 feet from water sources. Bury solid waste, pack out paper. This protects water quality for everyone.
Medications
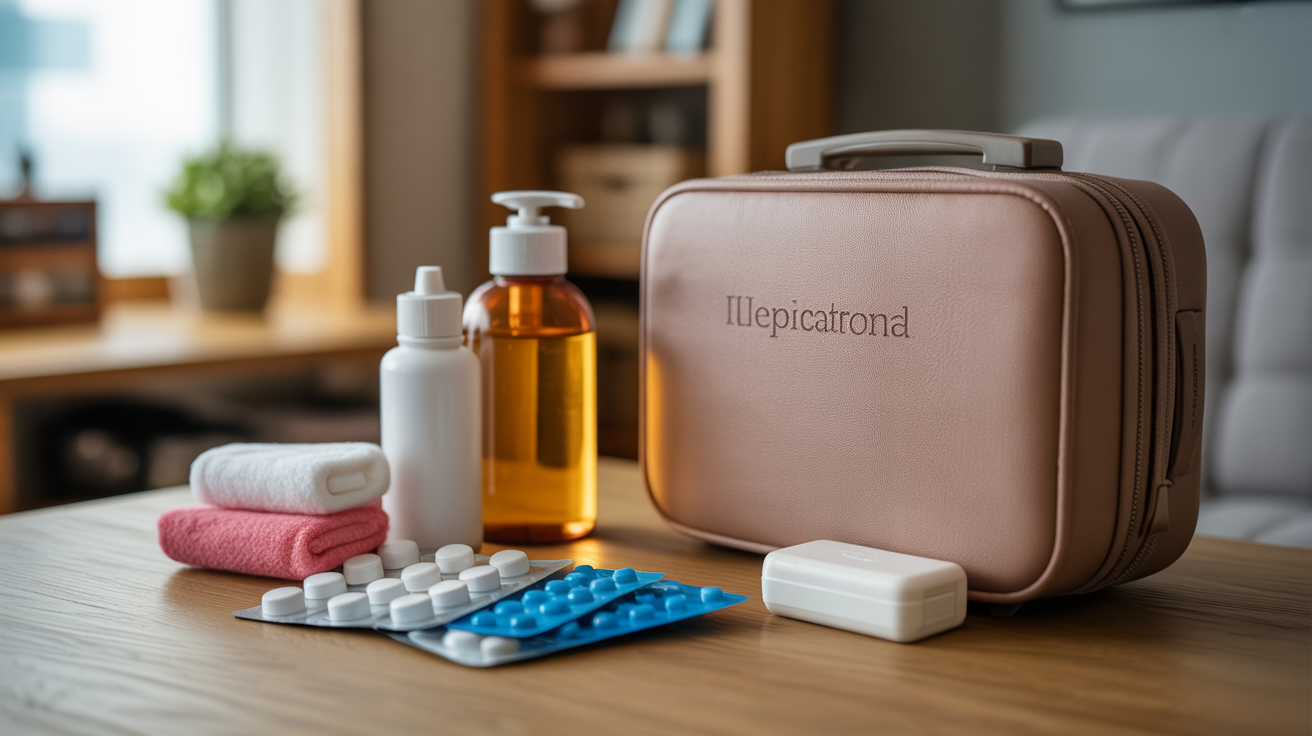
Pain relief helps sore muscles at camp. Pack 10 ibuprofen in a small container. That’s enough for a weekend.
Add your prescription medications in the original bottles. Bring blister treatment supplies like moleskin or liquid bandages. Blisters can end your trip if you don’t catch them early.
Navigation and Communication
Getting lost is easier than you think. Even on marked trails.
Essential Navigation Tools
Your phone’s GPS works until the battery dies. Then what? Paper maps and compasses don’t need batteries.
Pack these basics:
- Trail map in a waterproof sleeve
- Compass as backup navigation
- Route description or guidebook
- Watch to track timing
Study the map before you leave. Know where water sources are. Identify bailout points if the weather turns bad. Five minutes of planning prevents hours of confusion.
Optional Tech
GPS devices like Garmin units work great, but aren’t required for marked trails. Your phone’s GPS works fine if you download offline maps before you lose service.
A satellite messenger does double duty for emergencies and check-ins. Leave two copies of your itinerary: one with a friend, one in your car. Someone should know where you’re supposed to be and when you’re coming back.
Don’t count on cell phone service. It’s a bonus if you get it, not a plan.
Complete Overnight Backpacking Checklist
Print this list and check items off as you pack. Missing something critical ruins trips fast.
Organized by Category
Here’s everything in one place for quick reference.
The Big Four:
- Backpack (30-50 liters with rain cover)
- Tent with stakes and guylines
- Sleeping bag rated for expected temps
- Sleeping pad (insulated recommended)
Cooking:
- Backpacking stove
- Fuel canister (one small can for overnight)
- Pot and pot grabber
- Reusable spoon or fork
- Mug for coffee and eating
Water:
- 3L total capacity in bottles
- Water filter or purification method
- Collapsible bottles to save space
Food:
- One dinner meal per night
- Variety of high-calorie snacks
- Coffee or tea packets
- Salt and basic seasonings
Clothing (wear one outfit, pack layers):
- Moisture-wicking underwear and base layer
- Quick-dry pants
- Long-sleeve shirt for sun/bugs
- Down jacket or insulated layer
- Rain jacket
- Fleece or sweater
- 2-3 pairs of wool socks
- Hat and gloves if needed
- Long underwear for cold trips
Safety:
- First aid kit
- Headlamp with extra batteries
- Emergency shelter
- Fire starter and waterproof matches
- Whistle
- Knife or multi-tool
- Satellite communicator
Sun Protection:
- Sunglasses with a strap
- Sunscreen SPF 30+
- SPF lip balm
- Sun hat
Hygiene:
- Toothbrush and toothpaste
- Hand sanitizer
- Biodegradable soap
- Toilet paper and sealed bags
- Wet wipes
- Sanitation trowel
Medications:
- Ibuprofen or pain relief
- Prescription medications
- Blister treatment supplies
Navigation:
- Map in waterproof sleeve
- Compass
- Watch
- GPS device (optional)
Optional Extras:
- Trekking poles
- Packable daypack
- Camera
- Book or entertainment
- Bear spray (if required)
Check before leaving:
- Permits if required
- Two copies of the itinerary
- Weather forecast reviewed
- All batteries tested
- Trash bags for packing out waste
Common Mistakes to Avoid
Learn from my failures. I’ve made all these mistakes, so you don’t have to.
- Overpacking with multiple outfit changes and “just in case” items: Wear the same clothes and only bring gear you’ll actually use.
- Underpacking essential safety gear to save weight: Don’t skip water capacity, warm layers, extra socks, or first aid supplies.
- Ignoring your base weight target: Keep your base weight at 15-20 lbs for overnight trips, and under 25 lbs total when loaded.
- Not focusing on the Big Four items for weight reduction: Your tent, sleeping bag, backpack, and sleeping pad make the biggest difference.
- Failing to test your pack weight at home: Weigh your loaded pack before your first trip to catch problems early.
Packing Tips for Success
How you pack matters as much as what you pack. Good organization saves time and frustration.
- Group similar items in separate stuff sacks: Keep cooking gear together, store clothes in waterproof sacks, and put snacks in outside pockets.
- Pack in order of when you’ll need items: Sleeping bag goes at the bottom, rain gear stays at the top for quick access.
- Place heavy items close to your spine at mid-back height: Keep food, water, and stove centered between your shoulder blades to prevent the pack from pulling you backward.
- Distribute lighter items at top and bottom, balancing side-to-side: Use all pockets to balance weight evenly and adjust straps so hips carry most weight.
- Test everything at home before hitting the trail: Set up your tent in your backyard, check the weather, verify water sources, and test all batteries.
Permits and Regulations
Know the rules before you go. Some areas require permits or have specific regulations.
Many popular backpacking areas require permits booked weeks or months ahead. Check the land management agency website for your destination. Showing up without a required permit means no camping.
Follow Leave No Trace principles everywhere:
- Pack out all trash (yes, even orange peels)
- Camp 200 feet from water sources
- Use existing campsites when possible
- Never cut live trees or branches
Some regions require bear canisters to store food. Others have fire restrictions during dry seasons. Breaking these rules risks fines and damages the environment for future hikers.
Check regulations before every trip. Rules change based on season, fire danger, and wildlife activity. What was allowed last summer might be prohibited this year.
Conclusion
Your overnight backpacking list does not need to feel complicated. Keep the focus on the Big Four. Carry a tent, a sleeping bag, a backpack, and a sleeping pad. Add basic safety items and leave out extra things that only add weight.
Pack smart by placing heavier gear close to your back. Use small bags to keep items in order. Test your setup at home so nothing surprises you later. A base weight of 15 to 20 pounds is a good goal and still keeps costs reasonable.
Good planning can shape your whole trip. Start with a simple list and adjust it as you gain more experience. Everyone learns through small changes over time. What do you keep in your pack? Share your must-haves or ask any questions you have about getting started.
Frequently Asked Questions
What should be on my overnight backpacking list?
Your overnight backpacking list should include the Big Four (tent, sleeping bag, backpack, sleeping pad), water treatment, food, cooking gear, clothing layers, rain gear, first aid kit, headlamp, map/compass, and toiletries. Keep your base weight between 15 to 20 lbs for comfort.
How much water should I bring on an overnight backpacking trip?
Carry 2 to 3 liters of water capacity and bring a water filter or purification tablets. Don’t sacrifice water capacity to save weight. Check your route beforehand to confirm water sources are available along the trail.
What clothes do I need for overnight backpacking?
Pack one set of hiking clothes, one warm layer, a rain jacket, rain pants, extra socks, and a warm hat. Wear the same clothes throughout your trip. Skip multiple outfit changes to save weight.
How heavy should my overnight backpacking pack be?
Your base weight (excluding food, water, and fuel) should be 15 to 20 lbs. With everything loaded, aim for under 25 lbs total. If your pack exceeds this, remove non-essential items before leaving.
What’s the most important gear for overnight backpacking?
The Big Four items (tent, sleeping bag, backpack, and sleeping pad) matter most. These provide shelter and rest. Don’t forget safety essentials like water treatment, first aid supplies, extra socks, and warm layers for temperature drops at night.